Advertisement
Quick Links
Advertisement

Related Manuals for Mount-It! MI-4752


Summary of Contents for Mount-It! MI-4752
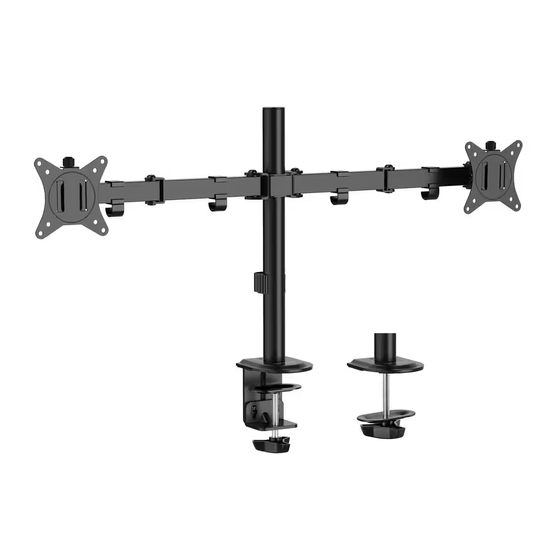
- Page 1 MI-4752 Please scan this QR code to visit the product page. MONITOR ARM...
- Page 2 Mount and Accessories Thank you for choosing Mount-It Mount-It! VESA Plate Monitor Arms Clamp Handle Clamp L Pole Base Pole -Bracket Mount-It! Cable Clip Cable Clip Knob Bolts Bolts Bolts Bolts Hex Wrench Hex Wrench – Pole – Arms Mounting Hardware Check carefully to make sure there are no missing or defective parts.
- Page 3 Step 1 Connect the Base and Pole • For desks with a thickness of 0.4”-1.8” attach the Clamp Handle (#C) in the original orientation as shown so that the short end of the bracket faces down alongside the handle. • For desks with a thickness of 1.8”-3.3” remove the bolt on the end of the Clamp Handle (#C), detach the oval plate, and remove the hand knob from the bracket.
-
Page 4: Grommet Mounting
Step 2b Step 3 Prepare the Monitor Arms Grommet Mounting • To mount through a grommet hole, remove the bolt from the end of the Clamp Handle (#C), detach the oval plate, and remove the hand knob from the bracket. The oval plate will no be placed directly over the large bolt as shown. - Page 5 Step 4 Step 6 Attach the VESA Mounts to the Monitors Cable Management • Select the appropriate size mounting bolt (Select one size #M-A, or #M-B) and washer (#M-C) for your • Route the cables through the cable management clips for a more organized desktop. display’s mounting holes and verify the length of the VESA bolt is not too long.
-
Page 6: Final Adjustments
Step 8 • The screens can be turned side to side and rotated to be used in portrait or landscape orientation. Final Adjustments Store the Hex Wrenches (#N, #O) in the slots provided in Cable Clip (#G) for use when needed. Note: If the display does not stay in position when tilted, or is too difficult to move,...
Need help?
Do you have a question about the MI-4752 and is the answer not in the manual?
Questions and answers