Advertisement
Quick Links
Advertisement

Related Manuals for Comica EJoy Uni


Summary of Contents for Comica EJoy Uni
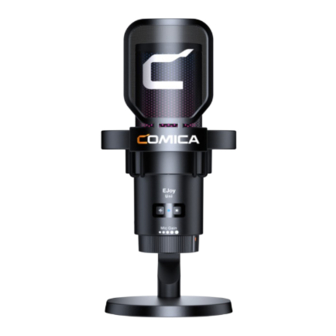
- Page 1 EJoy Uni RGB Cardioid Condenser USB Microphone User Manual...
-
Page 3: Main Features
Foreword Thanks for purchasing Comica EJoy Uni Main Features · 48kHz/24bit Recording, Professional Studio Quality · Built-in Sound Card, Plug and Play · Support Gain Control, Monitoring, One-key Denoise & Muting · Dynamic Radiant RGB Light with 3 Unique RGB E ects ·... - Page 4 When connect the mic with computer, please click sound setting and choose "Comica_EJoy Uni" as the output and input device When connect the microphone with computer: Sound Output Input Choose your output device Choose your input device Comica_EJoy Uni Comica_EJoy Uni If the input sound is too loud when connected to the computer, users can adjust the computer's "Microphone Properties-Level"...
-
Page 5: Packing List
Packing List EJoy Uni(A): Microphone *1 Pop Filter *1 USB C-USB C/USB A 2 in 1 Audio Cable *1 EJoy Uni RGB Cardioid Condenser USB Microphone User Manual Boom Arm *1 Hook and Loop User Manual *1 Warranty Card *1 Fastener *5 EJoy Uni(D):... - Page 6 Components and Instruction Microphone: Muting Touch Key Muting Indicator Light Microphone Capsule RGB Light E ect Area RGB Light Power/ Denoise Key E ect Switch Key 3.5mm TRS/TRRS Headphone Original Sound/ Monitoring Port Denoise Indicator Light USB-C Digital Output Port Gain/Volume Adjustment Knob...
- Page 7 1. Muting Touch Key Touch to adjust the microphone normal pick up or muting status 2. Muting Indicator Light Red light keeps on when muting is on, no light will on when muting is o 3. Microphone Capsule 4. RGB Light E ect Area 5.
- Page 8 Installation and Usage Install the boom arm: 1. Clamp the stand base of boom arm to the desktop or other objects, then tighten the fixing clip clockwise 2. Connect the boom arm to the stand base, adjust the angle of boom arm through the fixing clip on stand base...
- Page 9 3. Connect the mic shock-mount to the boom arm, then tighten the fixing clockwise 4. Adjust and fix the mic through the locking screw on boom arm...
- Page 10 Install the desktop mic stand: 1. Connect the threaded hole of the shock-mount to the thread of the desktop mic stand, turn clockwise to tighten and fix 2. Install the pop filter on the shock-mount 3. Adjust and fix the shock-mount and mic through the locking screw...
- Page 11 Usage: Connected the mic with smartphone/computer through 2 in 1 audio cable and related audio adapter cable/adapter; Choose whether to monitor according to your needs Adapter Adapter Cable 1.Please purchase USB-Lightning adapter cables/adapters support OTG function by yourself when connected with lightning port devices 2.The mic will automatically switch on when connected with a device, and it will automatically turn o when disconnected from a device...
-
Page 12: Specifications
Specifications Directivity Cardioid Microphone Sensivity -35dB±2dB Frenquency Range 20Hz ~ 20kHz Maximum SPL 105dB (@ 1% THD) Signal / Noise 72dB SPL(A-weighted,as per IEC651) Equivalent Noise 22dB SPL(A-weighted,as per IEC651) Dynamic Range 83dB SPL(A-weighted,as per IEC651) Sampling Rate 48kHz Microphone Recording:24-bit Bit Depth Headphone Monitoring:16-bit Output Interface...
Need help?
Do you have a question about the EJoy Uni and is the answer not in the manual?
Questions and answers