Sign In
Upload
Download
Table of Contents
Contents
Add to my manuals
Delete from my manuals
Share
URL of this page:
HTML Link:
Bookmark this page
Add
Manual will be automatically added to "My Manuals"
Print this page
×
Bookmark added
×
Added to my manuals
Manuals
Brands
Vitronics Soltec Manuals
Soldering Gun
XPM2
Technical reference manual
Vitronics Soltec XPM2 Technical Reference Manual
Reflow soldering systems
Hide thumbs
1
Table Of Contents
2
3
4
5
6
7
8
9
10
11
12
13
14
15
16
17
18
19
20
21
22
23
24
25
26
27
28
29
30
31
32
33
34
35
36
37
38
39
40
41
42
43
44
45
46
47
48
49
50
51
52
page
of
52
Go
/
52
Contents
Table of Contents
Troubleshooting
Bookmarks
Table of Contents
Table of Contents
Purpose of this Manual & Who Should Use It
Control Panel Symbols
Glossary of Terms Glossary of Terms & Measurement Conversions
Measurement Conversions
Conveyor Overview
Conveyor Types
Belt-Only Mesh Belt Conveyor System
Rail-Only Edge / Rail Conveyor System
Combo Combination Conveyor System
Xcs Edge Rail with Extruded Center Support System
Mbs Combination Edge Rail and Belt System with Metal Band Support
Conveyor Belt, Chain & Rail Service
Remove and Replace Conveyor Mesh Belt
Remove and Replace Edge Rail Chains and Rails
Remove Chains
Remove Rails
Install Rails
Align Fixed Rail
Set Lane Parallel
Install Chains
Remove and Replace Xcs Conveyor Chain and Rail
Remove Xcs Chain
Remove Xcs Rail
Install Xcs Rail
Align Xcs Rail
Install Xcs Chain
Set Xcs Tension
Set Xcs Timing
Set Xcs Height
Dual Lane Dual Xcs Lane Spacing Adjustment
Conveyor Drive System
Drive Motor Service & Replacement
Computer Controlled Edge-Rail Lubrication
Auto Chain Lube Tank/Pump Assy
Rail Width Adjust
Computer Controlled Auto Rail Adjust
Troubleshooting
DC Drive Calibration (Rail Width Only)
Disclaimer
Advertisement
Quick Links
1
Table of Contents
2
Control Panel Symbols
3
Troubleshooting
Download this manual
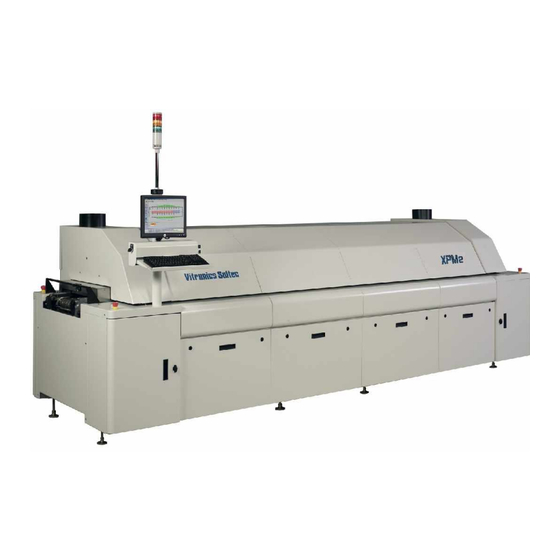
VITRONICS-SOLTEC REFLOW SOLDERING SYSTEMS
`XPM
XPM
2 and
3
Reflow Soldering Systems
Technical Reference Manual
Conveyor Systems
1
October 10, 2008
XPM2 / XPM3 Technical Reference Manual
Conveyor Systems
Table of
Contents
Previous
Page
Next
Page
1
2
3
4
5
Advertisement
Table of Contents
Need help?
Do you have a question about the XPM2 and is the answer not in the manual?
Ask a question
Questions and answers
Related Manuals for Vitronics Soltec XPM2
Soldering Gun Vitronics Soltec XPM3m Technical Reference Manual
Reflow soldering systems (108 pages)
Soldering Gun Vitronics Soltec XPM3 Technical Reference Manual
Reflow soldering systems (52 pages)
Soldering Gun Vitronics Soltec mySelective 6748 Schematics
(171 pages)
Soldering Gun Vitronics Soltec myReflow Installation Manual
(35 pages)
This manual is also suitable for:
Xpm3
Table of Contents
Save PDF
Print
Rename the bookmark
Delete bookmark?
Delete from my manuals?
Login
Sign In
OR
Sign in with Facebook
Sign in with Google
Upload manual
Upload from disk
Upload from URL


Need help?
Do you have a question about the XPM2 and is the answer not in the manual?
Questions and answers