Advertisement
Start Here
Installing your Microtek Spector-AF10 Scanner
1.
Unpack Contents
Unpack your scanner package and check
for major components.
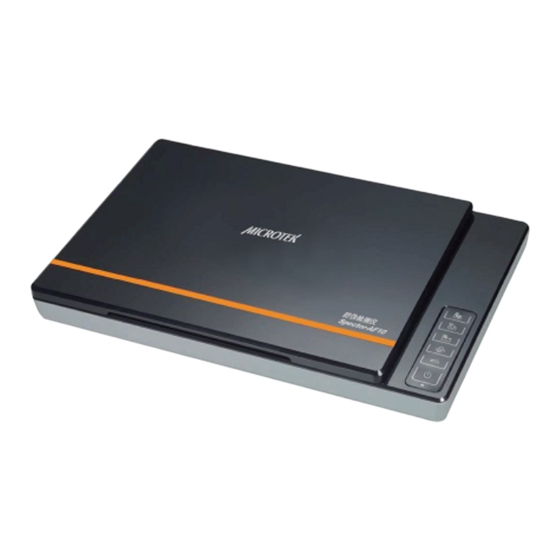
1. Scanner
2. Hi-Speed USB cable
3. Power adapter
4. Calibration ruler
5. Software DVD
2.
Install Software
Important: Do not remove the yellow stickers from your
scanner until you are told to do so. You must install
software before connecting your scanner.
Always close any open programs and turn off Anti-virus
utilities before installing software.
A. Turn on your computer.
B. Place the Microtek Software DVD into a drive.
C. Then, follow the on-screen instructions to install the scanner driver and software.
NOTE: If the Microtek Software Installer screen does not come up automatically, double-click
the following in succession: "My Computer"; the DVD-ROM icon; then cdsetup.exe to start the
installer program.
D. Click Exit on the Microtek Software Installer screen when all the software has been
installed.
E. Restart your computer.
Copyright © 2023 Microtek International, Inc. https://www.microtek.com
I49-005322 A1, 10/2023
2
1
5
1
4
3
Advertisement
Table of Contents

Related Manuals for Microtek Spector-AF10


Summary of Contents for Microtek Spector-AF10
- Page 1 NOTE: If the Microtek Software Installer screen does not come up automatically, double-click the following in succession: “My Computer”; the DVD-ROM icon; then cdsetup.exe to start the installer program. D. Click Exit on the Microtek Software Installer screen when all the software has been installed. E. Restart your computer.
-
Page 2: Unlock Scanner
Unlock Scanner A. Remove the yellow sticker “Unlock Scanner” from your scanner. B. With the scanner power off, tilt the back right corner of the scanner to see the locking switch at the bottom. C. Push the locking switch to the position as indicated in the graphic, with the icon on the lock showing as “Unlocked”. -
Page 3: Positioning Documents
Email, scanning for OCR, etc. Customizing is done through the Scanner Button Settings interface in the ScanWizard DI, refer to the Spector-AF10 User’s Manual for more details. Six programmable function buttons (By default, the six function buttons are set to “Scan To”) -
Page 4: Calibrating The Scanner
1. The calibration process may take quite a time. Please be patient for the fininishing of the process. 2. When you update the version of the firmware for your scanner, you have to recalibrate your scanner. Refer to the Spector-AF10 User's Manual for details. - Page 5 11. Click the Open Folder button to locate the scanned images if you want to view. NOTE: For more information about other scanning scenarios with the scanner, please refer to the Spector-AF10 User's Manual.
- Page 6 Original under normal light Main interface Original revealed under UV light Scan Setup interface...
- Page 7 Problems? The LEDs on the button panel indicates the status of the scanner. Orange On – Scanner is on. Both On – Ready to scan. Green Flashing – Warming up or scanning. Both Off – Scanner is off. LED indicators (Left: Green/Right: Orange) If you encounter any problems, check the section below and follow the suggested solution if your problem is listed.
- Page 8 Finally, select and click the title of the manual you wish to view. Missing Items If your package is missing items, please call the Microtek Customer Service Department. Drivers & Software Upgrades After you finish the installation of software, if you found that the installed drivers and...
Need help?
Do you have a question about the Spector-AF10 and is the answer not in the manual?
Questions and answers