Table of Contents
Advertisement
Quick Links
Start Here
Installing your Microtek S6570 Scanner
1.
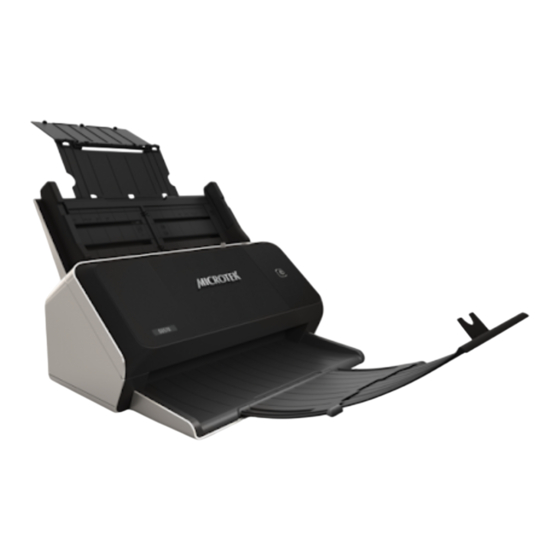
Unpack Contents
Unpack your scanner package and check
for major components.
1. S6570 scanner
2. Feed tray
3. USB cable
4. Power adapter
5. Power cord
2.
Install Software
Important: You must install software before connecting your scanner.
Always close any open programs and turn off Antivirus utilities before
installing software.
1. Visit the Microtek website at https://www.microtek.com.
2. Use the search
navigate to the "Downloads" page dedicated to this product.
3. Download the necessary drivers and software marked as "Yes" on the download list, based on
your operating system.
NOTE: The file download process may take some time. The duration may vary based on your internet speed,
bandwidth, file size, and other factors. Please be patient during the download. If you encounter any issues
or need further assistance, please contact Microtek Customer Service Department.
4. Once the download is finished, double-click the downloaded file (*.exe) to begin the installation
process.
5. After installing all the required drivers and software, restart your computer.
Copyright © 2023 Microtek International, Inc. https://www.microtek.com
I49-005504 B, 08/2023
1
function to find your product by entering the keyword "S6570," and then
5
1
2
3
4
Advertisement
Table of Contents

Related Manuals for Microtek S6570


Summary of Contents for Microtek S6570
- Page 1 1. Visit the Microtek website at https://www.microtek.com. 2. Use the search function to find your product by entering the keyword “S6570,” and then navigate to the “Downloads” page dedicated to this product. 3. Download the necessary drivers and software marked as “Yes” on the download list, based on your operating system.
-
Page 2: Connect Scanner
Install Feed Tray 2. Push the tray down until it locks in place, 1. Insert the feed tray by sliding the tabs into and ensure that the tray sits tightly on the the slots at the back top of the scanner. scanner. - Page 3 Position Documents Paper feed tray extension board A/B 1. If necessary, pull out the paper feed tray extension board A/B and paper output tray extension board A/B to accommodate longer paper. If needed, lift up the paper stop board to ensure that the output papers stay neatly inside the tray.
-
Page 4: Basic Scanning
Basic Scanning 1. Load the single-sheet document to be scanned into scanner’s feed tray. 2. Launch the Microtek DocWizard EX application software by double-clicking the Microtek DocWizard EX Scanner icon on the desktop. 3. Go to Scan > Select device source. Select scanner driver from the window that appears, and then click OK. -
Page 5: Fixing Paper Jams
Fixing Paper Jams If paper jams or other abnormal situations occur during the usage process of the scanner, please release the paper jam using the following steps. 1. Remove the remaining documents on the Release button feed tray that have not been scanned yet. 2. -
Page 6: Led Indicator
Scanner Panel Split switch On the scanner panel, there is a power button and a feed mode toggle switch. The power button controls the scanner’s on/off and sleep modes. The feed mode toggle switch allows you to toggle between “split” and “non-split”... -
Page 7: Troubleshooting
Troubleshooting This section introduces recommended solutions for common problems. If the problems still cannot be solved after using the following methods, please contact customer service center of Microtek. Usage Category General category Problem 1: Scanner cannot be switched on Problem 1: The scanner cover is opened... - Page 8 1. S6570 scanner user’s manual 2. Microtek DocWizard EX software manual To access these manuals, visit the Microtek website at www.microtek.com. Search for the product keyword to find the product’s “Downloads” page. Then, download the manual you wish to view.
Need help?
Do you have a question about the S6570 and is the answer not in the manual?
Questions and answers