Table of Contents
Advertisement
Quick Links
TC-1465-IP
Rev. D, May 2022
http://www.commscope.com
1
About this manual
This installation instruction document describes the installation of the SRC100 (repair closure). The document starts
with providing an overview of the tools required to perform the installation. Also warnings and cautions are indicated,
which should be observed before starting the product installation.
Following installation steps are covered in this document: closure preparation, drop cable installation, routing and
splicing; closing the closure and mounting the closure.
Images in this manual are for reference only and are subject to change.
General product information
1.2
Dimensions
121.5 mm
4.8 inches
1.3
Cable diameter range
Position
Drop cable
1.4
Fiber type compatibility
Fiber Type
ITU-T G.652D
ITU-T G.657
Note:
* Gator application
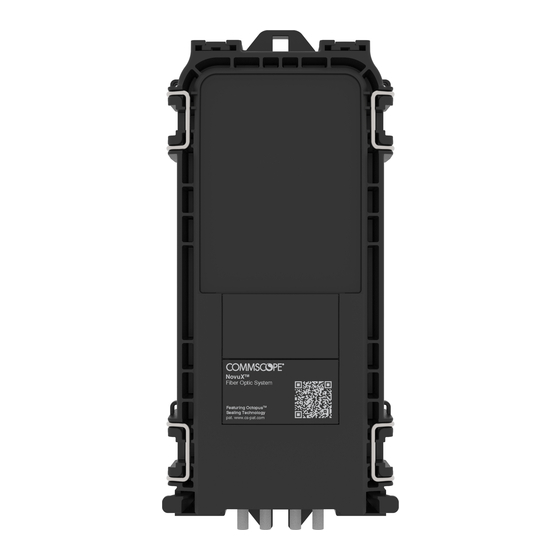
NOVUX™ Fiber Optic System
SRC100 - Splice Application
50 mm
2 inches
≤ 8 (flat cable: 8 x 4.5)
SRC100 - 12 Splices
SRC100 - 24 Splices
Yes*
Yes
© 2022 CommScope, Inc. All Rights Reserved
Installation Instructions
Cable diameter
mm
SRC100 - 48 Splices
N/A
Yes
page 1 / 11
inches
≤ 0.32 (flat cable: 0.32 x 0.18)
SRC100 -
Splice/Patch
N/A
Yes
N/A
Yes
Advertisement
Table of Contents

Related Manuals for CommScope NOVUX SRC100


Summary of Contents for CommScope NOVUX SRC100
-
Page 1: About This Manual
Fiber type compatibility SRC100 - Fiber Type SRC100 - 12 Splices SRC100 - 24 Splices SRC100 - 48 Splices Splice/Patch ITU-T G.652D Yes* ITU-T G.657 Note: * Gator application page 1 / 11 © 2022 CommScope, Inc. All Rights Reserved... -
Page 2: Table Of Contents
12.1 Using a security wire................. 10 6.2 Install the Octopus™ Gel Blocks..............5 Disclaimer..................11 Install drop cable................6 Contact information..............11 7.1 Using jacket strain relief................6 7.2 Prepare drop cable..................6 page 2 / 11 © 2022 CommScope, Inc. All Rights Reserved... -
Page 3: Abbreviations
• Fiber optic cables may be damaged if bent or curved to a radius that is less than the recommended minimum bend radius. Always observe the recommended bend radius limit when installing fiber optic cables, subunits and patch cords. page 3 / 11 © 2022 CommScope, Inc. All Rights Reserved... -
Page 4: Kit Contents
Open the closure To open the closure, open the 4 latches. Use a screwdriver to open the metal latch. Push the 2 levers to the inside and open the closure. page 4 / 11 © 2022 CommScope, Inc. All Rights Reserved... -
Page 5: Install The Octopus™ Gel Blocks
Install the Octopus gel block with the plastic support of the gel block down. Push on the gel block until it is ™ secured by the attachment points on the housing. page 5 / 11 © 2022 CommScope, Inc. All Rights Reserved... -
Page 6: Install Drop Cable
Tube Use the target line to indicate the transition zone from tube to fiber. Fiber Route the fiber. Attention: For the 48 splice configuration: cut all fibers to length! page 6 / 11 © 2022 CommScope, Inc. All Rights Reserved... -
Page 7: Splice Application
Splice application 12 splice configuration 24 splice configuration page 7 / 11 © 2022 CommScope, Inc. All Rights Reserved... -
Page 8: Splice Configuration
48 splice configuration Install the hinges Install the hinges at the cover. Install the cover with hinges at the closure base. Close the cover. page 8 / 11 © 2022 CommScope, Inc. All Rights Reserved... -
Page 9: Close The Closure
Use a screwdriver to close the metal latch. Close the 4 metal latches. Mount the closure 11.1 Wall- and Pole mounting with screws Note: Wall- and Pole mounting hardware not included. page 9 / 11 © 2022 CommScope, Inc. All Rights Reserved... -
Page 10: Pole Mounting With Straps
There are 4 locations to secure the closure with a security wire. Push the wire through the holes on the top and bottom cover and seal the wire per local practice. page 10 / 11 © 2022 CommScope, Inc. All Rights Reserved... -
Page 11: Disclaimer
This product may be covered by one or more U.S. patents or their foreign equivalents. For patents, see www.cs-pat.com. This document is not intended to modify or supplement any specifications or warranties relating to CommScope products or services.
Need help?
Do you have a question about the NOVUX SRC100 and is the answer not in the manual?
Questions and answers