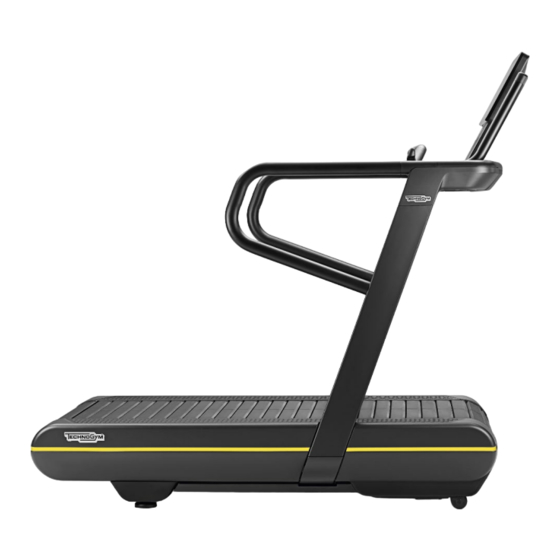
Summary of Contents for Technogym SKILLRUN-SK000055AA
- Page 1 SKILLRUN- SK000055AA REPLACEMENT OF THE WHEELS OF THE UP- DOWN CARRIAGE ASSEMBLY INSTRUCTION Line: SKILL Equipment Code: DJJ* Rev: 1.0 Date: 24-10-2019 Document Code:UAK-00141-EN...
-
Page 2: Table Of Contents
USEFUL INFORMATION ........................4 COMPONENTS TO BE ORDERED .................... 4 NECESSARY TOOLS........................5 PERSONAL PROTECTIVE EQUIPMENT ................... 5 PROCEDURE ............................6 Copyright® Technogym – all rights reserved – reproduction prohibited Date: 24-10-2019 - 2 - Uncontrolled copy if printed Doc. Code: UAK-00141-EN... -
Page 3: General Warnings
Signs applicable to the machines: ATTENTION: REGULATION THAT MAY LEAD TO DAMAGE TO THE MACHINE IF NOT COMPLIED WITH. Detail regarding the operation in progress. Copyright® Technogym – all rights reserved – reproduction prohibited Date: 24-10-2019 - 3 - Uncontrolled copy if printed... -
Page 4: Useful Information
COMPONENTS TO BE ORDERED Necessary components Component Q.ty Picture Pin (e) Spacer (f) Wheel (g) Ring nut (h) Table 1 Copyright® Technogym – all rights reserved – reproduction prohibited Date: 24-10-2019 - 4 - Uncontrolled copy if printed Doc. Code: UAK-00141-EN... -
Page 5: Necessary Tools
Tightening torque set to 44 Nm; Socket wrench for ring nut M15. PERSONAL PROTECTIVE EQUIPMENT Safety shoes; Protective gloves; Safety glasses. Copyright® Technogym – all rights reserved – reproduction prohibited Date: 24-10-2019 - 5 - Uncontrolled copy if printed Doc. Code: UAK-00141-EN... -
Page 6: Procedure
2. Turn on the equipment, bring it to a gradient and fit the two additional feet tightening them as shown in the SKILLRUN Technical Service Guide available on Technogym Direct. 3. Make the equipment descent until it rests on the front feet and turn off the equipment. - Page 7 6. Assemble, on both sides, the new components indicated in Table 1: pin [e], spacers [f], wheel [g], ring nut (M15) [h]. Then follow the instructions below: Figure 3 Copyright® Technogym – all rights reserved – reproduction prohibited Date: 24-10-2019 - 7 - Uncontrolled copy if printed Doc.
- Page 8 Turn the pin so that the shape of the hole in the bracket (shown in blue) coincides with that of the pin (shown in green). Figure 5 Copyright® Technogym – all rights reserved – reproduction prohibited Date: 24-10-2019 - 8 - Uncontrolled copy if printed Doc.
- Page 9 Screw the ring nut (TOOL: socket wrench for ring nut M15), then tighten it with a torque wrench (Tightening torque set to 44 Nm [32.45 lbf-ft]) in order to lock the pin on the carriage. Copyright® Technogym – all rights reserved – reproduction prohibited Date: 24-10-2019 - 9 - Uncontrolled copy if printed Doc.


Need help?
Do you have a question about the SKILLRUN-SK000055AA and is the answer not in the manual?
Questions and answers