Sign In
Upload
Download
Add to my manuals
Delete from my manuals
Share
URL of this page:
HTML Link:
Bookmark this page
Add
Manual will be automatically added to "My Manuals"
Print this page
×
Bookmark added
×
Added to my manuals
Manuals
Brands
Technogym Manuals
Treadmill
SKILL Series
Assembly manual
Technogym SKILL Series Assembly Manual
Hide thumbs
1
2
3
4
5
6
7
8
9
10
page
of
10
Go
/
10
Bookmarks
Advertisement
Quick Links
Download this manual
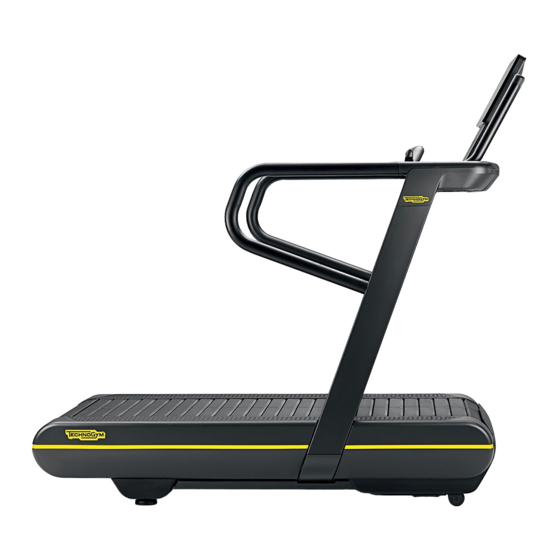
Technogym Skillrun
Assembly Manual (4 Pieces)
:
SKILL
line
:
djj
equipmenT code
: 6.0
rev
: 11-05-2022
daTe
: TSG-00051-en
documenT code
Technogym Skillrun Unity 5000 Assembly Directions
USE This Assembly Version when unit is 4 Pieces
Previous
Page
Next
Page
1
2
3
4
5
Advertisement
Need help?
Do you have a question about the SKILL Series and is the answer not in the manual?
Ask a question
Questions and answers
Related Manuals for Technogym SKILL Series
Treadmill Technogym Skillmill GO Technical Service Manual
(76 pages)
Treadmill Technogym Skillmill Technical Service Manual
(134 pages)
Treadmill Technogym SKILLRUN Series Manual
(33 pages)
Treadmill Technogym Skillrun Assembly Manual
(10 pages)
Treadmill Technogym SKILLRUN-SK000055AA Assembly Instruction Manual
Replacement of the wheels of the updown carriage (9 pages)
Treadmill Technogym Spazio Forma Service Maintenance Manual
(136 pages)
Treadmill Technogym Spazio Forma Manual
(76 pages)
Treadmill Technogym Run Forma User Manual
(35 pages)
Treadmill Technogym Jog Forma User Manual
(31 pages)
Treadmill Technogym Runrace Service Maintenance Manual
(184 pages)
Treadmill Technogym IN DCKN2BB User Manual
(23 pages)
Treadmill Technogym RUN 600 XTPRO Service Maintenance Manual
(158 pages)
Treadmill Technogym RUN PERSONAL Service Maintenance Manual
(156 pages)
Treadmill Technogym EXCITE Run 500 Service Maintenance Manual
D446 series; d448 series; d449 series (235 pages)
Treadmill Technogym Jog Now Excite+ 700 Service Maintenance Manual
Jog now excite+ series; rev. 5.1 (202 pages)
Treadmill Technogym Run MED Service Maintenance Manual
(150 pages)
This manual is also suitable for:
Skillrun
Print
Rename the bookmark
Delete bookmark?
Delete from my manuals?
Login
Sign In
OR
Sign in with Facebook
Sign in with Google
Upload manual
Upload from disk
Upload from URL


Need help?
Do you have a question about the SKILL Series and is the answer not in the manual?
Questions and answers