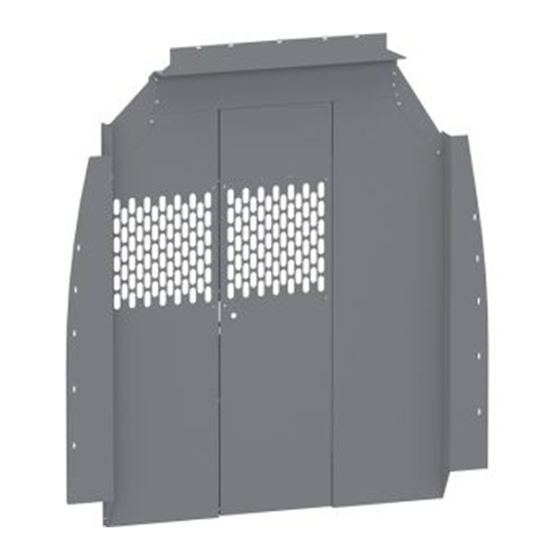
Summary of Contents for Holman 40669SH
- Page 1 Instruction Guide 40669SH Holman Rancho Cordova, CA 95742 800-343-7486 InstallationSupport@Holman.com 20230613R5 DATE: ________________...
-
Page 2: Table Of Contents
Step 10 – Install Partition to Sill Plate ....................8 Before You Begin READ ALL INSTRUCTIONS prior to installing any Holman product. Be sure partition (40660, 40661, 40662, or 40665) is assembled and ready to be installed. Plus Nut Installation Kit (P9902) does not come included and must be purchased separately. -
Page 3: Parts List
Instructions – 40669SH Parts List Hardware For Technical Support Call: 800-343-7486, Monday-Friday, 7AM - 4 PM (PST) Page 2... -
Page 4: Step 1 - "B" Pillar Removal And Modification
Instructions – 40669SH Hardware (Continued) Step 1 – “B” Pillar Removal and modification. The factory “B” Pillar cover must be cut to gain access to the mounting locations used for the side wings. Remove the coat hook cover and use a T27 socket to remove coat hook. -
Page 5: Step 3 - Attach Top Panel
Instructions – 40669SH Step 3 – Attach Top Panel Using six 1/4” x 5/8” flanged bolts and 1/4” flanged locknuts, bolt top panel to partition. Snug tighten but allow for movement. Be sure top flange is towards front of partition. -
Page 6: Step 5 - Attach Passenger Side Corner Panel
Instructions – 40669SH Step 5 – Attach Passenger Side Corner Panel Using 1/4” x 5/8” flanged bolts and 1/4” flanged lock nuts, bolt passenger-side PS corner panel to partition and top panel. Snug tighten but allow for movement. -
Page 7: Step 7 - Installing Plus Nuts
Instructions – 40669SH Step 7 – Installing Plus Nuts Press the assembled partition so that wings are firmly against each “B” pillar and so that the top wing is squarely against and across the roof support of the van. -
Page 8: Step 8 - Installing Partition To Roof Cross Brace
Instructions – 40669SH Step 8 – Installing Partition to Roof Cross Brace Place partition with wings back into van, in position, with holes aligned with installed plus nuts. Bolt top of partition to roof cross brace using five 1/4” x 1-1/4” hex head bolts, 1/4” lock washers and 1/4"... -
Page 9: Step 10 - Install Partition To Sill Plate
Instructions – 40669SH Step 10 – Install Partition to Sill Plate Using four 1/4” x 1/2” hex head bolts, four 1/4” lock washer, and four 1/4” washers, bolt through the partition panels into the sill plate. Snug tighten but allow for movement.


Need help?
Do you have a question about the 40669SH and is the answer not in the manual?
Questions and answers