
Subscribe to Our Youtube Channel
Related Manuals for NIMO Easy Dryer 1900


Summary of Contents for NIMO Easy Dryer 1900
- Page 1 Easy Dryer 1900 427001390 Keep this manual so that it will always be on hand for future reference. Drying cabinet Service manual...
- Page 2 Identification plate (inside) Name of the drying cabinet Article number Serial number (8 digits) / Nimo ID no. (5 digits) Manufacturer: NIMO-VERKEN AB We reserve the right to make alterations. Box 288 Printed on environmentally friendly paper 542 23 Mariestad meeting the requirements of Friends of the info@nimoverken.com...
-
Page 3: Table Of Contents
Contents 1 Description of the drying cabinet 4 2 Evacuation / Supply air Easy Dryer 1900 3 Control panel Easy Dryer 4 Rehanging of door 5 Wiring diagram Manual 6 Fan unit Replacement of fan unit Fan unit, EasyDryer 7 Accessories... -
Page 4: Description Of The Drying Cabinet
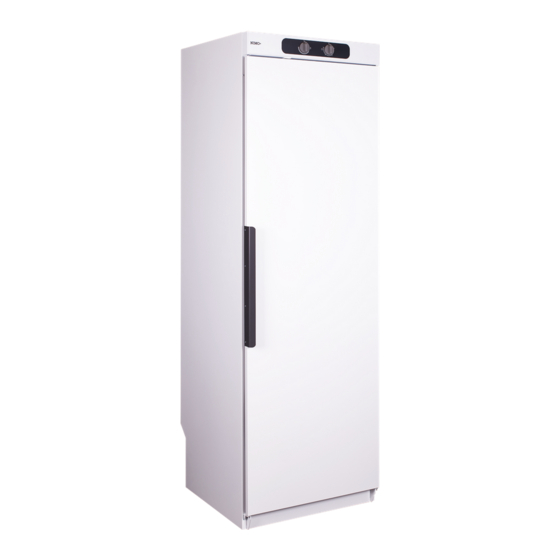
1 Description of the drying cabinet Easy Dryer 1900, where the cabinet is controlled by The drying cabinet operates with hot air that removes moisture from the laundry. The heating and fan com- two knobs, one for setting power modes and the other ponents are combined in the Fan unit in the top part for adjusting drying time. -
Page 5: Evacuation / Supply Air
2 Evacuation / Supply air 2.1 Easy Dryer 1900 Moist air outlet Hole for power cord Air intake... -
Page 6: Control Panel Easy Dryer
Control panel Easy Dryer HEAT DRYING TIME The cabinet is equipped with two knobs for setting dif- The right-hand knob regulates drying time steplessly ferent power modes. up to six hours. The left-hand knob regulates heat with power modes on a stepless scale. -
Page 7: Rehanging Of Door
Rehanging of door Detach the hinge pin at the upper hinge (2) and The door may be right-hung or left-hung. install it on the opposite side. The pin has a slot for Lay the drying cabinet down on its side. a screwdriver. -
Page 8: Wiring Diagram
Wiring diagram 5.1 Manual... -
Page 9: Fan Unit
Fan unit The heating and fan components are combined in the fan unit at the top of the drying cabinet. 6.1 Replacement of fan unit Disconnect the power supply to the cabinet. Open the door and pull out upper hanger section. Detach five lock screws sitting in the roof of the drying cabinet. -
Page 10: Fan Unit, Easydryer
6.2 Fan unit, EasyDryer Timer Main switch Heat adjustment Heating element Door switch Motor and fan Locking screws for cover... -
Page 11: Accessories
Accessories Accessory Quantity per kit Location Door hangers Glove hangers Screw x16 Clothes hanger rack Shoe rack Bottom tray... -
Page 12: Breakdowns
Breakdowns Overheat cut-out: The cabinet is equipped with an overheat cut-out. This trips when the temperature in the fan unit exceeds 120 °C. Easy Dryer When the overheat cut-out has tripped, the cabinet is closed and the timer stops for example at 2 hours with the laundry wet. -
Page 13: Troubleshooting
Troubleshooting 9.1 Easy Dryer Questions Action The drying cabinet is not 1. Check the mains connection and that power is supplied. working. 2. Check that no fuse has tripped. 3. Is the door closed? 4. Check the toggle switch (on/off switch) in the roof. See page 21. Drying takes a long time. -
Page 14: Dimensional Drawing
10 Dimensional drawing Easy Dryer 1900 1674...
Need help?
Do you have a question about the Easy Dryer 1900 and is the answer not in the manual?
Questions and answers