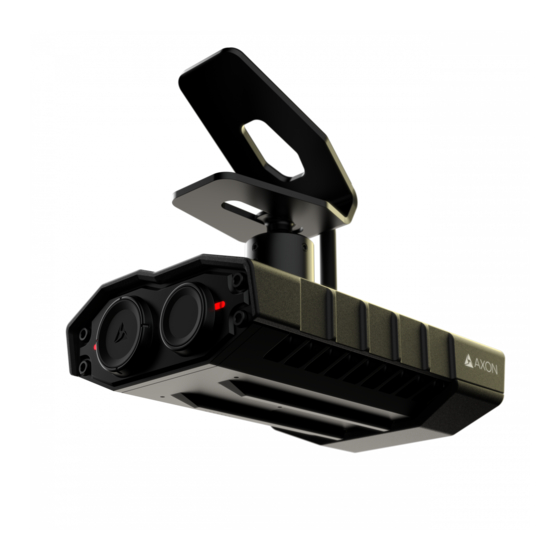
Axon Fleet 3 User Manual
Multi camera
Hide thumbs
Also See for Fleet 3:
- User manual ,
- Installation manual (47 pages) ,
- Installation & user manual (28 pages)
Table of Contents
Advertisement
Quick Links
Advertisement
Table of Contents

Summary of Contents for Axon Fleet 3
- Page 1 Axon Fleet 3 Multi Camera User Manual Document Revision: A January 2023...
- Page 2 Axon Fleet 3 Wireless Microphone Installation and User Manual Axon, Axon Fleet 3, Axon RapidLock, Axon View XL, Axon Evidence, and Evidence Sync are trademarks of Axon Enterprise, Inc., some of which are registered in the US and other countries. For more information, visit www.axon.com/legal.
-
Page 3: Table Of Contents
Axon Fleet 3 Dual-view camera ......................4 Axon Fleet 3 Interior camera ........................ 4 Axon Evidence Setup ..........................5 Configuring Axon Signal Activation by Mount Position in Axon Evidence ........... 9 In-Vehicle Experience ..........................10 Evidence Capture ............................10 Camera View - Fullscreen ..........................11 Evidence Grouping and Review ........................ -
Page 4: Introduction
Installation and User Manual Introduction Axon Fleet 3 supports up to (1) Dual-view camera and up to (4) Interior cameras that may be mounted throughout the vehicle to capture different vantage points for evidence capture. The Fleet 3 standard hardware kit includes (1) Dual-view camera and (1) Interior camera. -
Page 5: Axon Evidence Setup
Connecting cameras to the Hub associates the hardware with your agency and the Hub device. To configure additional cameras for the Axon Fleet 3 system, simply plug the Interior cameras into the Hub. Upon booting up, the Hub will detect the additional cameras and automatically register them to your agency. - Page 6 Axon Fleet 3 Wireless Microphone Installation and User Manual Within the camera details page, you can edit key configurations including: 1. Mount Position 2. Video Resolution 3. Camera Orientation 4. Infrared illuminator behavior Axon Enterprise, Inc. Page 6 of 12...
- Page 7 Axon Fleet 3 Wireless Microphone Installation and User Manual Mount Position Editing the Mount Position allows selection from a drop-down list of options: 1. Interior 2. Rear 3. Left 4. Right 5. Center 6. Pod 1 7. Pod 2 8. Pod 3 9.
- Page 8 Note: If no individual resolution is set, the camera’s resolution will default to the resolution chosen on the Admin > Fleet 3 page for the agency. If an individual resolution is set on a camera, that will override the global agency resolution configuration for that camera.
-
Page 9: Configuring Axon Signal Activation By Mount Position In Axon Evidence
Configuring Axon Signal Activation by Mount Position in Axon Evidence To configure Axon Signal 12V activation by camera mount position, navigate to the Fleet 3 Hub Signal Settings page and select the desired cameras to activate by 12V trigger under the Cameras dropdown menu and click the Save button. -
Page 10: In-Vehicle Experience
If at least one (but not all) Interior cameras are recording, the Secondary Dual-view camera button will activate recording on the remainder of the Interior cameras. • Record All Button Settings through Axon Fleet Dashboard: If all connected cameras are buffering, the Record All button will activate recording on all cameras... -
Page 11: Camera View - Fullscreen
Axon Fleet 3 Wireless Microphone Installation and User Manual Camera Vie w - Fullscreen The user can enter full screen on any of the connected cameras by selecting the full screen icon on top right of the individual camera view. - Page 12 Axon Fleet 3 Wireless Microphone Installation and User Manual Device Settings • Each connected camera will show configuration for LEDs and/or sound emitted from the camera. Axon Enterprise, Inc. Page 12 of 12...


Need help?
Do you have a question about the Fleet 3 and is the answer not in the manual?
Questions and answers