
Related Manuals for NCR VOYIX 7371-K002


Summary of Contents for NCR VOYIX 7371-K002
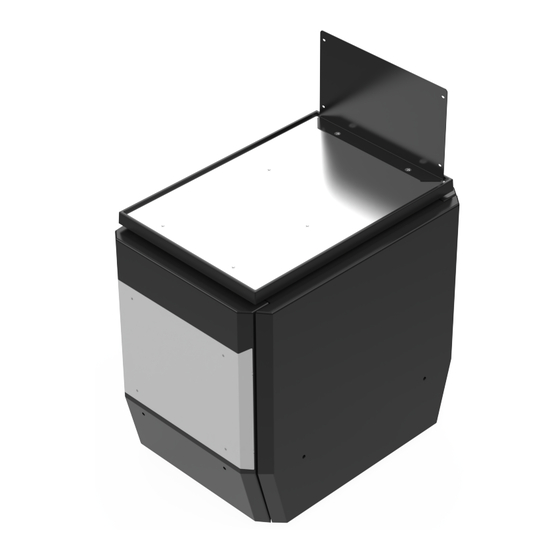
- Page 1 Kit Instructions 1 Bagwell (No Scale) 7371-K002 Issue A Confidential and proprietary information of NCR Voyix Corporation. Unauthorized use, reproduction and/or distribution is strictly prohibited...
- Page 2 NCR, therefore, reserves the right to change specifications without prior notice. All features, functions, and operations described herein may not be marketed by NCR in all parts of the world. In some instances, photographs are of equipment prototypes. Therefore, before using this document, consult with your NCR representative or NCR office for information that is applicable and current.
-
Page 3: Revision Record
Revision Record Issue Date Remarks Oct 2023 First issue. Confidential and proprietary information of NCR Voyix Corporation. Unauthorized use, reproduction and/or distribution is strictly prohibited. - Page 4 Spacer is installed prior to the Bagwell installation. To install the Bagwell Spacer, refer to the 7372-K001 Bagwell Spacer (Card Only) Kit Instructions. The NCR Self-Checkout units with a Bagging Area (Bagwell) Module can be configured for either Left-hand (LH) orientation or Right-hand (RH) orientation, which refers to the direction customers scan and bag items.
-
Page 5: Kit Contents
Kit Contents Confidential and proprietary information of NCR Voyix Corporation. Unauthorized use, reproduction and/or distribution is strictly prohibited. - Page 6 497-0534674 Bagwell, Scale Pod, Bracket (2 Pcs) 497-0534566 Assembly, Bagwell Fascia End 497-0534479 Spacer, No Scale (4 Pcs) 009-0006598 Screws M6 X 20 (12 Pcs) Confidential and proprietary information of NCR Voyix Corporation. Unauthorized use, reproduction and/or distribution is strictly prohibited.
- Page 7 006-8628550 Screw - Torx Pan Head Thread-Forming, #10 X 1.5" Long (12 Pcs) 006-8628641 Metric Machine Screw, Hex Head, M6 X 50 mm (4 pcs) Confidential and proprietary information of NCR Voyix Corporation. Unauthorized use, reproduction and/or distribution is strictly prohibited.
- Page 8 Zinc-Plated Steel Split Lock Washer - M6 (32 Pcs) 497-0423108 Instructions Kit (Reference Sheet) * Items marked with an asterisk are not called out on the image. Confidential and proprietary information of NCR Voyix Corporation. Unauthorized use, reproduction and/or distribution is strictly prohibited.
-
Page 9: Installation Procedures
Installing Bagwell: 7372 Card Only Self-Checkout 4. Install the Bagwell Panels (Front and Back). For more information, refer to Installing the Bagwell Panels (Front and Back). Confidential and proprietary information of NCR Voyix Corporation. Unauthorized use, reproduction and/or distribution is strictly prohibited. - Page 10 5. Attach the Backsplash to the Scale Tray using two (2) screws. 6. Place the Scale Tray with Backsplash on the Bagwell. Confidential and proprietary information of NCR Voyix Corporation. Unauthorized use, reproduction and/or distribution is strictly prohibited.
- Page 11 7. For the 7372 Card Only Self-Checkout (Pedestal) unit, install a Hole Plug in the area of the End Panel that is not covered by the Pedestal Cabinet, as shown in the image below. Confidential and proprietary information of NCR Voyix Corporation. Unauthorized use, reproduction and/or distribution is strictly prohibited.
- Page 12 1. Remove four (4) wing nuts from inside the Bagwell to detach the Front and Back Panels, as shown in the image below. Each panel has two (2) wing nuts. Confidential and proprietary information of NCR Voyix Corporation. Unauthorized use, reproduction and/or distribution is strictly prohibited.
- Page 13 2. Pull to unclip the Front and Back Panels from the Bagwell Frame. Confidential and proprietary information of NCR Voyix Corporation. Unauthorized use, reproduction and/or distribution is strictly prohibited.
- Page 14 Installing Bagwell: 7371 NCR Self-Checkout To install the 7371-K002 1 Bagwell (No Scale) to the 7371 NCR Self-Checkout unit, follow these steps: 1. If installed, remove the Hole Plug from the side of the Core Cabinet where the Bagwell will be installed. Confidential and proprietary information of NCR Voyix Corporation.
- Page 15 2. Partially insert and thread four (4) screws on the Bagwell-side of the Core Cabinet, as shown in the image below. Leave approximately ¼ inch of threads exposed. Confidential and proprietary information of NCR Voyix Corporation. Unauthorized use, reproduction and/or distribution is strictly prohibited.
- Page 16 3. Align the holes on the End Panel of the Bagwell with the four (4) screws on the side of the Core Cabinet. Note When necessary, adjust the leveling feet to assist in lining up the Core Cabinet and Bagwell mounting holes. Confidential and proprietary information of NCR Voyix Corporation. Unauthorized use, reproduction and/or distribution is strictly prohibited.
- Page 17 Ensure that the Bagwell does not wobble or rock by placing your hands and exerting moderate pressure on various parts of the Bagwell. Adjust the Leveling Feet, if necessary. Confidential and proprietary information of NCR Voyix Corporation. Unauthorized use, reproduction and/or distribution is strictly prohibited.
- Page 18 K001 Bagwell Spacer (Card Only) Kit Instructions. 2. Partially insert and thread two (2) screws on the Bagwell Spacer, as shown in the image below. Leave approximately ¼ inch of threads exposed. Confidential and proprietary information of NCR Voyix Corporation. Unauthorized use, reproduction and/or distribution is strictly prohibited.
- Page 19 3. Move the Bagwell beside the Pedestal Cabinet. Note When necessary, adjust the leveling feet to assist in lining up the Bagwell Spacer and Bagwell mounting holes. Confidential and proprietary information of NCR Voyix Corporation. Unauthorized use, reproduction and/or distribution is strictly prohibited.
- Page 20 4. Ensure that the hole on the Base Plate and Bagwell Stabilizer are aligned. 5. Slightly lift the Bagwell up and over the partially threaded screws on the Bagwell Spacer. Confidential and proprietary information of NCR Voyix Corporation. Unauthorized use, reproduction and/or distribution is strictly prohibited.
- Page 21 Ensure that the Bagwell does not wobble or rock by placing your hands and exerting moderate pressure on various parts of the Bagwell. Adjust the Leveling Feet, if necessary. Confidential and proprietary information of NCR Voyix Corporation. Unauthorized use, reproduction and/or distribution is strictly prohibited.
- Page 22 7. Place the Bottom Shelf inside the Bagwell, as shown in the image below. Confidential and proprietary information of NCR Voyix Corporation. Unauthorized use, reproduction and/or distribution is strictly prohibited.
- Page 23 1. Push the Front and Back Panels onto the Bagwell Frame until each panel clicks and locks into place. Note The Front and Back Panels of the Bagwell must be installed after the End Panel. Confidential and proprietary information of NCR Voyix Corporation. Unauthorized use, reproduction and/or distribution is strictly prohibited.
- Page 24 2. Secure each Panel to the Bagwell Frame using two (2) wing nuts from inside the Bagwell, as shown in the image below. Confidential and proprietary information of NCR Voyix Corporation. Unauthorized use, reproduction and/or distribution is strictly prohibited.
Need help?
Do you have a question about the VOYIX 7371-K002 and is the answer not in the manual?
Questions and answers