
Related Manuals for KODU UH10879


Summary of Contents for KODU UH10879
- Page 1 COFFEE TABLE WITH DOOR ASSEMBLY INSTRUCTIONS AFTER SALES SUPPORT ASSEMBLY INSTRUCTIONS 1300 777 137 UH10879 UH11081...
- Page 2 Please do not drag and pull your furniture. ASSEMBLY REQUIREMENTS Equipment: phillips head screwdriver, flat head screwdriver 1 x adults required 1m x 1.5m assembly space required 1 hour assembly time approx. 2 of 17 AFTER SALES SUPPORT ASSEMBLY INSTRUCTIONS 1300 777 137 UH10879 UH11081...
- Page 3 Quickfit head should be in the centre of the cam lock when the two panels are joined. Turn cam lock clockwise to tighten. Cam lock should be inserted before quickfit. 3 of 17 AFTER SALES SUPPORT ASSEMBLY INSTRUCTIONS 1300 777 137 UH10879 UH11081...
-
Page 4: Hardware List
1 x I Screw Rebar Bolt Bolt 1 x J 1 x K 2 x L Handle Bracket Screw 6 x M 1 x O Screw Allen Key 4 of 17 AFTER SALES SUPPORT ASSEMBLY INSTRUCTIONS 1300 777 137 UH10879 UH11081... -
Page 5: Parts List
PARTS LIST 1 PC 1 PC 1 PC 1 PC 1 PC 3 PCS 1 PC 1 PC 1 PC 1 PC 1 PC 1 PC 1 PC 5 of 17 AFTER SALES SUPPORT ASSEMBLY INSTRUCTIONS 1300 777 137 UH10879 UH11081... - Page 6 Insert quickfit screws (A) to part 1. A x 6 Fix magnet (F) to part 1 using screws (E), as shown. E x 2 F x 1 6 of 17 AFTER SALES SUPPORT ASSEMBLY INSTRUCTIONS 1300 777 137 UH10879 UH11081...
- Page 7 Insert wooden dowels (C) and cam locks (B) to parts 2, 3, 4 and 5. B x 6 Attach part 1 to parts 2, 3, 4 and 5. Turn cam locks clockwise to tighten. C x 6 7 of 17 AFTER SALES SUPPORT ASSEMBLY INSTRUCTIONS 1300 777 137 UH10879 UH11081...
- Page 8 ASSEMBLY INSTRUCTIONS STEP 3 Insert rebar bolt (H) to part 1, as shown. H x 1 8 of 17 AFTER SALES SUPPORT ASSEMBLY INSTRUCTIONS 1300 777 137 UH10879 UH11081...
- Page 9 ASSEMBLY INSTRUCTIONS STEP 4 Insert parts 6 into groove on part 1, as shown. 9 of 17 AFTER SALES SUPPORT ASSEMBLY INSTRUCTIONS 1300 777 137 UH10879 UH11081...
- Page 10 ASSEMBLY INSTRUCTIONS STEP 5 Fix part 9 to parts 7 and 8 using screws (D), as shown. D x 4 10 of 17 AFTER SALES SUPPORT ASSEMBLY INSTRUCTIONS 1300 777 137 UH10879 UH11081...
- Page 11 Fix part 10 to parts 7 and 8 using screws (M). D x 2 Fix part 11 to parts 7 and 8 using screws (D), as shown. M x 6 11 of 17 AFTER SALES SUPPORT ASSEMBLY INSTRUCTIONS 1300 777 137 UH10879 UH11081...
- Page 12 ASSEMBLY INSTRUCTIONS STEP 7 Fix part 12 to assembled unit using screws (G), as shown. G x 10 12 of 17 AFTER SALES SUPPORT ASSEMBLY INSTRUCTIONS 1300 777 137 UH10879 UH11081...
- Page 13 ASSEMBLY INSTRUCTIONS STEP 8 Fix handle (J) to part 11 using screws (D), as shown. D x 2 J x 1 13 of 17 AFTER SALES SUPPORT ASSEMBLY INSTRUCTIONS 1300 777 137 UH10879 UH11081...
- Page 14 ASSEMBLY INSTRUCTIONS STEP 9 Attach bracket (K) to part 7 using screws (L), as shown. K x 1 L x 2 14 of 17 AFTER SALES SUPPORT ASSEMBLY INSTRUCTIONS 1300 777 137 UH10879 UH11081...
- Page 15 ASSEMBLY INSTRUCTIONS STEP 10 Insert part 10 to rebar bolt (H), as shown. 15 of 17 AFTER SALES SUPPORT ASSEMBLY INSTRUCTIONS 1300 777 137 UH10879 UH11081...
- Page 16 Fix part 13 to parts 2, 3, 4 and 5 using screws (D). Secure part 13 and rebar bolt (H) using bolt (I) tighten with allen key (O), as shown. I x 12 O x 1 C x 6 16 of 17 AFTER SALES SUPPORT ASSEMBLY INSTRUCTIONS 1300 777 137 UH10879 UH11081...
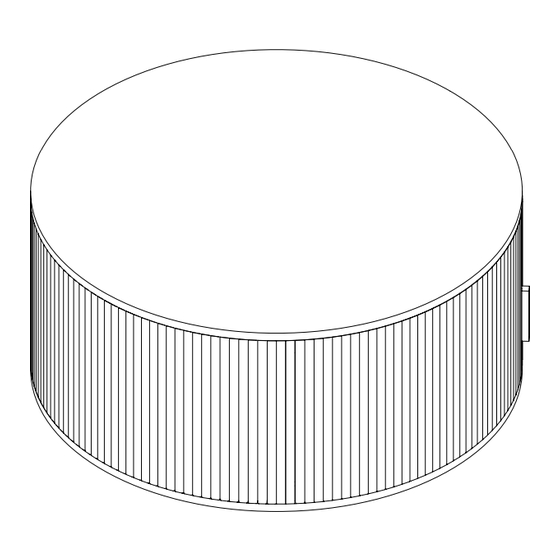
- Page 17 ASSEMBLY INSTRUCTIONS STEP 12 Maximum recommended weight is 20 kg on top, 10 kg inside storage. Your coffee table is ready for use. 17 of 17 AFTER SALES SUPPORT ASSEMBLY INSTRUCTIONS 1300 777 137 UH10879 UH11081...
Need help?
Do you have a question about the UH10879 and is the answer not in the manual?
Questions and answers