Table of Contents
Advertisement
Quick Links
Advertisement
Table of Contents

Related Manuals for Neuation iFUGE C4000 NXT


Summary of Contents for Neuation iFUGE C4000 NXT
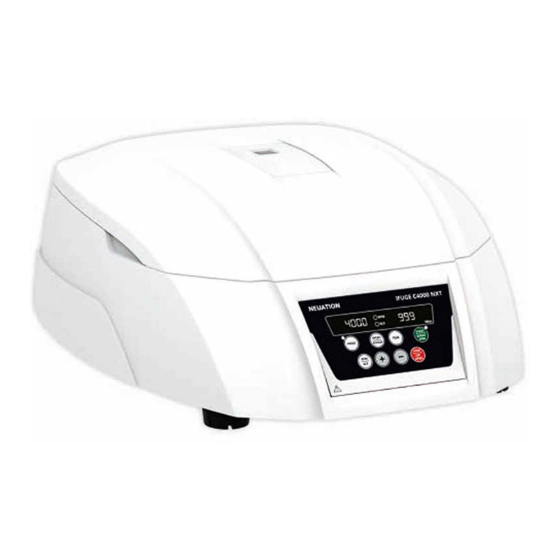
- Page 1 NEUATION iFUGE C4000 NXT PRODUCT USER MANUAL...
-
Page 2: Table Of Contents
TABLE OF CONTENTS Introduction Intended Use Symbol Features Technical Specification Standard Accessories Safety Precaution Installation Standard Parts Listing 10. User Interface & Display 11. Rotor Installation 12. Balancing the Rotor 13. Operating the Centrifuge 14. Rotor Compatibility 15. Maintenance and Cleaning 16. -
Page 3: Symbol
■ 1. lNTRODUCTION This is a microprocessor controlled next generation digital Clinical Centrifuge. This centrlfuge ls deslgned for the separatlon and preparation of samples In various applicatlons including ln-vitro diagnostic. This product ls equipped with maintenance Brushless DC motor drive and safety feature of lmbalance detection. lt comes free with 3 different types of rotors (swing and fix) making lt cornpatlble with different types of standard sample collection tu bes. -
Page 4: Standard Accessories
5. TECHNICAL SPECIFICATION Dimension ( W x D x H) 381 x 480 x 185 ( mm) Weight of the equipment 8.2 kg {without rotor) Permissible Temp. 5-40'C Permissible Relative Humidity S80% Use upto an altltude of 2000 m above MSL Altitude Pollution Degree For indoor use only... - Page 5 7. SAFETY PRECAUTIONS Never use the centrifuge in any manner not specified in this manual. • Equipment used in any manner not speclfied In this manual or by the manufacturer can result in the Japse of warranty. • Never move the centrlfuge du ring lts operatlon. •...
- Page 6 7. SAFETY PRECAUTIONS For safety we have provided protective earthing with power supply. Make sure power supply is earthened. In the event of contamlnatlon caused by aggressive agents, the rotor must be cleaned immediately uslng a natural cleanlng liquid. lt any kind of damage is seen klndly contact the servlce technlclan.
-
Page 7: Installation
8. INSTALLATION centrifuge stands on the surface flrmly. Avold lnstalllng on a sllppery surface or surface prone to vibration. 1. Ideal amblent temperature ls 2o•c ± s•c; avold placing the centrifuge in direct sunlight. 2. Keep clearance of at least 20 cm on both sides and at least 20 cm behind lt to guarantee the coollng efficiency. - Page 8 9.STANOARO PARTSLISTING .,_ ____________ .., Front View RearView 4. Power Switch 1. View Window 2. Groove to open the lid 5. Adapter Port 3. Operation and setting Buttons �--- Rubber Mount/ Base Mount BottomView 10. USER JNTERFACE & DISPLAY...
-
Page 9: User Interface & Display
10. USER INTERFACE & DISPLAY Name ltem F unction START/ Short press "START" to start the operation ofCentrifuge. SHORTSPIN long press "START/SHORT SPIN & hold this button after START/ setting required speed to run centrifuge for short time, SHORTSPIN Press this button to stop the ongoing operation. Lid opens STOP/ automatically, after rotorcomes to a stop. -
Page 10: Rotor Installation
11. ROTOR INSTALLATION _____________ __. Rotor Nut Rotor----�1"'<� Tubes ----,#'-=t=::::: Motor Shaft 12. BALANCING TH. E ROTOR 1. Always balance the rotor before beginning the operation. Followlng are the process of symmetrical loading of centrifuge tu bes in the rotor. 2. -
Page 11: Balancing The Rotor
12. BALANCING THE ROTOR Err 55 will be seen indicating tubes are not loaded symmetrically. To resume operation, load tu bes symmetrically & restartthe centrifuge. 5. This same process is to be followed in case of 8 tu bes rotor or 16 tu bes rotor. 6. -
Page 12: Operating The Centrifuge
13. OPERATING THE CENTRIFUGE 13.2 SETTING SPEED AND TIME After closlng the centrlfuge lid, follow the below mentlon procedure to set the parameters: 13.2.1 SETTING TIME The time in the displaywiß show in minutes. The timer set for operation is in between lmin to999mins and Infinite . - Page 13 13. OPERATING THE CENTRIFUGE Thls feature can be actlvated upon long press of "START/SHORT SPIN" button. After releasing short spin button the time in the display will show duration of short spin. 13.6 PROGRAM MODE Program mode operation is the feature which allows user to save 99 programs which can have different speed and time parameters.
-
Page 14: Rotor Compatibility
13. OPERATING THE CENTRIFUGE 13.8 IMBALANCE OETECTION The centrlfuge Is equlpped with an lmbalance detection safety feature. When the roter is not loaded symmetrlcally, the lmbalance detector gets activated and will cut off the centrifugation. The error "Err SS" will be shown on the display. First correct the imbalance load uslng method described In the balanclng the roter section (page no. -
Page 15: Troubleshooting
16. TROUBLESHOOTING This centrifuge has a self-diagnostic function. lf a problem occurs, an error/waming code will be displayed on the display screen and the operator can determine the malfunctlon wlth the warn Ins code below. ERROR PROBLEM SOLUTION Check power & properly plugin No main power connec.1 power adapta<... -
Page 16: Product Disposal
17. WARRANTY STATEMENT This warranty is valid only lf the product is used for its intended purpose and within the guidelines specified in this instructlon manual. This warranty does not cover damage caused by accident, neglect, misuse, improper service, natural forces or other causes not arising from defects In original material or workmanship. - Page 17 18. PRODUCT DISPOSAL COmmunity The disposal of electrlcal devices i , s regulated within the European Comrnunity by national regulations based on EU Oirective 2012/19/EU on waste electrical and electronlc equfpment (WEEE). Accordlng to these regulatfon_s, any devlces supplled after 13, . 06.05 in the buslness to business sphere, to which this product lS assigned, may no longer be disposed off in munici pal or domestic waste, They are marked with thefollowing symbol to indlcate this.
- Page 18 Accumax Lab Devices Private limited Plot N-o . 15, 16 & 32 GJOC Elec-tronic Park SEZ, Seetor 26, Gtndh l nagar, Gujarat. lndla • 382026, Website: www..neuation.com...
Need help?
Do you have a question about the iFUGE C4000 NXT and is the answer not in the manual?
Questions and answers