Epilog Laser Fusion Pro 32 Manual
Hide thumbs
Also See for Fusion Pro 32:
- Assembly replacement (22 pages) ,
- Manual (9 pages) ,
- Original instructions manual (242 pages)
Advertisement
Quick Links
X-Axis Air Assist (AA) Tubing Replacement
Parts Required
•
LC0643 - Tubing, Air, Vinyl, 5/16"OD x 3/16"ID
•
Pro 48 - 6'
•
Pro 32 - 4.5'
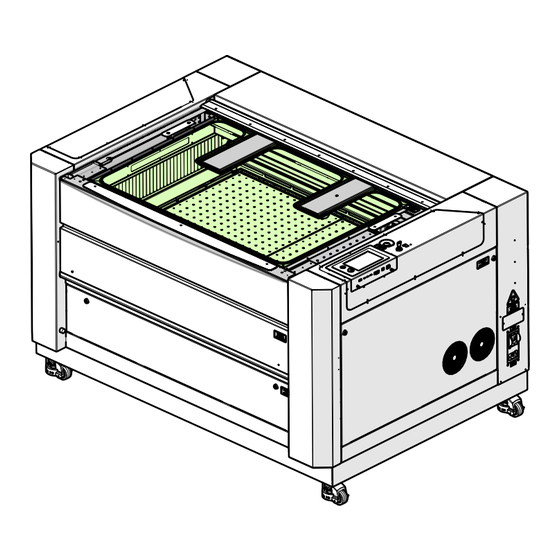
Fusion Pro 32 & 48
•
5/32" Allen Wrench
•
T7 Torx Driver
•
Wire Cutters
•
Cable Ties
www.epiloglaser.com
tech@epiloglaser.com
Tools/Materials Required
303-215-9171
.
07/2023
Advertisement

Related Manuals for Epilog Laser Fusion Pro 32


Summary of Contents for Epilog Laser Fusion Pro 32
- Page 1 303-215-9171 X-Axis Air Assist (AA) Tubing Replacement Fusion Pro 32 & 48 Parts Required Tools/Materials Required • LC0643 - Tubing, Air, Vinyl, 5/16”OD x 3/16”ID • 5/32” Allen Wrench • Pro 48 - 6’ • T7 Torx Driver • Pro 32 - 4.5’...
- Page 2 16000 - X-Axis AA Tubing Replacement X-Axis Air Assist (AA) 6. Disconnect the AA tubing from the connector on the carriage assembly: Tubing Replacement X-Axis AA Tubing Removal 1. Turn off the engraver. 2. Disconnect engraver from power source. 3. Remove the right panel of the engraver.
- Page 3 16000 - X-Axis AA Tubing Replacement 9. Pull the cable track to the left side of X-Axis AA Tubing Installation the machine to straighten it. This will make removing the AA tubing easier. 1. Connect the AA tubing to the elbow connector at right side of the x-axis 10.
- Page 4 8. Replace the right panel of the engraver. 5. Connect the AA tubing to the If further assistance is required, contact connector on the carriage assembly: Epilog Laser Technical Support by phone at 303-215-9171, or by email at tech@epiloglaser.com. 6. Install the carriage cover:...
Need help?
Do you have a question about the Fusion Pro 32 and is the answer not in the manual?
Questions and answers