
Related Manuals for Leitner ACS ROOF GEARPOD roof


Summary of Contents for Leitner ACS ROOF GEARPOD roof
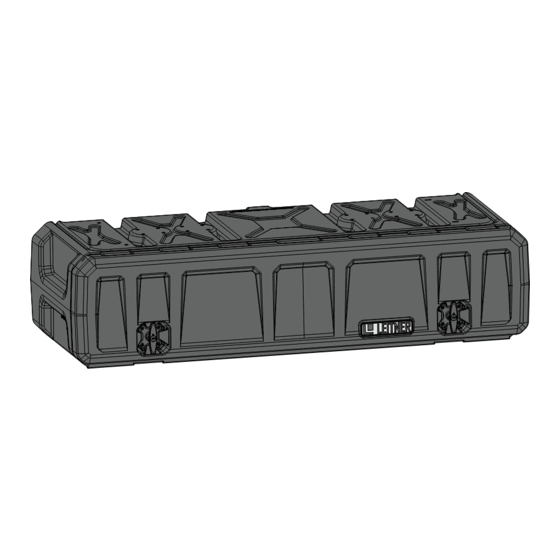
- Page 1 GEARPOD roof LEITNERDESIGNS.COM | SALES@LEITNERDESIGNS.COM | 949-395-3049 V1 | Page 1...
-
Page 2: Assembly / Installation Instructions
ASSEMBLY / INSTALLATION INSTRUCTIONS: PART NUMBER: 00-GPRA-1578 TOOLS REQUIRED INSTALLATION TIME 25-30 minutes Basic knowledge of hand tools required • t40 torx SKILL LEVEL 2= novice ▼ hardware ▼ m8 x 14 traklok nut (x8) (x8) LEITNERDESIGNS.COM | SALES@LEITNERDESIGNS.COM | 949-395-3049 V1 | Page 2... -
Page 3: Read Before Installing
▼ READ BEFORE INSTALLING ▼ 1. Don’t over-tighten bolts. All 8mm bolts = (16ft-lb) 2. Take your time to do it right, ▼ ASSEMBLY OVERVIEW ▼ mounting plate V1 | Page 3... - Page 4 remove mounting brackets from pod • open the gear pod and undo the latches for the mounting plate. (located on the left and right bottom of the pod) You will need to push the safety retainer forward with your thumb to get it to unlatch. REMOve mounting plates for next step . detail A V1 | Page 4...
-
Page 5: Install Fasteners
ASSEMBLE bracket INSTALL FASTENERS • FOR LEITNER ACS ROOF PLATFORM RACK ONLY. ALL OTHER RACKS SEE page 8 • INSTALL THE M8 X 14 SCREWS THROUGH THE 4 holes in the BRACKET AND loosely ATTACH TRAKLOK NUTS. V1 | Page 5... - Page 6 BRACKET TO LEITNER ACS ROOF • align the Traklok nuts with the t-slots in the ACS ROOF as shown below. •the load bars that the brackets are attached to will be 28 inches apart To get the correct position you will loosen the load bars and slide them to get the distance needed.
- Page 7 install GEARPOD ROOF • ALIGN THE MOUNTING TABS ON THE PLATE (RED) WITH THE MOUNTING HOLES IN THE BOX. (BLUE (FIG A) • SECURE THE (yellow) LATCH TO THE (red) TAB ON THE INSIDE OF THE BOX. (FIG B) (FIG A) (FIG b) V1 | Page 7...
- Page 8 GEARPOD ROOF on non Leitner racks • there are many racks on the market so mounting hardware for non leitner racks is not included. check with the manufacturer of your rack to see what they recommend. • the spacing for the front of the bracket is 25” between the two inside tabs. The spacing for the rear tab is 30-11/16th inches.
- Page 9 install maxtrax • drill two 3/8 holes in the location marked on the top of the box and install maxtrax pins. The holes are undersized and you will need to thread the pins into place. This will make a waterproof seal. all the hardware that comes with the pins is used.
- Page 10 install rotopax • drill four 15/64 holes in the location marked on the top of the box and install rotopax plate as per their instructions. The holes are undersized and you will need to press the carriage bolts into place. This will make a waterproof seal. all the hardware that comes with the paxmount is used.
-
Page 11: Use Guidelines
•All locks must be turned and moved periodically to ensure smooth operation. Use graphite or dry lubricant to help this. Leitner designs locks are designed to deter vandalism and theft but should not be considered theft proof. Remove valuable gear if your vehicle is unattended for an extended period. -
Page 12: Warranty
Warranty Leitner Designs warrants product to be free from defects in material and workmanship, for terms specified below, provided there has been normal use and proper maintenance. All remedies under this warranty are limited to the repair or replacement of any item found by the factory to be defective within the time period specified.
Need help?
Do you have a question about the ACS ROOF GEARPOD roof and is the answer not in the manual?
Questions and answers