
Related Manuals for Fanvil A10


Summary of Contents for Fanvil A10
- Page 1 A10/A10W/A10-E/A10W-E SIP Intercom Quick Installation Guide A10/A10W/A10-E/A10W-E www.fanvil.com...
- Page 2 Package Contents SIP Intercom Connector Quick Installation A10/A10W/A10-E/A10W-E SIP Intercom Quick Installation Guide Guide A10/A10W/A10-E/A10W-E Mounting www.fanvil.com Template Screw and Tool Physical Specification A10/A10W/A10-E/A10W-E 3 button Wall hanging Device size 87.56 x 87.56 x 30mm A10/A10W in 86 boxes Device size 87.56 x 87.56 x 21.5mm...
- Page 3 Description number Ethernet interface: standard RJ45 interface, 10/100M ① adaptive, it is recommended to use five or five types of network cable A10/A10W ② Power interface: 12V/1A input ③ A set of RS485 ① A set of short-circuit output ④...
- Page 4 Methods 1: Open the iDoorPhone Network Scanner, click the Refresh button to search the device and find the IP address. (Download address http://download.fanvil.com/tool/iDoorPhoneNetworkScanner.exe) 172.18.70.55 Method 2: Long press DSS key for 3 seconds(after power-on for 30 seconds), and when the speaker beeps rapidly, press DSS key again quickly, the beeps stop ,the intercom will report the IP address by itself.
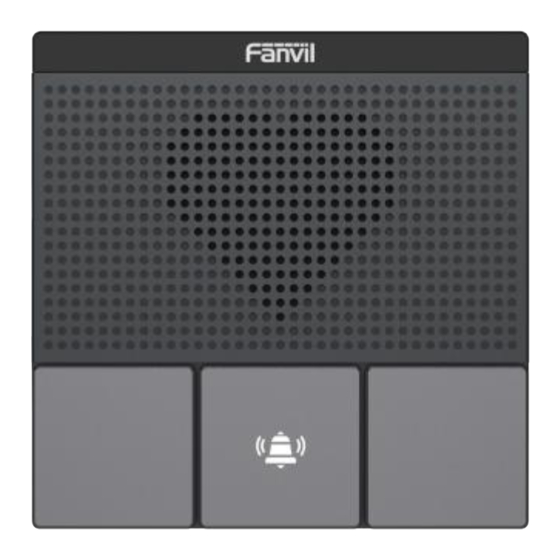
- Page 5 In addition, device provides the device surface DSS key operation to switch IP address acquisition mode: In the standby mode, long-press the speed dial button for 3 seconds and the beep will last for 5 seconds. Within 5 seconds, press the speed dial button three times quickly to switch to the network mode.
- Page 6 Step 2: WIFI Settings (A10W/A10W-E only) Click "Network" --WIFI Settings, turn on WiFi, in the corresponding box, fill in the corresponding wifi name and password, click "Add" wifi information added to the list. After the wifi information is entered, click Submit. Step 3: Add SIP Account Set SIP server address, port, user name, password and SIP user with assigned SIP account parameters.
- Page 7 Step 4: Set DSS key Set the speed dial parameters of the call button. The reserved function key can also be configured on the web page, click “Apply”to save this setting. Type: Memory Key. Subtype: Speed Dial. Value: The DSS Key will dial to this Number . Click the + at the back to increase the forwarding number, and when the first number does not work, go to call the next number, and each shortcut key can add up to 8 transfer numbers.
- Page 8 Step 6: Set the Security Function Set of short-circuit input and output settings. Any Changes or modifications not expressly approved by the party responsible for compliance could void the user's authority to operate the equipment. This device complies with part 15 of the FCC Rules. Operation is subject to the following two conditions: (1) This device may not cause harmful interference, and (2) this device must accept any interference received, including interference that may cause...
Need help?
Do you have a question about the A10 and is the answer not in the manual?
Questions and answers