
Related Manuals for GARO LS4 43kW


Summary of Contents for GARO LS4 43kW
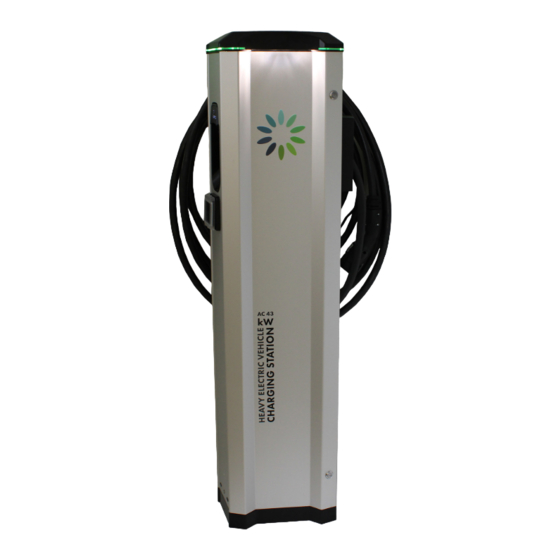
- Page 1 GARO LS4 43kW Installation Manual (EN) GARO AB Box 203, SE–335 25 Gnosjö Phone: +46 (0) 370 33 28 00 info@garo.se garo.se...
-
Page 2: Table Of Contents
TABLE OF CONTENT About this manual INFORMATION Safety Information Cautions General Information Content INSTALLATION NORMAL USE Electrical diagram Technical specifications Service information Form for annual service and maintenance Warranty Conditions Warranty Form / Garantiformulär Declaration of conformity... -
Page 3: About This Manual
However, because continuous electric vehicles. improvement is a goal at GARO, we reserve the right to make product and software modifications at any time. This range is All installation must be carried out by an authorized subject to continual product development. -
Page 4: Cautions
The M-number label is located at upper right Manual hand side corner behind the front door. When contacting GARO support, please have the M-number available. LS4 stations that are pre-configurated for backend- solution have the ChargeBoxID (CBID) labeled under the M-number label. -
Page 5: Installation
INSTALLATION INSTALLATION Mount the LS4 and install the supply cable. See picture In cases with LS4 stations connected in a grid, install TP 1-5. cable CAT6 with RJ45 connectors between each LS4 station and the provided ethernet router/switch (located Phase-rotation is recommended in order to achieve even ie. - Page 6 INSTALLATION CU/AL Cu = 2,5Nm Al = 4Nm (picture 1) OPTION (picture 2)
- Page 7 INSTALLATION 0,8Nm +-0,05 (picture 3) (picture 4) (picture 5)
- Page 8 INSTALLATION 3pcs LS4 connected with TP CAT6 cable to router/switch (picture 6) 5pcs LS4 connected with TP CAT6 cable to router/switch (picture 7) Example of DLM meter installation DLM meter Modbus address #2 9600, 8, 1, no parity Terminals: #200 - A- #201 - B+...
-
Page 9: Normal Use
USER INSTRUCTIONS NORMAL USE Connect the charging cable to the EV. If authorization is activated, please hold a valid RFID-tag against the RFID reader on the side of the LS4 you want to use or use the operator app to authorize charging. Charging will start instant if the EV is ready for charging. - Page 10 If the charger is supposed to work without RFID/app without success? Contact authentication, contact the backend operator and ska them to installer or GARO Support verify that "Free charging" is set to ON. (please have M-number Connect the charging cable to the vehicle, or verify that cable is available) connected correctly.
- Page 11 15 minutes if cable is not disconnected. Have you tried everything Reset circuit breaker. without success? Contact Check internal wiring and components for possible reasons for installer or GARO Support short circuit. (please have M-number Verify allowed maximum current in backend charger configuration available) Firm (OperatorCurrentLimit).
- Page 12 Have you tried everything disconnected, then it has deteced an earth fault in one of the DC without success? Contact powered components (controllers, upper PCB, router/switch etc.) installer or GARO Support inside the charging station. NO LIGHT (please have M-number...
- Page 13 USER INSTRUCTIONS LED light indication Indication / fault code in Web UI OCPP fault code IDLE (available) - (A) Vehicle not connected IDLE (available) - (B) Vehicle connected not ready Firm IDLE (available) - (C) Vehicle connected ready IDLE (available) - (A) Vehicle not connected Blinking (3 blinks) AUTHORIZED (available) - (A) Vehicle not connected Blinking (30...
-
Page 14: Electrical Diagram
ELECTRICAL DIAGRAM ELECTRICAL DIAGRAM Ant. Components Placement (Read from top to bottom) ANT = 4G antenna -KF1 KF1 = Led light Topcard DC Terminal AC Terminal RFID 1 RFID 1 = RFID Reader K3 = Contactor for Heater Cold Option 230V T1 = Powersupply 12V/230V AC Terminal = AC Terminal Block 230V... - Page 15 ELECTRICAL DIAGRAM CC1-A MOD CC1-B MOD AC Terminal -XPE1 -XPE2 -XN1 CC1-CP Type 2 -X1 Incoming Terminal Block Charging cable DC Terminal (-) CC1-PE -EB1 Heater Cold Option -XN1 -QA1 -AC Terminal CC1 Down Side P1-11 CC1 Up side Eth 1 10/100 2 4 6 8 RJ45...
- Page 16 ELECTRICAL DIAGRAM CC1 Down Side 2 4 6 8 RJ45 RFID HEAT -DC Terminal...
-
Page 17: Technical Specifications
RFID output power 250mW SERVICE INFORMATION Care and maintenance GARO charging station LS4: provider, the service personnel must contact the service provider The warranty will only remain valid if service is performed. before a scheduled service. This is to be able to carry Service is performed once a year and must be documented. -
Page 18: Form For Annual Service And Maintenance
ANNUAL SERVICE AND MAINTENANCE FORM FOR ANNUAL SERVICE AND MAINTENANCE Plant ID: Name: Date: Check point for annual service and maintenence: Status/Value Comment/remark Visual check outside cabinet LED indication lit Check cables, connectors, connector pins Check color, foil and instructions Check external antenna (when installed) Check fastening to ground Cean LS4 outside surface... -
Page 19: Warranty Conditions
WARRANTY CONDITIONS WARRANTY CONDITIONS EU Countries (except Sweden) The product benefits from manufacturer´s warranty. The applicable warranty period must be stated in purchase documents from your supplier. The product must be installed by a certified installer / contractor. Proper installation, storage and operation conditions must be obtained. Warranties apply only to products installed in their original installation location. -
Page 20: Warranty Form / Garantiformulär
WARRANTY FORM WARRANTY FORM / GARANTIFORMULÄR LS4 Model: M no: Electrical installation data Group fuse (A): Supply cable dimension: Function Test Testbox / EV (model) Date: Sign Installer: Company Name: Owner / Customer Name: Installation adress:... -
Page 21: Declaration Of Conformity
DECLARATION OF CONFORMITY... - Page 22 GARO AB Box 203, SE–335 25 Gnosjö Phone: +46 (0) 370 33 28 00 info@garo.se garo.se...
Need help?
Do you have a question about the LS4 43kW and is the answer not in the manual?
Questions and answers