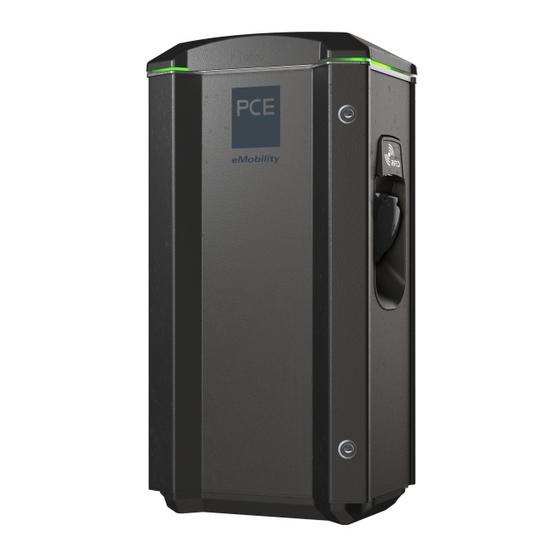
Summary of Contents for GARO Twinbox GTB
- Page 1 GARO Twinbox GTB Quick start (EN) GARO AB Box 203, SE–335 25 Gnosjö Phone: +46 (0) 370 33 28 00 info@garo.se garo.se...
-
Page 2: Table Of Contents
TABLE OF CONTENT INFORMATION Warnings Cautions Notes INSTALLATION OF STANDALONE GTB WALLBOX USER MANUAL Normal use / Charging Basic LED indications Technical specifications... -
Page 3: Information
INFORMATION INFORMATION Warnings Dielectric Voltage Withstand Test is not allowed on GTB GARO GTB assortment is a range of EVSE stations for Mode-3 Twinbox AC charging. Below are some example of standard features: This equipment should not be used by anyone (including children) with reduced physical, sensory or mental •... -
Page 4: Cautions
INFORMATION Cautions Do not use private power generators as a power source To even out the load, it is important to rotate the phases for charging. Variations in the electrical voltage can when connecting several of GTB Twinboxes to the damage the vehicles battery and/or the GTB Twinbox same supply. -
Page 5: Installation Of Standalone Gtb Wallbox
INSTALLATION OF STANDALONE GTB WALLBOX INSTALLATION OF STANDALONE GTB WALLBOX (For installation of GLB in cluster, see User manual at www. garoemobility.com/support) • The installation must be performed by a professional electrician. The installed mains cable need to handle up to 63A during long term period. - Page 6 INSTALLATION OF STANDALONE GTB WALLBOX Note! When installed on a wall, there must be 20mm space between the Twinbox and the wall. The space is needed to achieve correct cooling for the Twinbox (picture 3). When installed on a pole, the 2pcs holes for wall mounting must be closed with attached screws (figure 6).
- Page 7 INSTALLATION OF STANDALONE GTB WALLBOX 4. Set dip switch CC1 SW1 to the max Ampere (A) that the Twinbox can supply according to the rating label, i e GTB11kW= ON OFF ON OFF 16+16A = 32A. SW1 position: see picture 3=OFF 3=OFF 5.
- Page 8 INSTALLATION OF STANDALONE GTB WALLBOX 6. Install the electrical power supply cable according to local regulations, see picture 9. 7. Fill in serial number in the Warranty form. See QR code label at upper right corner of the main board, see picture 7. 8.
-
Page 9: User Manual
USER MANUAL USER MANUAL Basic LED indications Normal use / Charging Solid green light: ready for charging Connect the charging cable to the EV. Charging will start immediately if the EV is ready for charging. See your EV charging manual. Flashing green light: GTB Twinbox waiting for start signal from electric vehicle When finishing charging, follow the car’s instructions. -
Page 10: Technical Specifications
USER MANUAL Technical specifications Product type: All GTB models Standards/directives: IEC 61851-1 and IEC TS 61439-7 Installation: Wall/pole mounted Voltage rating: 230V/400V 50Hz Installation systems: TT-, TN- and IT*-systems Charging Type: Mode 3 Charging method: AC charging Protection class: IP44 Mechanical impact resistance: IK10 Temperature range:... - Page 11 USER MANUAL Warranty Form / Garantiformulär GTB Model: GTB serial no: ELECTRICAL INSTALLATION DATA ELEKTRISK INSTALLATION INFORMATION Group fuse (A): Gruppsäkring (A): Supply cable dimension: Area matningskabel: OPTION MODULES OPTIONS-MODULER RFID yes/no RFID ja/nej Communication Module yes/no: Kommunimationsmodul ja/nej: SETTINGS INSTÄLLNINGAR Mark existing positions: Markera nuvarande inställningar:...
- Page 12 GARO AB Box 203, SE–335 25 Gnosjö Phone: +46 (0) 370 33 28 00 info@garo.se garo.se...


Need help?
Do you have a question about the Twinbox GTB and is the answer not in the manual?
Questions and answers