Advertisement
Quick Links
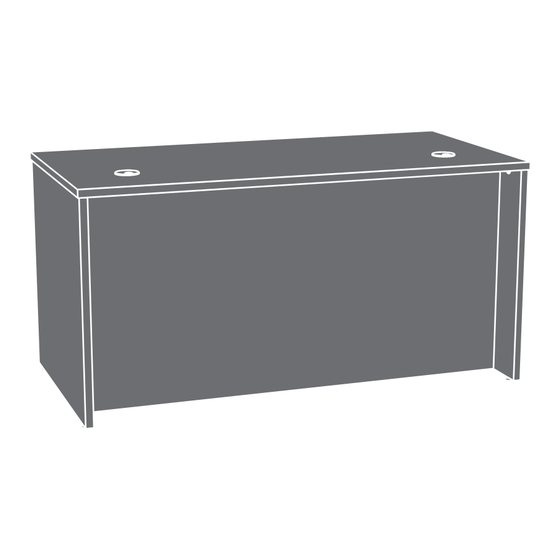
1500x750 Desk
Hudson Elm Finish | Model 5427424
Teknik
www.teknikoffice.co.uk
NOTE: THIS INSTRUCTION
BOOKLET CONTAINS IMPORTANT
SAFETY INFORMATION.
PLEASE READ AND KEEP FOR
FUTURE REFERENCE.
English pg 1-12
Français pg 13-14
Español pg 15-16
Lot # 572652
Purchased: __________________
11/09/21
Advertisement

Subscribe to Our Youtube Channel
Related Manuals for Teknik Hudson Elm Finish 5427424


Summary of Contents for Teknik Hudson Elm Finish 5427424
- Page 1 Teknik www.teknikoffice.co.uk 1500x750 Desk NOTE: THIS INSTRUCTION BOOKLET CONTAINS IMPORTANT SAFETY INFORMATION. Hudson Elm Finish | Model 5427424 PLEASE READ AND KEEP FOR FUTURE REFERENCE. English pg 1-12 Français pg 13-14 Español pg 15-16 Lot # 572652 11/09/21 Purchased: __________________...
- Page 2 Table of Contents Assembly Tools Required Hardware Identification No. 2 Phillips Screwdriver Part Identification Tip Shown Actual Size Optional Accessories Hardware Usage Guide Hammer Not actual size Assembly Steps 5-12 Français 13-14 Español 15-16 Safety 17-18 Warranty Hardware Identification å You may receive extra hardware with your unit.
- Page 3 Now you know Part Identification our ABCs. å While not all parts are labeled, some of the parts will have a label or an inked letter on the edge to help distinguish similar parts from each other. Use this part identification to help identify similar parts. RIGHT END (1) LEFT END (1) TOP (1)
- Page 4 Optional Accessories (sold separately) This piece of furniture accommodates one or more of the following optional accessories (sold å Powered Grommet (Item 5427829) separately). å Articulating Keyboard Shelf (Item 5426468) å The Articulating Keyboard Shelf is designed to be fastened to the underside of your desk, desk return, or credenza top. LED Light (Item 5426494) å...
- Page 5 Step 1 å Assemble your unit on a carpeted floor or on the empty carton to avoid scratching your unit or the floor. å Using your hammer, gently tap two LEVELERS (46E) completely into the holes in the LEFT END (B). å...
- Page 6 Step 2 å Insert four WOOD DOWELS (42F) into the holes shown in the MODESTY PANEL (D). å NOTE: You may need to gently tap the WOOD DOWELS in with your hammer. Page 6...
- Page 7 Step 3 å Fasten the LEFT END (B) to the MODESTY PANEL (D). Tighten three TWIST-LOCK® FASTENERS. å NOTE: Be sure the WOOD DOWELS in the MODESTY PANEL insert into the LEFT END. i t h Edge with TWIST-LOCK® FASTENERS ®...
- Page 8 Step 4 å Using your hammer, gently tap the remaining LEVELERS (46E) completely into the holes in the RIGHT END (A). å NOTE: Adjustments to the LEVELERS will be made later in assembly once your unit is standing upright. Page 8...
- Page 9 Step 5 å Fasten the RIGHT END (A) to the MODESTY PANEL (D). Tighten three TWIST-LOCK® FASTENERS. å NOTE: Be sure the WOOD DOWELS in the MODESTY PANEL insert into the RIGHT END. S u r f a c i t h I S T - L O F A S...
- Page 10 Step 6 å Push two CORD CLIPS (9P) into the TOP (C). Page 10...
- Page 11 Step 7 å Insert seven WOOD DOWELS (42F) into the exact holes shown in the ENDS (A and B) and MODESTY PANEL (D). å NOTE: You may need to gently tap the WOOD DOWELS in with your hammer. å Fasten the TOP (C) to the ENDS (A and B) and MODESTY PANEL (D). Tighten nine TWIST-LOCK® FASTENERS. å...
- Page 12 Step 8 å Your unit may need leveling. To raise a corner of your unit, rotate the LEVELER downward. To lower a corner of your unit, rotate the LEVELER upward. å For long-term care and maintenance of your unit, you may touch up the edges with the TOUCH-UP PEN (10M). å...
Need help?
Do you have a question about the Hudson Elm Finish 5427424 and is the answer not in the manual?
Questions and answers