Table of Contents
Advertisement
Quick Links
Advertisement
Table of Contents

Related Manuals for IFM ecomatDisplay CR1102


Summary of Contents for IFM ecomatDisplay CR1102
- Page 1 Operating instructions Process and dialogue module ecomatDisplay CR1102...
-
Page 2: Table Of Contents
CR1102 Contents Preliminary note ............. Symbols used . -
Page 3: Preliminary Note
CR1102 1 Preliminary note You will find instructions, technical data, approvals and further information using the QR code on the unit / packaging or at www.ifm.com. 1.1 Symbols used Requirement Instructions Reaction, result [...] Designation of keys, buttons or indications Cross-reference Important note Non-compliance may result in malfunction or interference. -
Page 4: Safety Instructions
CR1102 2 Safety instructions • The unit described is a subcomponent for integration into a system. – The system architect is responsible for the safety of the system. – The system architect undertakes to perform a risk assessment and to create documentation in accordance with legal and normative requirements to be provided to the operator and user of the system. -
Page 5: Intended Use
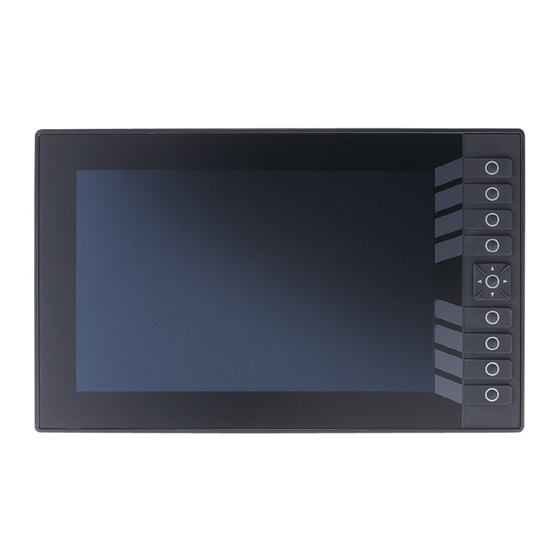
If required, take appropriate EMC screening measures. The unit is not approved for safety-related tasks in the field of operator protection. 3.1 Application example Fig. 1: Networking of 4 analogue cameras with an ecomatDisplay ecomatDisplay CR1102 analogue cameras (e.g. 4 x O2M200) 3.2 Properties •... - Page 6 Feature CR1102 Touch screen ● Freely programmable, backlit buttons Navigation keys with button Ethernet interfaces CAN interfaces ifm plug&play (CAN based) USB 2.0 interfaces Analogue video inputs Digital inputs B Digital outputs 2.5 A Line In Speaker output Headphone output Controller Quad core with GPU, 1.2 GHz...
-
Page 7: Installation
EC0732, installation kit for panel mounting • EC1410...EC1414, RAM® mount system for surface mounting More information about available accessories at www.ifm.com 4.2 General installation instructions The following applies to all types of mounting: The responsibility for the compliance with the requirements concerning mounting of the device in the application with regard to shock, vibration, acceleration and weight lies with the system architect. -
Page 8: Light Sensor And Status Led
CR1102 38,1 ® 4 x M5 threaded hole for RAM mount system / for the fixing profile of the installation kit pressure compensation element ATTENTION The device is equipped with a pressure compensation element. Sealing or closing the corresponding ventilation ducts with elastic materials may damage the device. u Do not use any sealing materials in the area around the pressure compensation elements. -
Page 9: Panel Mounting / Control Cabinet Installation
CR1102 4.3 Panel mounting / control cabinet installation 4.3.1 Safety instructions for panel mounting / control cabinet installation The specifications for the operating temperature apply in front of and behind the installation surface. The dimensions for the control panel cut-out are a basic prerequisite for the requirements concerning electrical protection, fire protection and protection rating of the device / system. -
Page 10: Installation With Installation Kit
CR1102 4.3.2 Installation with installation kit The installation kit enables horizontal, vertical or overhead mounting of the device in a panel cut-out. This type of mounting is suited for materials with a thickness from 1 to 10 mm. The fixing blocks, M5 set screws, washers, and M5 hexagon nuts required for mounting are supplied with the installation kit. -
Page 11: Surface Mounting With Ram® Mount System
CR1102 ATTENTION Contact corrosion between the mounting screws and the housing. w Damage to the device u Do not use copper or nickel-plated materials for the bolting elements. u Use zinc-plated screws. u In very corrosive environments such as extremely salty air, use screws with surface finishing on a zinc/nickel basis with thick-film passivation and sealing. -
Page 12: Mounting Steps
2: mounting plate with ball head ® You will find more information about the available RAM mount components at: www.ifm.com 4.4.1 Mounting steps u Screw the mounting plate to the back of the device. Usable M5 thread depth: ≤ 8 mm ±0.5... -
Page 13: Electrical Connection
5.1 Wiring Wiring: Technical data: www.ifm.com The terminals may only be supplied with the signals specified in the technical data or on the device label Unconnected pins must not be connected to the cable harness and its individual cores must be sealed. -
Page 14: General Wiring Information
Use twisted-pair cables for the CAN / IFM connection. The CAN bus is internally protected against short circuit to VBB and GND. For CAN / IFM cables ≥ 30 m, ensure appropriate protection against surge (e. g. shielded cables). - Page 15 CR1102 Fig. 9: Connectors (back of the device) Supply, inputs/outputs, video, audio, CAN, ifm, service USB0 USB1 ETH0 ETH1 ATTENTION Wrong connection may cause damage to the device. u Observe the safety instructions. ATTENTION The short-circuit / reverse polarity protection of the device applies to the operating voltage connections.
-
Page 16: Operating Voltage And Circuit Breakers
CR1102 5.5 Operating voltage and circuit breakers u The individual electric circuits must be protected in order to protect the whole system. Automotive spade-type fuses are recommended. Required triggering Designation Connector 1 Operating voltage Nominal value fuse characteristics Pin 119 8...16 V DC and 16… ≤... -
Page 17: Ethernet Interface
CR1102 Fig. 10: Shield connection To avoid contact corrosion on the shield connection of the housing, do not use any copper or nickel-plated materials for the bolting elements! u In very corrosive environments such as extremely salty air, use screws with surface finishing on a zinc/nickel basis with thick-film passivation and sealing. -
Page 18: Usb Interfaces
CR1102 5.9 USB interfaces Wiring: Technical data: www.ifm.com This USB interface is connected to a USB connector in the control panel or in the dashboard. It is used for the connection of USB 2.0 devices. The supply of external USB devices via the USB interface is protected against overload and overvoltage. - Page 19 CR1102 Use headphones with an impedance of ≥ 16 Ω .
-
Page 20: Set-Up
In addition to the CODESYS programming system, the following documents are required for programming and set-up of the device: • Programming manual ecomatDisplay Manuals as well as online help CODESYS and ecomatDisplay are available for download on the internet: www.ifm.com... -
Page 21: Function Of The Internal Temperature Sensor
Current consumption (display illumination etc.) The device heats up considerably under demanding operating conditions. The device temperature must not exceed the maximum permissible value (Technical data: www.ifm.com). The value provided by the internal temperature sensor can e.g. be used for the following actions: •... -
Page 22: Maintenance, Repair And Disposal
Remove the battery and replace it with a new one. Observe the polarity: positive side up Battery type (Technical data: www.ifm.com) u Check sealing areas and sealing for soiling. Clean them, if necessary. u Screw the service cover with 3.0 Nm to restore the protection rating (width across flats 13 or ¼“). -
Page 23: Cleaning The Display Surface
CR1102 Disposal of used batteries: Disposal (Ò / 23) 7.2 Cleaning the display surface Unsuitable cleaning agents and chemicals may damage the display surface. The following agents are not suited for cleaning the display: • Chemicals dissolving plastics such as methylated spirit, benzine, thinner, alcohol, acetone or ammonia.
Need help?
Do you have a question about the ecomatDisplay CR1102 and is the answer not in the manual?
Questions and answers