
Related Manuals for Emerson Micro Motion HPC010P


Summary of Contents for Emerson Micro Motion HPC010P
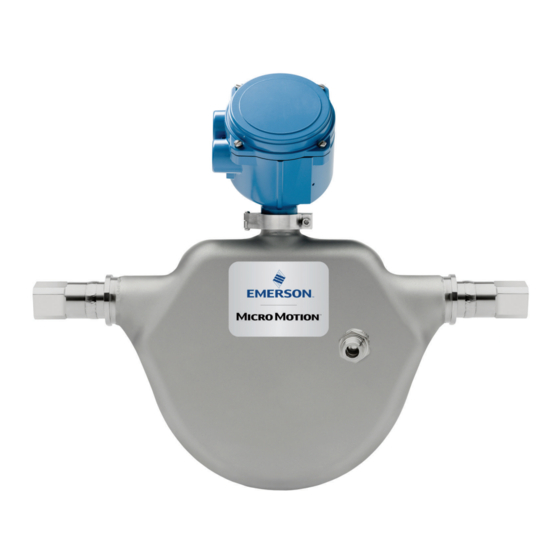
- Page 1 Installation Manual MMI- 20032352, Rev AC August 2019 ™ Micro Motion HPC010P Ultra High Pressure Flowmeter...
- Page 2 Micro Motion employees. Micro Motion will not accept your returned equipment if you fail to follow Micro Motion procedures. Return procedures and forms are available on our web support site at www.emerson.com, or by phoning the Micro Motion Customer Service department.
-
Page 3: Table Of Contents
Installation Manual Contents MMI- 20032352 August 2019 Contents Chapter 1 Planning........................5 1.1 Installation checklist......................... 5 1.2 Best practices........................... 5 1.3 Vibration limits..........................6 1.4 Temperature limits...........................6 Chapter 2 Mounting........................7 2.1 Mount the sensor..........................7 2.2 Mount the enhanced core processor ....................7 2.3 Mount the I.S. - Page 4 Contents Installation Manual August 2019 MMI- 20032352 Micro Motion HPC010P...
-
Page 5: Chapter 1 Planning
Installation Manual Planning MMI- 20032352 August 2019 Planning Installation checklist □ Make sure that the hazardous area specified on the approval tag is suitable for the environment in which the meter will be installed. □ Verify that the local ambient and process temperatures are within the limits of the meter. -
Page 6: Vibration Limits
• Temperature limits may be further restricted by hazardous area approvals. Refer to the hazardous area approvals documentation shipped with the sensor or available from www.emerson.com/flowmeasurement. Micro Motion HPC010P... -
Page 7: Chapter 2 Mounting
Installation Manual Mounting MMI- 20032352 August 2019 Mounting Mount the sensor Use your common practices to minimize torque and bending load on process connections. To reduce the risk of condensation problems, do not orient transmitters or sensor junction boxes with their conduit openings pointing upward. NOTICE Lifting the sensor by the electronics or rupture disk can damage the device. - Page 8 Tighten the cap screws, torquing to 2.2 ft lbf (3 N m) to 3 ft lbf (4 N m). 2. Attach the mounting bracket to an instrument pole or wall. For pipe mount, two user-supplied U-bolts are required. Figure 2-2: Pipe mount Figure 2-3: Wall mount Micro Motion HPC010P...
-
Page 9: Mount The I.s. Barrier
Installation Manual Mounting MMI- 20032352 August 2019 Mount the I.S. barrier ™ ™ Use this procedure if you are mounting an MVD Direct Connect I.S. barrier. Procedure 1. Snap the barrier onto a 1.38 in (35 mm) DIN rail. You can mount it in either direction. - Page 10 4. Fit the extender onto the feedthrough by carefully aligning the notches on the bottom of the extender with the notches on the feedthrough. 5. Close the clamping ring and tighten the clamping screw to 13 in lbf (1.47 N m) to 18 in lbf (2.03 N m). Micro Motion HPC010P...
-
Page 11: Transmitter Power And I/O Wiring
Installation Manual Transmitter power and I/O wiring MMI- 20032352 August 2019 Transmitter power and I/O wiring Options for wiring The wiring procedure you follow depends on which electronics option you have. Table 3-1: Wiring procedures by electronics option Electronics option Wiring procedure Integral transmitter The transmitter is already connected to the sensor. - Page 12 1. Remove the core processor cover using a flat-blade screw driver. 2. Run the conduit to the sensor. 3. Pull the cable through the conduit. 4. Cut the drain wires and let them float at both ends of the conduit. Micro Motion HPC010P...
- Page 13 Installation Manual Transmitter power and I/O wiring MMI- 20032352 August 2019 Prepare a cable with user-supplied cable glands 3.2.4 Procedure 1. Remove the core processor cover using a flat-blade screw driver. 2. Pass the wires through the gland. 3. Terminate the shield and drain wires inside the gland. 4.
- Page 14 9. Install the gland body into the conduit opening on the core processor housing. 10. Insert the wires through the gland body and tighten the gland nut onto the gland body. A. Shield folded back B. Gland body Micro Motion HPC010P...
-
Page 15: Connect 9-Wire Cable
Installation Manual Transmitter power and I/O wiring MMI- 20032352 August 2019 3.2.6 Connect the wires to the core processor terminals After the 4-wire cable has been prepared and shielded (if required), connect the individual wires of the 4-wire cable to the terminals on the core processor. Procedure 1. - Page 16 Do not terminate the shields at the barrier. d) Connect the power supply wires to the non-I.S. VDC terminals at the barrier (terminals 11 and 12). These wires will be used in the next step to connect the barrier to the power supply. Micro Motion HPC010P...
- Page 17 Installation Manual Transmitter power and I/O wiring MMI- 20032352 August 2019 Figure 3-1: Barrier terminals A. I. S. terminals for connection to the core processor B. Non I.S. terminals for connection to remote host and power supply 3.3.4 Connect power to the I.S. barrier •...
- Page 18 Transmitter power and I/O wiring Installation Manual August 2019 MMI- 20032352 Figure 3-2: Barrier terminals A. I.S. terminals for connection to enhanced core processor B. Non I.S. terminals for connection to remote host and power supply Micro Motion HPC010P...
-
Page 19: Chapter 4 Grounding
Installation Manual Grounding MMI- 20032352 August 2019 Grounding The meter must be grounded according to the standards that are applicable at the site. The customer is responsible for knowing and complying with all applicable standards. Prerequisites Use the following guides for grounding practices: •... - Page 20 Grounding Installation Manual August 2019 MMI- 20032352 Micro Motion HPC010P...
-
Page 21: Purge The Sensor Case
Installation Manual Purge the sensor case MMI- 20032352 August 2019 Purge the sensor case Prerequisites Make sure the following are available before beginning the purge procedure: ™ • Teflon tape • Argon or nitrogen gas sufficient to purge the sensor case Whenever a purge plug is removed from the sensor case, you must purge the case again. - Page 22 Avoid pressurizing the sensor case. If pressure inside the case elevates above atmospheric pressure during operation, the flowmeter density calibration will be inaccurate. 8. Make sure that the purge fitting seals are tight so that air cannot be drawn by suction into the sensor case. Micro Motion HPC010P...
-
Page 23: Chapter 6 Pressure Relief
Installation Manual Pressure relief MMI- 20032352 August 2019 Pressure relief HPC sensors are available with a rupture disk installed on the case. Rupture disks vent process fluid from the sensor case in the unlikely event of a flow tube breach. Some users connect a pipeline to the rupture disk to help contain escaping process fluid. - Page 24 Pressure relief Installation Manual August 2019 MMI- 20032352 Micro Motion HPC010P...
- Page 25 Installation Manual MMI- 20032352 August 2019 Installation Manual...
- Page 26 © 2019 Micro Motion, Inc. All rights reserved. The Emerson logo is a trademark and service mark of Emerson Electric Co. Micro Motion, ELITE, ProLink, MVD and MVD Direct Connect marks are marks of one of the Emerson Automation Solutions family of companies. All other marks are property of their respective owners.
Need help?
Do you have a question about the Micro Motion HPC010P and is the answer not in the manual?
Questions and answers