Table of Contents
Advertisement
Quick Links
This Instruction Manual is also available for download on our Web-site: eutechinst.com or 4oakton.com
INSTRUCTION MANUAL
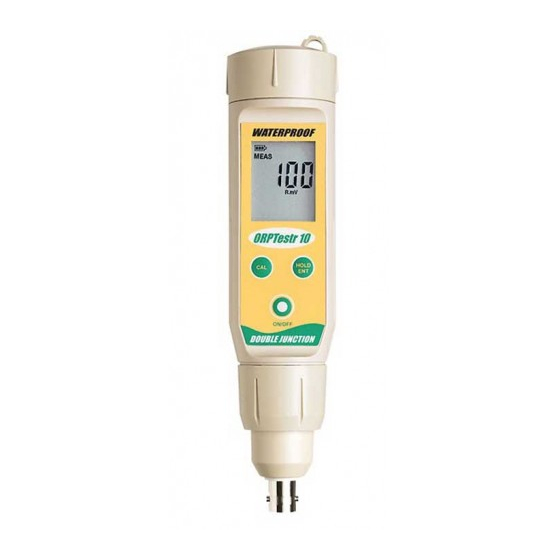
ORPTestr 10, 10BNC
Large Screen
Waterproof ORP / Redox Tester
Double Junction
Introduction
Thank you for selecting our microprocessor waterproof ORP tester. You have one of two
models:
• ORPTestr10
• ORPTestr10BNC
This manual provides a step-by-step guide to operate the testers.
Before you begin:
To condition electrode, immerse electrode in electrode storage solution or tap water for
at least 30 minutes before use. DO NOT use de-ionized water.
Note: For ORPTestr10BNC, please refer to the ORP electrode's instruction manual.
Calibration
Calibration is not necessary unless exact readout agreement with a work standard and
at a specific ORP value is needed. To achieve this, use the following procedure:
1. Switch unit on (ON/OFF button)
2. Select a known solution sample from the actual process as near the critical ORP
value as possible, for example, 255 mV.
3. Dip the conditioned electrode into this solution for 2 to 5 minutes until the
readings stabilize. Ensure the whole sensor is immersed.
4. Press CAL button to enter Calibration mode. The screen will switch to a dual
display with the upper display flashing the relative mV value to be calibrated
and the lower display showing the default measurement value of the sample. The
'CAL' indicator will also be shown on the screen replacing 'MEAS' to indicate
that the tester is in calibration mode.
Note: To abor t calibration, press the 'CAL' button to return to the measurement
mode.
5. Immediately press and hold the HOLD/ENT button to scroll the reading to
match value of the known solution sample. The offset adjustment is up to
+/- 150mV from the default measurement.
6. To complete the calibration, release the HOLD/ENT button and wait for 5
seconds for automatic confirmation. The primary display will stop flashing and
the secondary display will automatically show 'CO' before the screen return to
the single display measurement mode. The mV annunciator will now changed to
'R.mV' indicating the value displayed is a relative mV value of the default
measurement.
7. Rinse electrode in tap water before measuring other solutions.
Press
Wait for
HOLD/ENTER
5 seconds.
to increase offset up to
Meter will
+150 mV from default
automatically
value. It will roll over to
confirms & accepts
-150 mV from default
standard value.
value and start
increasing again.
Figure 1: Calibration or Offset Adjustment Sequence
ORP Measurement
1. Remove cap from the electrode and press the ON/OFF button to switch the
tester on.
2. Dip the electrode about 2 to 3 cm into the test solution. Stir once and let the
reading stabilize for 2 to 5 minutes.
3. Note the ORP value or press HOLD/ENT button to freeze the reading. Press
HOLD/ENT again to release the reading.
4. Press ON/OFF to turn off tester. If you do not press a button for 8.5 minutes,
the tester will automatically shut off to conserve batteries.
Switching on
ORP Testr 10
Figure 2: Power Up Sequence
HOLD Function
This feature lets you freeze the display for a delayed observation
1. Press HOLD/ENT button to freeze the measurement. A 'HOLD' indicator will be
displayed and the measurement will be frozen.
2. Press HOLD/ENT again to release the measurement. The 'HOLD' indicator will not be
displayed anymore indicating the held measurement is released.
User Reset
You can reset the ORP calibration to the factory default by using the user reset function.
1. Switch off the tester.
2. While pressing the 'Cal' button, press and release the ON/OFF button to enter the
'User Reset' selection menu. The screen will display 'rSt' on the bottom display with
a flashing 'nO' selection.
3. Use the 'CAL' button to toggle between 'nO' and 'YES' selection.
• nO deactivates reset selection
• YES activates the reset selection
4. Press the HOLD/ENT button to confirm the selection made.
With meter
powered
off, press
CAL and
ON/OFF at
the same
time. First
release
ON/OFF
button,
then CAL
button.
Ready to take
measurement
Visit us at www.TestEquipmentDepot.com
Figure 3: Hold Function
After
reset,
whole
LCD
segment
lits up and
goes back
to
measurement
mode.
Figure 4: User Reset Sequence
99 Washington Street
Melrose, MA 02176
Phone 781-665-1400
Toll Free 1-800-517-8431
Advertisement
Table of Contents

Related Manuals for Oakton ORPTestr10


Summary of Contents for Oakton ORPTestr10
- Page 1 1. Switch off the tester. • ORPTestr10 • ORPTestr10BNC 2. While pressing the ‘Cal’ button, press and release the ON/OFF button to enter the Figure 1: Calibration or Offset Adjustment Sequence ‘User Reset’ selection menu. The screen will display ‘rSt’ on the bottom display with This manual provides a step-by-step guide to operate the testers.
- Page 2 Large Screen Tester Large Screen Tester Large Screen Tester Large Screen Tester Large Screen Tester ORPTestr10 / ORP Testr 10BNC ORPTestr10 / ORP Testr 10BNC ORPTestr10 / ORP Testr 10BNC ORPTestr10 / ORP Testr 10BNC ORPTestr10 / ORP Testr 10BNC...
Need help?
Do you have a question about the ORPTestr10 and is the answer not in the manual?
Questions and answers