Oakton pHTestr 10, 20, 30, 10BNC, Spear - PH/Temperature Tester Manual
- Instruction manual (2 pages) ,
- Operating instructions (2 pages) ,
- Operating manual (2 pages)
Advertisement
- 1 Introduction
- 2 pH Buffer Set Selection
- 3 pH Calibration
- 4 pH Measurement
- 5 HOLD Function
- 6 User Reset
- 7 ATC - Automatic Temperature Compensation
- 8 MTC - Manual Temperature Compensation
- 9 Temperature Calibration (Only for pHTestr 30)
- 10 Electrode Maintenance
- 11 Changing Batteries
- 12 Self-Diagnostic Messages
- 13 Electrode Replacement
- 14 Applications
- 15 Warranty
- 16 Return of Items
- 17 Accessories
- 18 Tester Specifications
- 19 Documents / Resources
Introduction
Thank you for selecting our waterproof pH Testr.
This manual serves the following (5) models:
- pHTestr 10
(Eutech PHTEST10 / 01X366901 / Oakton 35634-10) - pHTestr 20
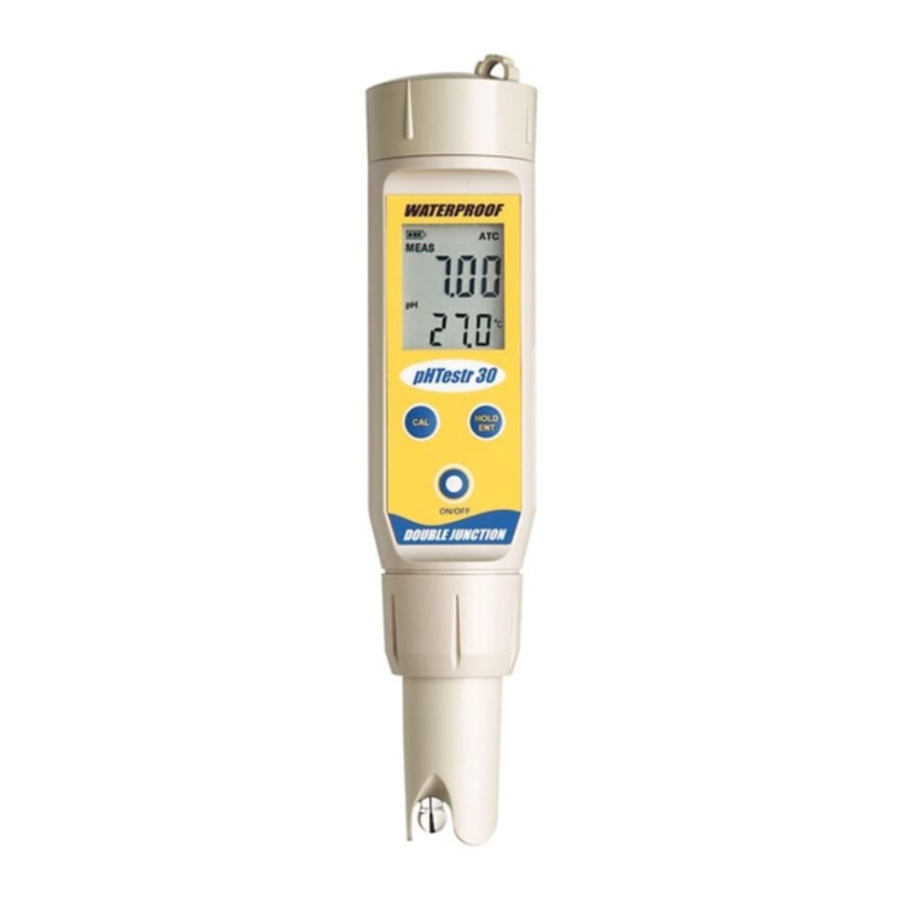
(Eutech PHTEST20 / 01X366902 / Oakton 35634-20) - pHTestr 30
(Eutech PHTEST30 / 01X366903 / Oakton 35634-30) - pHTestr 10BNC
(Eutech PHTEST10BNC 01X366904 / Oakton 35634-14) - pH Spear
(Eutech PPHSPEAR 01X366920 / Oakton 35634-40)
This manual provides a step-by-step guide to operate the Testrs.
Before you begin:
Condition your pHTestr 10, 20, 30 electrodes by immersing it in electrode storage solution or tap water for at least 30 minutes before use. DO NOT use de-ionized water.
Ensure that your pHSpear electrode is always soaked in the electrode storage solution or tap water via its protective cap.
 Note: For pHTestr10BNC, please refer to the pH electrode's instruction manual.
pH Buffer Set Selection
Your Testr features USA (pH 4.01, pH 7.00 and pH 10.01) or NIST (pH 4.01, pH 6.86, and pH 9.18) standards. Select either one to suit your requirements.
- While pressing the HOLD/ENT button, switch on the Testr by pressing theON/OFF button.
- Release the HOLD/ENT button. The display will flash either USA or NIST.
- Press CAL button to toggle between the two buffer set standards.
- Press the HOLD/ENT button to confirm the selection of the buffer set.

Figure 1: Buffer Selection Sequence
pH Calibration
Calibration should be done regularly, preferably once a week. You can calibrate up to three points using either the USA or the NIST buffer set standards.
- Press ON/OFF button to switch unit on.
- Dip electrode about 2 to 3 cm into the pH standard buffer solution.
- Press the CAL button to enter calibration mode. The 'CAL' indicator will beshown. The upper display will show the measured reading based on the last calibration while the lower display will indicate the pH standard buffer solution.
![warning]() Note: All Testrs have dual display during calibration mode
Note: All Testrs have dual display during calibration mode
![warning]() Note: To abort calibration, press the 'CAL' button.
Note: To abort calibration, press the 'CAL' button.
- Allow about 2 minutes for the Testr reading to stabilize before pressing the HOLD/ENT button to confirm the first calibration point. The upper display will be calibrated to the pH standard buffer solution and the lower display will then be toggling in between readings of the next pH standard buffer solution.
- Repeat with other buffers if necessary. Rinse electrode in tap water beforedipping into next buffer.
![warning]() Note: The calibration mode allows you to perform up to three calibration points before returning to the measurement mode automatically. However, if you opted to have only one or two calibration points, simply skip the remaining calibration points by exiting to the measurement mode by pressing the CAL button.
Note: The calibration mode allows you to perform up to three calibration points before returning to the measurement mode automatically. However, if you opted to have only one or two calibration points, simply skip the remaining calibration points by exiting to the measurement mode by pressing the CAL button.

Figure 2: Example of pH Calibration Sequence
pH Measurement
- Press the ON/OFF button to switch the Testr on.
- Dip the electrode about 2 to 3 cm into the test solution. Stir and let the readingstabilize. For semi-solid samples using pHSpear, rotation is ideal for sample contact. CAUTION: Testing dry samples is not accurate and can lead to sensor damage or breakage. Soils must be wet and free of particulates that may scratch the glass sensor. Excessive force into dry samples can cause glass breakage.
- Note the pH value or press HOLD/ENT button to freeze the reading. To releasethe reading, press HOLD/ENT again.
- Press ON/OFF to turn off Testr. If you do not press a button for 8.5 minutes, the Testr will automatically shut off to conserve batteries.
HOLD Function
This feature lets you freeze the display for a delayed observation
- Press HOLD/ENT button to freeze the measurement. A 'HOLD' indicator will be displayed and the measurement will be frozen.
- Press HOLD/ENT again to release the measurement. The 'HOLD' indicator willnot be displayed anymore indicating the held measurement is released.

Figure 4: Example of HOLD Function
User Reset
You can reset the pH calibration to the factory default by using the user reset function. Buffer set selection and temperature user calibration (pHTestr30) are not affected by the user reset function.
- Switch off the Testr.
- While pressing the 'CAL' button, press and release the ON/OFF button to enter the'User Reset' selection menu. The screen will display 'rSt' on the bottom display with a flashing 'nO' selection.
- Use the 'CAL' button to toggle between 'nO' and 'YES' selection.
- nO deactivates reset selection
- YES activates the reset selection
- Press the HOLD/ENT button to confirm the selection made.
- If you have selected 'YES', the unit will show 'CO' momentarily and proceed to themeasurement mode with the calibration reset back to factory default value.
- If 'nO' is selected, the unit will proceed to the measurement mode without anycalibration reset performed.

Figure 5: User Reset Sequence
ATC - Automatic Temperature Compensation
(Only for pHTestr 10, pHTestr 20 and pHTestr 30)
Through its in-built temperature sensor, the measurement error due to the changes in electrode sensitivity due to changes in temperature is compensated to give the actual pH reading of the sample measured.
MTC - Manual Temperature Compensation
(Only for pHTestr 10BNC, pH Spear)
The MTC range is 0 to 50.0°C (32.0 to122.0°F). User reset will set temperature to default value 25°C or 77°F.
While in the measurement mode,
- Press the HOLD/ENT button to bring the Testr to the 'HOLD' mode.
- Press the CAL button continuously to switch to the °C or °F mode settingselection screen.
- Release the CAL button to confirm your mode selection and the display will go tothe manual temperature calibration mode with the upper display flashing. The upper display shows the adjustable temperature value and the lower display shows the last set temperature offset.
- Press the HOLD/ENT button to set the upper display to the temperature value ofyour sample.
- Once the setting is reached, release the HOLD/ENT button. The new value isautomatically confirmed and returns to the measurement mode if no button is pressed after 5 seconds.
Notes: To exit this program without confirming the calibration, press the CAL button before the automatic confirmation takes place.
Temperature Calibration (Only for pHTestr 30)
From the measurement mode,
- Press the HOLD/ENT button to bring the Testr to the 'HOLD' mode.
- Press the CAL button for 3 seconds to switch to the °C or °F mode settingselection screen. Pressing the CAL button continuously for 3 seconds allows you to toggle in between the °C and °F mode setting selection screen.
- Release the CAL button to confirm your mode selection and the display will go tothe temperature calibration mode with the upper display flashing. The upper display shows the current measured temperature reading based on the last set offset and the lower display shows the current measured temperature reading based on factory default calibration.
- Dip the Testr into a solution of known temperature and allow time for the in builttemperature sensor to stabilize.
- Press the HOLD/ENT button to set the upper display to the temperature value ofthe solution.
- Once the new temperature setting is reached, the new value is automatically confirmed and returns to the measurement mode if no button is pressed after 5 seconds.
Notes: To exit this program without confirming the calibration, press the CAL button before the automatic confirmation takes place.
")
Figure 6: Temperature Calibration Sequence ( Only for pHTestr 30DJ)
Electrode Maintenance
- Before measuring soil pH with the pHSpear, wet your soil sample with distilledwater and ensure that the soil is free of particulates. Even though the pHSpear is ruggedized, hard surfaces such as stones and pebbles can still cause breakage.
- Rinse the electrode with tap water or electrode storage solution after eachmeasurement. Care has to be taken not to damage the sensor's glass electrode especially while rinsing the pHSpear penetrating tip electrode.
- In aggressive chemicals, dirty or viscous solutions, and solutions with heavymetals or proteins, take readings quickly and rinse electrode immediately afterward. For the pHSpear, the remnants of the semi solid samples on the penetrating electrode can be removed by rubbing it with some table salt and then rinsing. Mild detergent can be used to wash the penetrating electrode clean.
- If possible, keep a small piece of paper or sponge in the electrode cap – moistenedwith clean water or electrode storage solution (NOT de-ionized water) – and close the cap over the electrode. For pHSpear, ensure that the electrode is kept soaked in electrode storage solution or tap water via its protective cap.
Changing Batteries

- Open battery compartment lid (with attached lanyard loop).
- Remove old batteries; replace with fresh ones. Note polarity
Self-Diagnostic Messages
| Low battery indicator |  | 3 Bars indicates Battery is full (100%) |
 | 2 Bars indicates 50% of the battery life is left | |
 | 1 Bar indicates 25% of the battery life is left | |
 | Blinking battery casing indicates the need to replace batteries with fresh ones as specified by manufacturer | |
| Over range / Under range signal | Or / Ur (Still) | Electrode is not in contact with solution or electrode is failing. |
| Replacement sensor is not connected properly to the tester during sensor replacement | ||
| Measured pH value or temperature value (pHTestr30) exceeds its specified maximum or minimum value | ||
| ATC / Or / Ur (Blinking) | Blinking 'ATC', 'Or' or 'Ur' indicates that there is a short or open circuit at the built in temperature sensor | |
| Error Message | Er.0 | Temperature calibration error of attempting to calibrate tester to a value which is out of range or under range |
| Er.1 | pH calibration error of attempting to confirm a calibration value which is not within the specified calibration window |
Electrode Replacement
You can replace the electrode module at the fraction of the cost of a new Testr. When the tester fails to calibrate or gives fluctuating readings in calibration standards, you need to change the electrode.
- With dry hands, grip the ribbed Testr collar with electrode facing you. Twist thecollar counter clockwise (see picture A). Save the ribbed tester collar and O-ring for later use.

Figure 7: Removal of collar from tester
- Pull the old electrode module away from the Testr.
- Align the four tabs on the new module so that they match the four slots on the Testr (see picture B).

Figure 8: Example of electrode module fitting alignment - Gently push the module onto the slots to sit it in position. Push the smallerO-ring fully onto the new electrode module. Push the collar over the module and thread it into place by firmly twisting clockwise.


Note: It is necessary that you recalibrate your Testr prior to measurement after an electrode replacement.
Applications
Water quality testing
- pools
- spas
- aquariums
- aquaculture
- hydroponics
- ecology studies
- water and wastewater treatment
- boilers
- steam generators
- car washes
- sanitation plants
- labs
- food sectors and more!
Warranty
The waterproof Testrs are warranted to be free from manufacturing defects for 1 year and electrode module for 6 months, unless otherwise specified. If repair, adjustment or replacement is necessary and has not been the result of abuse or misuse within the time period specified, please contact your local distributor for assistance.
Return of Items
Authorization must be obtained from your distributor before returning items for any reason. When applying for authorization, please include information regarding the reason the item(s) are to be returned.
Note: We reserve the right to make improvements in design, construction and appearance of products without notice. Prices are subject to change without notice.
Accessories
| Item | Eutech Instruments Order Code | Oakton Instruments Order Code |
| pHTestr 10,20,30 replacement sensor | PHSENSOR03DJ | 35624-38 |
| pHSpear replacement sensor | PHSENSOR04 | 35634-50 |
| Carrying Pouch pH Testr 10, 20, 30 | ECPOUCH01 | 35624-45 |
Tester Specifications


Documents / ResourcesDownload manual
Here you can download full pdf version of manual, it may contain additional safety instructions, warranty information, FCC rules, etc.
Download Oakton pHTestr 10, 20, 30, 10BNC, Spear - PH/Temperature Tester Manual
Advertisement


Need help?
Do you have a question about the pHTestr 30 and is the answer not in the manual?
Questions and answers