
Related Manuals for Oakton EC1


Summary of Contents for Oakton EC1
-
Page 1: Instruction Manual
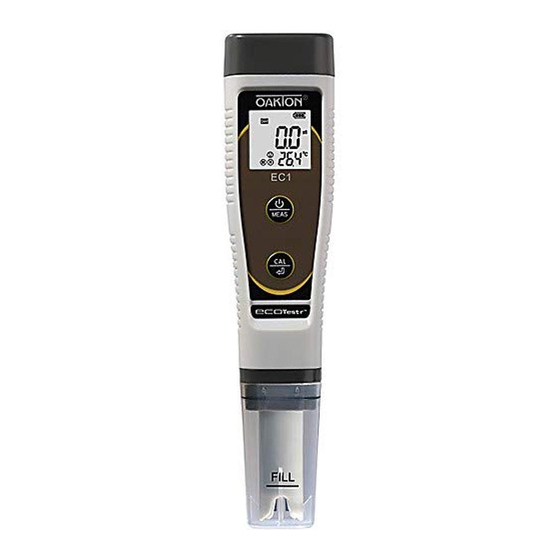
EC1 Pocket Conductivity Tester Instruction Manual OAKTON INSTRUMENTS www.4Oakton.com v2.2... - Page 2 EC1 Pocket Conductivity Tester Instruction Manual 1. Battery Installation Please install batteries according to the following steps. *Please note the correct direction of battery installation: The Positive Side (“+”) OF EVERY SINGLE Battery MUST FACE UP. (WRONG INSTALLATION OF BATTERIES WILL CAUSE DAMAGE TO THE TESTER AND POTENTIAL HAZARDS!) 2.
- Page 3 3. Calibration 3.1 Rinse the probe in distilled water and dry it with a clean tissue. Short press to turn on the tester. 3.2 Long press to enter calibration mode; Short press to exit. Diagram - 3 3.3 Dip the probe into 1413 µS/cm calibration solution. Stir gently, leave it to stand, LCD displays (Diagram 3), short press to complete 1-point...
- Page 4 5.2 The tester adopts 1413 µS and 12.88 mS standard calibration solutions. Users can use 1-2 point calibrations as needed. For most circumstances, calibrating in 1413 µS to complete 1 point calibration will meet testing requirements. 5.3 Unit Information: 1 mS/cm = 1000 µS/cm Once the readings are greater than 2000µS/cm, the unit will automatically become mS/cm.
- Page 5 short press to confirm parameter selection→Long press to switch off. 6.3 Parameter setting notes a) Select conductivity ranges (P1): Aut-- All ranges: 0 – 199.9 µS/cm, 20 – 1999 µS/cm, 2.0 – 20.0 mS/cm; Factory default is Aut. b) Restore to factory default: Select Yes to restore the calibration to the theoretical values and parameter setting to original values.
- Page 6 OAKTON INSTRUMENTS, any malfunctioned or damaged product attributable to responsibility of OAKTON INSTRUMENTS for a period of two years from the delivery (a six-month limited warranty applies to electrodes).
- Page 7 storage; improper use; iii. failure to follow the product instructions or to perform any preventive maintenance; modifications; combination or use with any products, materials, processes, systems or other matter not provided or authorized in writing by us; unauthorized repair; vii. normal wear and tear;...
- Page 8 OAKTON INSTRUMENTS PO Box 5136 Vernon Hills, IL. 60061 Tel: 888-462-5866 www.4Oakton.com...
Need help?
Do you have a question about the EC1 and is the answer not in the manual?
Questions and answers