Advertisement
Advertisement
Table of Contents

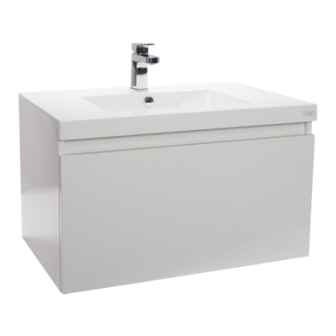
Summary of Contents for Englefield VALENCIA SLIM VANITY
- Page 1 ® FURNITURE | VALENCIA SLIM VANITY englefield.co.nz 1232449-A02-D September 2023 Page1...
-
Page 2: Before You Begin
® VALENCIA Slim Vanity INSTALLATION INSTRUCTIONS BEFORE YOU BEGIN: Please read these instructions carefully to familiarise yourself with the required tools, materials, and installation sequences. Follow the sections that pertain to your particular installation. This will help you avoid costly mistakes. In addition to proper installation, read all operating and safety instructions. - Page 3 ® VALENCIA Slim Vanity INSTALLATION INSTRUCTIONS TOOLS AND MATERIALS REQUIRED - (Not Supplied) TOOLS MATERIALS - Not supplied & must be purchased separately 10g x 75mm Pan 20mm Head Screws Fixing washers DN32 waste with To suit pipework overflow To suit screws Stud finder (C) With a suitably sized hole saw drill the holes.
- Page 4 ® VALENCIA Slim Vanity INSTALLATION INSTRUCTIONS (b) With a suitably sized hole saw drill the 3 Fixing the vanity to the wall holes for the water supply and waste. (e) Fix the cabinet to the wall using at least (c) Having drilled the required holes fit the 6 screws (min 10g x 75mm) and *20mm cabinet into position over the pipework.
-
Page 5: Cleaning And Maintenance Instructions
® VALENCIA Slim Vanity INSTALLATION INSTRUCTIONS CLEANING AND MAINTENANCE INSTRUCTIONS For cleaning instructions, please refer to the Owner’s Information Leaflet. Compression moulded vanity top: To clean use non abrasive soap and water. It is recommended that the product surface is wiped dry after each use to prevent the build up of soap and scum. - Page 6 ® VALENCIA Slim Vanity INSTALLATION INSTRUCTIONS 5 Waste and tapware 7 Drawer adjustment (a) Select a basin mixer which is suitable for (b) Turn anticlockwise on the locator pin the tap hole position of this Slim vanity spacer to raise the height of the drawer and range.


Need help?
Do you have a question about the VALENCIA SLIM VANITY and is the answer not in the manual?
Questions and answers