Table of Contents
Advertisement
Quick Links
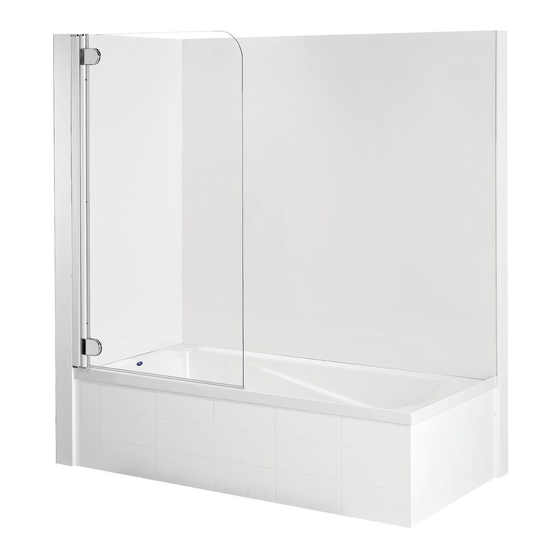
PREMIUM GLASS BATH SCREEN
INSTALLATION GUIDE
Bath screens must be installed in situations where the floor of the bathroom has a waterproof membrane installed.
For New Zealand, the bath screen must be installed in accordance with NZBC E3/AS1 clause 3.1.1.
For other countries, the bath screen must be installed in accordance with local building codes.
NOTE:
•A floor waste is recommended.
•Do not install in bathrooms where the floor is carpeted.
V087600-K June 08
Kohler Co.
-1-
Advertisement
Table of Contents

Related Manuals for Englefield PREMIUM BATH SCREEN


Summary of Contents for Englefield PREMIUM BATH SCREEN
- Page 1 PREMIUM GLASS BATH SCREEN INSTALLATION GUIDE Bath screens must be installed in situations where the floor of the bathroom has a waterproof membrane installed. For New Zealand, the bath screen must be installed in accordance with NZBC E3/AS1 clause 3.1.1. For other countries, the bath screen must be installed in accordance with local building codes.
- Page 2 Parts List - Exploded View V087600-K June 08 Kohler Co.
- Page 3 PARTS LIST - BATH SCREEN NOTE: WHEN ORDERING, THE FOLLOWING INFORMATION IS ALWAYS REQUIRED: WIDTH OF ENCLOSURE, COLOUR. ITEM NO. P ART NO. DESCRIPTION ITEM NO. PART NO. DESCRIPTION Q6080XX Door Hinge Post Retainer Q6334XX Hinge Post Screw Plug Q6090XX Door Hinge Post Q633250 Hinge Post Ajuster S/S Q6150XX Hinge Body Q910100 Screw 8 x 65 Pan Head...
- Page 4 CAUTION: Fixing the retainer only to Set adjusting screws using CAUTION: BEFORE DRILLING the backboard may void warranty as 6mm spacer provided. HOLES ENSURE THERE ARE NO a backboard by itself is not able to ELECTRIC CABLES OR WATER provide enough support for the bath PIPES BEHIND WALLS.
- Page 5 Position Door Edge Seal. For “out-of-true” walls, level On the inside of the Hinge Hinge Post using adjusting Post, fit slotted plastic bush screws. through the hole in the glass. IMPORTANT Ensure that the slot in the top bush is vertical and the slot in the bot- tom bush is horizontal.
- Page 6 Attach Door Drip Edge Seal. Slide on the. four Hinge Covers. Fit Screw Plugs Position the logo as shown after IMPORTANT: NOTE ORIENTATION door installation. One logo on OF SCREW PLUG HEAD. the front of the door and one on MARK SHOULD BE LOCATED TO the reverse.
Need help?
Do you have a question about the PREMIUM BATH SCREEN and is the answer not in the manual?
Questions and answers