Table of Contents
Advertisement
Quick Links
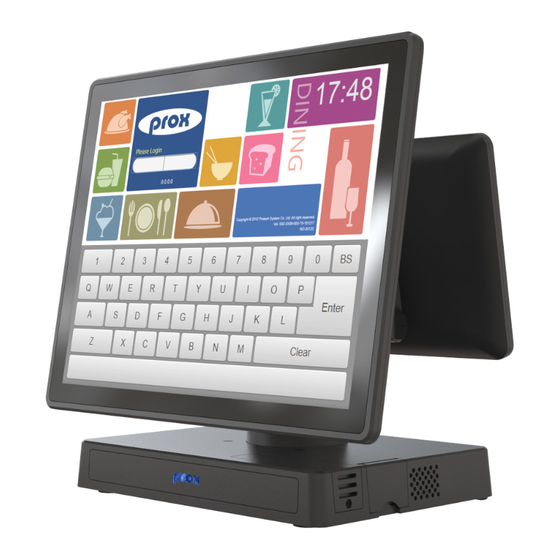
PA-J510
Quick
Reference
Guide
Intel ® Core ® i5-1145G7E / i3-1115G4E / Celeron ® 6305E /
CPU Support
Pentium ® 7505
Memory
1 x DDR4 SO-DIMM slot (up to 16GB)
Power Supply
1 x 60/90 watt power adapter
System
Network
1 x RJ45, Gigabit 10/100/1000 Mbps / 1 x M.2 (E Key, 2230)
Windows ® 11 IoT Enterprise / Windows ® 10 IoT Enterprise
O.S. Support
Primary Display
15", 1024 x 768
2nd Display
10.1" Monitor with Touch
Wall Mount Type
VESA 75 x 75mm standard
Audio
1 x 2W Speaker
System Weight
POS+2nd Display: 5.3 kg w/o power adapter / POS: 4.3 kg
POS: 342 x 270 x 195 mm (with 45 degree)
Dimensions (WxHxD)
POS + 2nd Display: 342 x 291 x 237 mm (with 45 degree)
Storage
SATA
1 x M.2 2280, SATA interface
2 x Mini DP for Primary/ 2nd display
Display
1 x HDMI 1.4
Rear I/O: 2 x USB 2.0/ 2 x USB 3.1 / 1 x USB Type-C
USB
Side I/O: 1 x USB 2.0
I/O Ports
1 x RJ45 (support +5V/12V selectable)
Serial Port
LAN
1 x Giga LAN
Cash Drawer
1 x RJ11 (+12V or +24V selectable) (Default at +24V)
DC In
1 x 4-pin DC power jack
Option
1 x USB 2.0 or 1 x 24V Power USB (1A) or 1 x DC Out (1A)
Customer Display
20 columns x2 lines STN LCD display
MSR & i-Button
ISO I,II,III;JIS II and support information key (USB interface)
Fingerprint
Silicon Fingerprint Module
Add-ons
1D: EAN-13, EAN-8, UPC-A, UPC-E, ISSN, ISBN, Codabar,
Barcode Scanner
2D: PDF417, QR Code, Micro QR, Data Matrix,
15" IPS LCD (Max. Resolution: 1024 x 768)
Primary Display
Brightness: 400 cd/m²
Display
Touchscreen
Bezel-free projected capacitive
Tilt Angle
0~50 degree
EMC & Safety
CE / FCC
Operating Temp.
0°C ~ 35°C (32°F ~ 95°F)
Environment
Storage Temp.
-20°C ~ 60°C (-4°F ~ 140°F)
Humidity
20% ~ 90%
All Rights Reserved. Copyright 2023
All Right Reserved Copyright 2016
All Right Reserved Copyright 2015
PA-J510
Code 128, Code 93, ITF-6, ITF-14, Interleaved 2 of 5,
Industrial 2 of 5, Standard 2 of 5, Matrix 2 of 5,
GS1 Databar, Code 39, Code 11
Chinese sensible code
If you discover any of the items below are damaged or lost,
please contact your vendor immediately.
PA-J510
This Quick Reference Guide
Power Adaptor
AC Power Cord
Driver DVD
Ver. Q2
322
Front View
342
REAR I/O
1st Display
Port
SIDE I/O
Side View
COM2
LAN
HDMI
DC In
USB
USB
USB
Type C
1st Dis.
HDMI
DC In
LAN
COM2
USB 2.0
USB
(optional)
Type C
USB 3.0
DC OUT
USB
Power USB
Open up the cover from the right side of PA-J510 Box as shown
and find the Side I/O USB7 and Power Button.
USB7 Power
Button
PA-J510
3
X 1
X 1
X 1
X 1
X 1
PA-6322
PA-J510
PA-63
Unit: mm
24.4
2nd Display
Port
COM1
COM1
DRW 2nd Dis.
DRW
Advertisement
Table of Contents

Subscribe to Our Youtube Channel
Related Manuals for protech prox PA-J510


Summary of Contents for protech prox PA-J510
- Page 1 PA-J510 Packing Checklist If you discover any of the items below are damaged or lost, please contact your vendor immediately. PA-J510 PA-J510 This Quick Reference Guide Power Adaptor Quick AC Power Cord Reference Driver DVD Guide Ver. Q2 All Rights Reserved. Copyright 2023 All Right Reserved Copyright 2016 All Right Reserved Copyright 2015 PA-J510...
- Page 2 PA-J510 High Performance 15” POS Terminal Easy Maintenance M.2 2280 Maintenance Step 1: Step 2: Unscrew M.2 2280 and Step 3: Slide a new M.2 2280 into the M2. slot and Follow the arrow to turn the system follow the direction of red arrow touchscreen leftwards.
- Page 3 PA-J510 Packing Checklist If you discover any of the items below are damaged or lost, please contact your vendor immediately. PA-J510 PA-J510 This Quick Reference Guide Power Adaptor Quick AC Power Cord Reference Driver DVD Guide Ver. Q2 All Rights Reserved. Copyright 2023 All Right Reserved Copyright 2016 All Right Reserved Copyright 2015 PA-J510...
- Page 4 PA-J510 High Performance 15” Panel PC Easy Maintenance M.2 2280 Maintenance Step 1: Unscrew M.2 2280 and follow the direction (red arrow) to release the cover. Slide a new M.2 2280 into the M2. slot and fasten up the screw to secure the cover. Unscrew M.2 2280 and follow the red arrow to open the M.2 slot cover.
Need help?
Do you have a question about the prox PA-J510 and is the answer not in the manual?
Questions and answers