Advertisement
Contents Checklist
Please check the components after unpacking. If any components are missing, please contact the dealer.
| Name | Qty. |
| Wireless POS Terminal | 1 |
| AC Power Adapter | 1 |
| USB Cable | 1 |
| Battery | 1 |
| Product Manual | 1 |
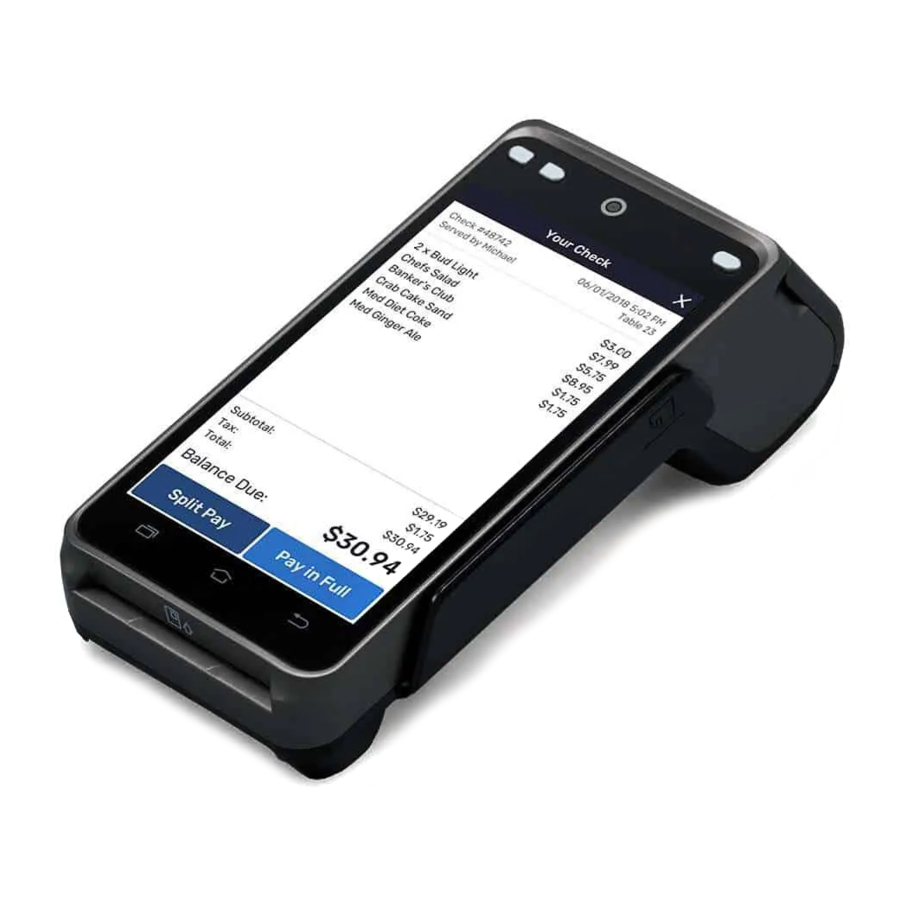
Product Description


Power
Power ON/OFF
Power on: Press and hold the Power button for five seconds until the LCD screen lights up.
- Red indicator: Device is charging
- Green indicator: Charging is complete
- Red and green indicators flashing alternately: Charging problem
Power off: Press and hold the Power button for three seconds until the Shutdown menu appears. Tap Shutdown, then click Shutdown again. "Shutting" appears on the screen when the terminal is turning off.
Battery charging
User can charge the battery with the power adapter and the charging status will be displayed on the LCD screen.
Printer Paper
To install the paper:
- Press printer cover button and open cover.

- Insert paper roll with end facing up and extending out of A930.

- Gently snap printer cover closed.


To tear the paper, press the paper downward along the cutter and pull it to the left or right along the cutting edge.
Card Readers
Magnetic Stripe Card: Place the card in the slot with the stripe facing left towards the terminal. Swipe the card through the card slot at a constant speed. The card can be swiped bi-directionally.
Smart Card: Insert the card into the card slot with the chip facing up. Push the card in the slot as far as it will go.
Contactless Reader: Place contactless card close to the Contactless area, located on the top of the terminal.
SIM Cards
To insert SIM card, open the battery cover on the bottom of the terminal and take out the battery. Insert SAM/SIM card into the corresponding SAM/SIM card slot and replace the battery and battery cover.
SD Card
To insert SD card, open the battery cover on the bottom of the terminal and take out battery. Insert Micro SD card into the corresponding Micro SD card slot. Replace the battery and the battery cover.
Specifications
| Operating System: | PayDroid powered by Android 7.1 |
| CPU: | Quad-core Cortex-A53, 1.4 GHz |
| Memory | 1GB DDR + 8GB eMMC |
| Display: | 5.5" 720 x 1280 IPS Display Multi-touch Captivate Display |
| Printer: | 2" High speed thermal printer, supports 58 x 40mm paper |
| Audio: | built-in speaker, supports headphone output |
| Camera: | Front camera: 0.3 Megapixel fixed focal camera and |
| Rear camera: | 5 Megapixel autofocus camera with LED flashligh |
| L-Sensor (Ambient Light Sensor): | Automatically adjusts backlight brightness of main display |
| Wireless Communication: | Bluetooth wireless technology, Wi-Fi, and HotSpot Positioning: supports GPS, Glonass, BeiDou, and Galileo Card Slots: 1 SIM card slot, 1 Micro SD card slot supports up to 128GB, Magnetic stripe/IC card slot |
| Magnetic Card Reader: | Complies with standard of ISO7810, ISO7811, ISO7812, 1/2/3 Track |
| IC Card Reader: | Conforms to the standard of ISO7816, EMV 4.3 L1 & L2, PBOC3.01 |
| Contactless Card Reader: | Compatible with ISO14443 Type A & B |
| Working Environment: | Temperature: -10℃~50℃ (14℉~122℉) Humidity.: 5%~96% (non-condensing) |
| Storage Environment: | Temperature: -20℃~70℃ (-4℉~158℉) |
Device Location
Locate the device on a countertop, desktop, or tabletop. Keep the device away from direct sunlight, excessive dust, moisture, and heat.
Avoid locating the device near electrical devices that might introduce interference such as microwave ovens and blow dryers.
Cleaning the Device

Do not use industrial strength or abrasive cleaner as it may damage or scratch the screen.
- Do not immerse terminal in water or liquid.
- Do not spray water or cleaner into card reader or ports.
- To clean screen, apply distilled water or mild glass cleaner onto a soft, lint-free cloth and gently wipe screen.
- To clean device, apply distilled water or plastic-safe cleaner onto a soft, lint-free cloth and wipe gently.
- Avoid exposing the device to an excessively hot, humid, dusty, and/or strong electromagnetic environment.
- Do not vibrate, shake, or drop the device.
- Do not plug or unplug any part of the device while it is powered on. This may cause damage to the internal circuit.
- There is a risk of explosion if the battery is replaced with an incorrect type.
- Please contact PAX technical support for assistance with the device.
Lithium Ion Battery Usage Tips
- Do not use the battery in direct sunlight or in smoky or dusty environments.
- Do not crush the battery or place it in liquid or fire.
- Discontinue use if the battery is damaged.
- Consider replacing the battery when the battery life begins to decline.
- Only use the appropriate battery and charger for the terminal.
- Overcharging the terminal can degrade the battery. Do not over-use the battery or charge the battery longer than 24 hours.
- If the battery is not used often, please recharge the battery every 6 months to avoid shortening the life of the battery.
- Replace the battery if it has not been used in 2 years.
- Dispose of used batteries properly.
Note: Product images shown may be different than actual product received

Documents / ResourcesDownload manual
Here you can download full pdf version of manual, it may contain additional safety instructions, warranty information, FCC rules, etc.
Download PAX A930 - Wireless Android POS Terminal Quick Setup Guide
Advertisement


Need help?
Do you have a question about the A930 and is the answer not in the manual?
Questions and answers