Smappee EV One HOME Quick Install Manual
Hide thumbs
Also See for EV One HOME:
- Installation manual (44 pages) ,
- Quick install manual (2 pages) ,
- Quick install manual (2 pages)
Advertisement
Quick Links
What's in the box?
×2
Door
Door screw
Splitter
DIN mounting
CT Hub
plate
×4
Connect
Wall mounting
CT 50A
plate
Bus termination
RJ10 cable
RJ10 cable
plug
40 cm
150 cm
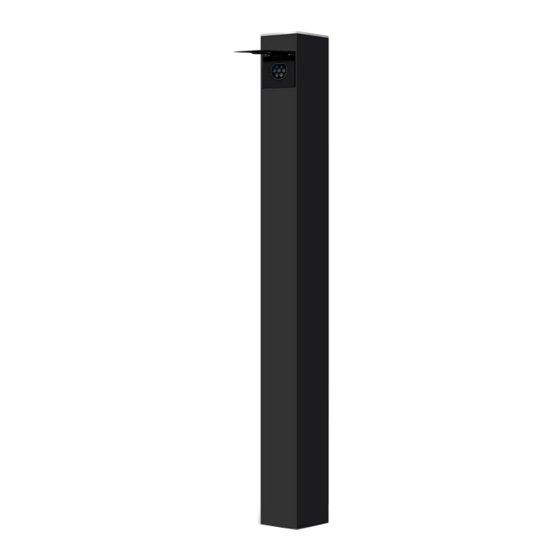
EV One Home
QR code sticker
Smart Charge
Quick Install
Quick Starter
Card
Guide
Guide
EV One
HOME
Three phase
Connection diagram
1.
2.
3.
Distribution Panel
RFID reader
Socket
4.
A+B
B
B
A
Relay board
25 cm
Power
box
25 cm
17,6 cm
RCD
PE
L3
L2
L1
N
Connect the CT to measure
solar to the correct phase.
Adjust the configuration
in the Smappee App when
this is not the L1 phase.
When the solar installation
is 3-phased, you need to
purchase and install the
EV One solar add-on.
In case of 3-phase delta
(3*230 V), consult the full
manual via the QR code:
Manual
EN
Safety warning
Carrying out electrical work within the home or
workplace can be dangerous and must be conducted
according to the appropriate national safety standards
and executed by a certified electrician.
For safety purposes, it is also necessary to power off
the installation before proceeding with the physical
installation.
For further safety instructions
and more detailed information,
please consult the full manual at
smappee.com/downloads
or via the QR code:
How to install EV One
HOME
1
Prepare the installation. Foresee a power supply &
communication cable between the EV One and the
distribution panel. Dig a hole for the anchor and ensure
the bottom is flat and stable.
2
Take the EV One out of its packaging. Unscrew the two
bottom screws and slide the outer housing upwards, off
the internal structure. Take the anchor out and assemble
the anchor onto the main unit as shown in the diagrams.
If desired, the top half of the EV One can be temporarily
removed and set aside.
3
Place the anchor in the ground. Route the power supply
and communication cable through the anchor and into
the EV One. Make sure it is level and the bottom of the EV
One will be flush with the ground level. Fill the hole with
concrete.
Connect the power supply cable according to
4
the connection diagram. Connect the CAT 5/6
communication cable to the 'A+B' port.
In case of 3-phase delta (3*230 V), please consult the
full manual online.
5
Connect the EV One modules as indicated in the diagram.
The Connect, the Splitter, the CT Hub and CTs are
installed inside the distribution panel. These components
communicate with the charging station via the CAT 5/6
communication cable.
6
Switch on the power using the circuit breaker.
7
Download the Smappee App and follow the instructions
to configure your Smappee charging station.
8
Once Smappee Connect shows a green pulsing light,
validate the installation by verifying that the real-time
bubbles show correctly measured values in the Smappee
App/Dashboard.
9
Slide the housing onto the EV One and tighten the
screws. Attach the door.
10
Use the Smappee app to send an invite to your
customer's email address to share the newly created
location with them. This user account will be used for the
Smappee App and Dashboard and to set smart charging
preferences. Lastly, hand over the Quick Starter Guide.
Advertisement

Related Manuals for Smappee EV One HOME


Summary of Contents for Smappee EV One HOME
- Page 1 EV One Home screws. Attach the door. Manual Use the Smappee app to send an invite to your customer’s email address to share the newly created location with them. This user account will be used for the QR code sticker...
- Page 2 über das CAT 5/6 Kommunikationskabel. Mettez l'appareil sous tension à l'aide du disjoncteur. Download de Smappee App en volg de instructies om uw Smappee laadpaal te configureren. Schalten Sie den Strom über den Schutzschalter ein. Téléchargez l'application Smappee App et suivez les...
Need help?
Do you have a question about the EV One HOME and is the answer not in the manual?
Questions and answers