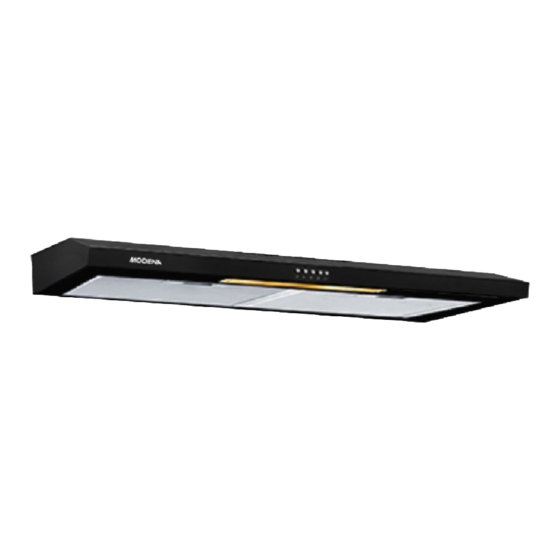
Summary of Contents for Modena PX 7111
- Page 1 User Manual Book Slim Hood PX 9022, PX 9002, PX 9012 V PX 7111, PX 7001, PX 6001, PX 6021 PX 6011 V, PX 6111 PX 6031 L, PX 6031 V...
-
Page 2: Table Of Contents
Maintenance for Carbon Filter Part 6: Problem & Solution Part 7: Precaution Part 8: Specification This guide book explains everything you need to know about your new product. Please contact our Customer Care should you need further assistance through www.modena.com... -
Page 3: Part 1: Safety Warnings
Before connecting the unit to a power source, make sure the power cord is in good shape. If there is damage to the power cord, the replacement must be performed by qualified personnel or contact the MODENA Service Center for replacement process. -
Page 4: Part 2: Name Of Parts
PART 2: NAME OF PARTS 1. Control panel 2. Lock latches 3. Lamp 4. Aluminum filter 5. Air flow direction regulator knob 6. Motor 7. Carbon filter 8. Cassette Aluminum Filter • The image is a general overview and is not necessarily the same as the product you receive. -
Page 5: Part 3: Installation
PART 3: INSTALLATION Preparations 1. If you have a waste pipe outside, the cooker hood can be connected using extraction duct (enamel, aluminum, flexible pipe or a fire-resistant material with an inner diameter of 150 mm), see the following picture: 2. -
Page 6: Hood Installation (Slim Hood)
Hood Installation (slim hood) Cooker hood can be installed on a concrete wall or on the bottom of the kitchen set cabinet wall. Installing on a concrete wall 1. Make a center line on the wall where it will be placed in the cooker hood. 2. - Page 7 Installing on the bottom of the kitchen set cabinet 1. Place the sucker cap on the bottom of the kitchen set cabinet in accordance with the planned position precisely. 2. Make signs at the bottom of the kitchen set cabinet for flexible pipe holes and then make the holes if the cooker hood will use the ducting/ exhaust system.
-
Page 8: Setting The Air Vents
Setting the air vents MODENA cooker hood has two (2) working way versions that are: Ducting System: 1. In this version, the cooker hood works by sucking fumes/ cooking aroma which then is thrown out through the waste pipe. 2. It is needed heat/ flame resistant ducting system is needed to throw away the smoke/ aroma through the outlet. -
Page 9: Part 4: How To Use
A few things to note for the cooker hood installation using recirculation system: • Both carbon filters and filter aluminum should be used. • The position of the two filters must be precise. • The holes where the air comes out located on the front of the cooker hood cabinet should not be closed. -
Page 10: Push Type Button
Push Type Button On/ Off Buttons The Buttons which are for turning off or turning on the cooker hood Motor speed button – LOW Suitable for air circulation used in the kitchen or cooking conditions that does not cause a lot of smoke or steam. Motor speed button - MEDIUM Air circulation speed that is suitable for a cooking process that raises a medium volume of smoke or fumes. -
Page 11: Part 5: Maintenance
PART 5: MAINTENANCE MODENA cooker hood specifically designed for long term use so that it does not require complicated maintenance. However, there are some things that are recommended to take care of your cooker hood so that the quality is maintained. -
Page 12: Part 6: Problem & Solution
MODENA Service Center. • Perform a routine service on your stove every 3 (three) months, because if there are problems / problems with your exhaust hood, it can be immediately identified and repaired. Contact MODENA Service Center... -
Page 13: Part 8: Specification
PART 8: SPECIFICATION MODEL PX 9022 PX 9002 PX 7001 PX 9012 V PX 6021 Type Slim hood Slim hood Slim hood Slim hood Slim hood Cabinet Metal + Acrylic Metal + Acrylic Metal + Acrylic Metal Metal + Acrylic Material Color of Cabinet Black... - Page 14 MODEL PX 6001 PX 6011 V PX 6031 L PX 6031 V Type Slim hood Slim hood Slim hood Slim hood Cabinet Material Metal + Acrylic Metal Metal Metal Color of Cabinet Black Silver Black Silver Color of Front Black Silver Black Silver...
- Page 15 MODEL PX 7111 PX 6111 Slim hood Slim hood Type Metal Cabinet Material Metal Black Black Color of Cabinet Color of Front Panel Black Black Number of Motor Bulb Lamp Lamp Type Bulb Lamp Push Button Push Button Control Type...
- Page 16 07/23 PT MODENA INDONESIA Jl. Industri Raya I Blok D-8, Jatiuwung, Tangerang 15135...


Need help?
Do you have a question about the PX 7111 and is the answer not in the manual?
Questions and answers