Advertisement
Available languages
Available languages
Quick Links
Advertisement

Related Manuals for Modena IX Series


Summary of Contents for Modena IX Series
- Page 1 IX Series 2016 Bahasa Indonesia 1...
- Page 2 Buku ini sangat disarankan untuk mudah dijangkau oleh siapapun yang akan menggunakan produk ini. Tersedia pula fasilitas layanan customer care bagi pengguna MODENA yang setia dan juga informasi- informasi penunjang lainnya di situs resmi www.modena.co.id. Silakan menghubungi kontak yang t ersedia bila ada hal-hal lain yang ingin ditany akan berkaitan dengan produk ini.
- Page 3 NOMOR : 20/DJ-ILMEA/MG/V/2000 728 /ILMEA/IX/2003 DAFT AR ISI HLM. Kata Pengantar Bagian 1 : Nama-nama Bagian Bagian 2 : Instalasi Bagian 3 : Cara Penggunaan Bagian 4 : Pemeliharaan Bagian 5 : Masalah & Solusinya Bagian 6 : Spesifikasi Bahasa Indonesia 3...
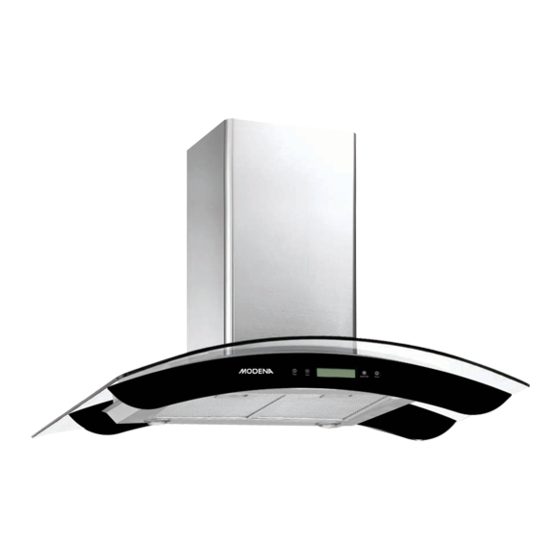
- Page 4 Bagian 1: Nama-nama Bagian * Gambar adalah gambaran secara umum dan belum tentu sama dengan produk yang anda terima. * Fitur dan kelengkapan tergantung pada tipe produk Cont rol Panel Filter Alumunium/Cassette Aluminum Filter Pegangan Filter Aluminium/Cassette Aluminum Filter Handle Lampu Halogen Cerobong Utama Cerobong penyambung bagian atas...
- Page 5 Persiapan pemasangan: Jika Anda memiliki saluran pembuangan ke luar, tudung hisap A nda dapat dihubungkan dengan menggunakan saluran ekstraksi (enamel, aluminium, pipa fleksibel atau bahan yang tahan api dengan diameter bagian dalam 150 mm), lihat gambar berikut: Sebelum pemasangan, matikan unit dan cabutlah kabel listrik dari stop kontak. Pemasangan tudung hisap sebaiknya berada tepat di atas kompor dengan jarak ketinggian minimal 65 cm dan maksimal 75 cm dari permukaan kompor.
- Page 6 2. Buatkan lubang 17 cm untuk pipa extensible jika tudung hisap akan menggunakan sistim ducting/exhaust. Lubangi semua tanda yang ada pada template dengan menggunakan bor berdiameter 8 mm. Kemudian pas ang plat holder dengan dynabolt dan fischer. P asang 4 buah besi siku pada plat holder dengan 8 buah sekrup M5 dan sekrup, kemudian sambungkan 4 buah besi siku lainnya dengan 16 buah...
- Page 7 Instalasi (Si stim Resirkulasi ): Jika Anda tidak memiliki saluran udara ke luar , pipa pembuangan tidak diperlukan pada saat instalasi, pemasangan pada sistem resirkulasi mirip dengan pertunjukan pemasangan sistem ducting. Filter karbon aktif dapat digunakan untuk menetralisir bau yang dihasilkan pada saat proses memasak. Untuk memasang filter karbon aktif, lepaslah filter grease terlebih dahulu dengan cara menekan kunci pengait dan menariknya ke bawah.
- Page 8 Tombol jenis SENTUH / Touch control Setelah kabel listrik dihubungkan ke sumber listrik, unit akan otomatis berada pada mode “stand by”. Tombol Timer Pengaturan jam, tekanlah t ombol timer saat unit berada pada mode “S TANDBY”, setelah display jam berk edip, tekan " "...
- Page 9 Bagian 4: Pemeliharaan Tudung hisap MODE NA diranc ang secara khusus untuk pemakaian jangka waktu panjang sehingga tidak memerlukan perawatan yang rumit. Namun, ada beberapa hal yang dianjurkan unt uk merawat tudung hisap Anda agar kualitasnya tetap terjaga. Matikan unit dan cabut kabel listrik dari sumber listrik sebelum dibersihkan. I.
- Page 10 Lampu menyala, Kipas macet Matikan unit dan perbaik an harus. Hubungi tapi kipas tidak Service Center MODE NA. berfungsi. Motor rusak. Bola lampu putus/terbakar. Ganti bola lampu dengan daya yang sesuai. Lampu dan kipas Kabel listrik lepas atau belum Hubungkan kembali k abel listrik ke sumber tidak menyala.
-
Page 12: Introduction
We also provide a customer care service for MODE NA users as well as other support information on our official website www.modena.co.id. Please contact us if you have other questions regarding the this product. Enjoy your daily activities, we hope that our products may provide the best services to your family. -
Page 13: Table Of Contents
CONTENTS PAGE Introduction Part 1 : Name of Parts Part 2 : Installation Part 3 : How to Use Part 4 : Maintenance Part 5 : Problem & Solving Part 6 : Specification English 11... -
Page 14: Part 1: Name Of Parts
Part 1: Name of Parts * The image is a general overview and is not necessarily the same as the product you recei v e. * Features and completeness depends on the type of products Cont rol Panel Aluminum Filter/Cassette Aluminum Filter Filter Aluminum/Cassette Aluminum Filter Handle Halogen Lamp Main Chimney... - Page 15 Preparations of installation: If you have a waste pipe outside, t he cooker hood can be connected using extraction duct (enamel, aluminum, flexible pipe or a fire-resistant mat erial with an inner diameter of 150 mm), see the following picture: Before installation, switch off the unit and unplug the power cord from the wall socket.
- Page 16 2. Make the 17 cm hole for extensible pipeline if the system will use a suction hood ducting / exhaust. Punch a hole through the markings on the template by using a drill with a diameter of 8 mm. Then put the plate holder with dynabolt and fischer.
-
Page 17: Part 3: How To Use
Use a stainless steel cleaner and polish on t he stainless steel sections of the appliance. If you are using the appliance in recirculation mode, then you should now fit the carbon filter. Installation (Re-circulating System): If you do not have an outlet to the outside, exhaust pipe is not required and the installation is similar to the one show in section “Installation (DUCTING / E XHAUS T System)”. -
Page 18: Part 4: Maintenance
TOUCH button type / Touch control After plug in power, will into Stand By mode automatic. Timer button Time setting, k eep pressing it in stand by mode, into time setting, hour display flashing, press " "or" " for setting. Press "... -
Page 19: Part 5 : Problem & Solving
Air circulation is not optimal. Cont act MODENA Service Center. The fan blade is jammed. Light on, but fan does Switch of the unit and Contact MODENA not work. Service Center. The motor is damaged. Light bulb is burn. -
Page 20: Part 6 : Specification
The fan blade is damaged. Switch of the unit. Cont act MODENA Service Center. Serious Vibration of The fan mot or is not fixed tightly. the unit. The unit is not hung properly on Take down the unit and check whether the bracket.
Need help?
Do you have a question about the IX Series and is the answer not in the manual?
Questions and answers