Xilinx Zynq UltraScale+ MPSoC ZCU102 Quick Start Manual
Hide thumbs
Also See for Zynq UltraScale+ MPSoC ZCU102:
- User manual (137 pages) ,
- Tutorial (56 pages) ,
- Software install and board setup (41 pages)
Table of Contents
Advertisement
Quick Links
Zynq UltraScale+ MPSoC
ZCU102 Evaluation Kit
Quick Start Guide
The ZCU102 Evaluation Kit contains all the hardware, tools, and IP required to evaluate and develop your Zynq®
UltraScale+™ MPSoC design.
This quick start guide provides instructions to set up and configure the board, run the built-in self-test (BIST), install
the Xilinx tools, and redeem the license voucher. The guide also provides a link to additional design resources
including reference design schematics, user guides, and reference designs.
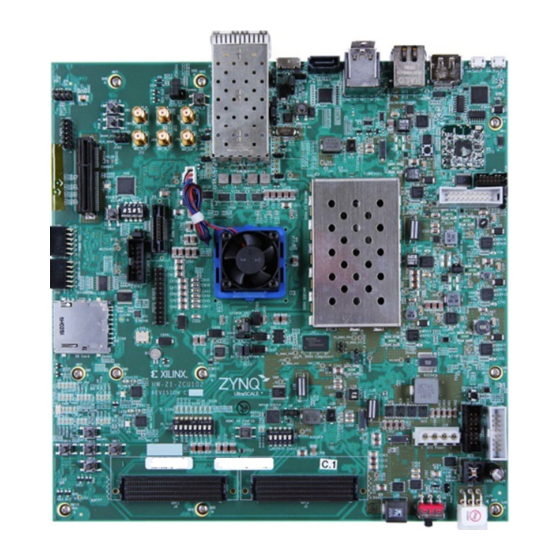
ZCU102 Evaluation Kit
X-Ref Target - Figure 1-1
Power Supply
and Power
Ethernet
Cables
Cable
USB Adapter
USB Hub
ZCU102
USB Cables
Base Board
For more information, visit
.
www.xilinx.com/ZCU102
Advertisement
Table of Contents

Subscribe to Our Youtube Channel
Related Manuals for Xilinx Zynq UltraScale+ MPSoC ZCU102


Summary of Contents for Xilinx Zynq UltraScale+ MPSoC ZCU102
- Page 1 This quick start guide provides instructions to set up and configure the board, run the built-in self-test (BIST), install the Xilinx tools, and redeem the license voucher. The guide also provides a link to additional design resources including reference design schematics, user guides, and reference designs.
- Page 2 Built-In Self-Test (BIST) Instructions ZCU102 Evaluation Kit Set Configuration Switches STEP 1: Set mode switch SW6 to QSPI32. Boot Mode Mode Pins [0:3] QSPI32 Note: For this DIP switch, in relation to the arrow, moving the switch toward the label ON is a 0. DIP switch labels 1 through 4 are equivalent to Mode pins 0 through 3.
- Page 3 Run the Built-In Self-Test STEP 4: The BIST consists of a set of pass/fail tests that run sequentially. As each test passes, its corresponding LED glows green. If a test fails, its corresponding LED is off. The flashing LEDs are next to SW13. For SW13, up is ON or 1. Note: To pass the PL DIP test, all the switches in SW13 must be up before any of them are moved down.
- Page 4 © Copyright 2016–2017 Xilinx, Inc. Xilinx, the Xilinx logo, Artix, ISE, Kintex, Spartan, Virtex, Vivado, Zynq, and other designated brands included herein are trademarks of Xilinx in the United States and other countries. All other trademarks are the property of their respective owners.
Need help?
Do you have a question about the Zynq UltraScale+ MPSoC ZCU102 and is the answer not in the manual?
Questions and answers