Mocka Porto Assembly Instructions Manual
Desk
Hide thumbs
Also See for Porto:
- Assembly instructions manual (10 pages) ,
- Manual (7 pages) ,
- Assembly instructions (4 pages)
Advertisement
Quick Links
Advertisement

Related Manuals for Mocka Porto


Summary of Contents for Mocka Porto
- Page 1 Hello, I’ve arrived! Now that I’m here you are only one flat-pack away from transforming your home.
- Page 2 Thank you for supporting us. We believe design belongs to everyone. From materials and processes to safety testing, production and delivery, we are passionate and committed to bringing you the best possible product so you can create beautifully functional spaces to feel comfortably you. Here are a few assembly tips before you get started: Make Time...
- Page 3 For the most up to date versions please refer to the product page on our website. mocka.com.au/mocka.co.nz...
-
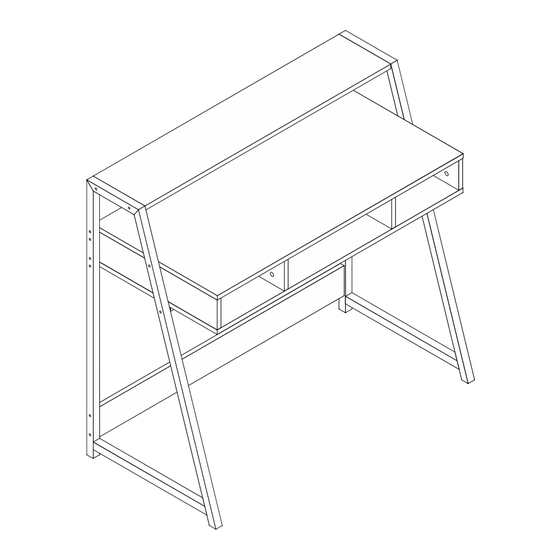
Page 4: Panel Layout
Porto Desk Panel Layout Partlist Panel Lateral plate Bottom plate mesopleuron Roof plate Connecting pipe tergum Iron stand Lower connecting plate... -
Page 5: Hardware Supplied
Porto Desk bolt 30 mm screw bolt 35mm screw screw owel all plug safety strap PVC sticker HARDWARE SUPPLIED WARNING: Any furniture that is not anchored to a wall has the potential to tip over in certain circumstances, i.e. if a child attempts to climb up on the furniture or in the event of an ear thquake. - Page 6 Porto Desk Hardware Needed Hardware Needed...
- Page 7 Porto Desk Hardware Needed Hardware Needed...
- Page 8 Porto Desk Hardware Needed...
- Page 9 Porto Desk Hardware Needed Hardware Needed...
- Page 10 Porto Desk Hardware Needed Hardware Needed you can stick the PVC sticker on visible nut (K) to make the desk pretty. You’re done, enjoy!
Need help?
Do you have a question about the Porto and is the answer not in the manual?
Questions and answers