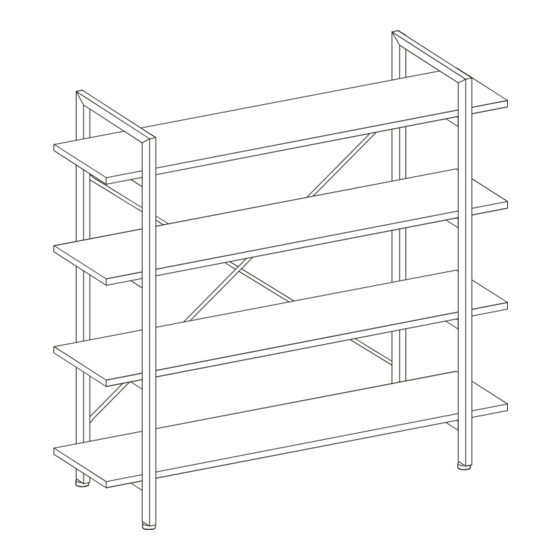
Mocka Porto Assembly Instructions
Bookcase
Hide thumbs
Also See for Porto:
- Assembly instructions manual (10 pages) ,
- Manual (7 pages) ,
- Assembly instructions (4 pages)
Advertisement
Quick Links
Porto
Bookcase
Bookcase
Thank you for purchasing a Mocka
Porto
manufacturer's assembly instructions in detail to ensure the safety
s
features of the
bookcase i
not compromised.
40mm
30mm
25mm
screw x16
screw x8
screw x4
25mm
14mm
nut
screw x2
screw x2
x1
For quicker assembly, we recommend the
use of a power drill on a low-speed setting.
mocka.co.nz I mocka.com.au
. Please follow the
22mm
40mm
nut
screw x1
screw x8
x4
wall
safety
feet
screw x2
screw x2
x4
WARNING:
Any furniture that is not anchored to a wall has the potential to tip over
in certain circumstances, i.e. if a child attempts to climb up on the furniture or in the
event of an earthquake. Accordingly, we recommend that all furniture is anchored
to a wall. We supply a free safety wall anchor with all furniture sold and we
recommend these are used to prevent your product tipping. The fixing device
provided should fit most wall types, but please note that different wall materials
may require different fixing devices from those supplied.
Advertisement

Subscribe to Our Youtube Channel
Summary of Contents for Mocka Porto
- Page 1 Porto Bookcase Bookcase Thank you for purchasing a Mocka Porto . Please follow the manufacturer’s assembly instructions in detail to ensure the safety features of the bookcase i not compromised. WARNING: Any furniture that is not anchored to a wall has the potential to tip over in certain circumstances, i.e.
- Page 2 Connect panels [5] using 1x 22mm screw (B) and 1x nut (E). Attach Attach 4x feet (I) to the bottoms of panels [3]. panels [5] to panels [3] as shown using 4x 25mm screws (A3) and 4x nuts (D). Tighten with the screwdriver. mocka.co.nz I mocka.com.au...
- Page 3 Attach panels [4] to panels [3] using 8x 30mm screws Please Note: Lay down unit for easy assembly. (A2). Tighten with a screwdriver. Attach panels [1] and panel [2] to panels [3] and secure from underneath with 16x 40mm screws (A1). Tighten with a screwdriver. mocka.co.nz I mocka.com.au...
- Page 4 2x 14mm screws (F2). Screw the other end of the straps to the wall using 2x wall anchors (G) and 2x 25mm screws (F1). You’re done, enjoy! mocka.co.nz I mocka.com.au...


Need help?
Do you have a question about the Porto and is the answer not in the manual?
Questions and answers