Mocka Porto Assembly Instructions
Dining table
Hide thumbs
Also See for Porto:
- Assembly instructions manual (10 pages) ,
- Manual (7 pages) ,
- Assembly instructions (4 pages)
Advertisement
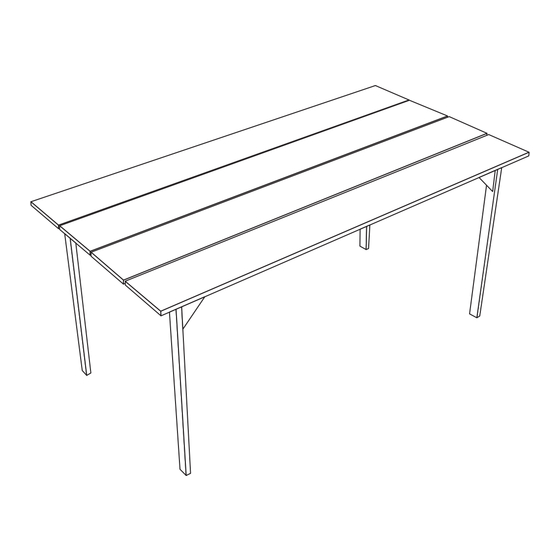
Porto Dining Table
Assembly Instructions
Thank you for your purchase.
Please follow the instructions below for correct assembly.
A
B
C
50mm
30mm
12mm
screw x22
screw x20
screw x8
Hardware Supplied
Phillips screwdriver required
For quicker assembly, we recommend the
use of a power drill on a low-speed setting.
1
mocka.co.nz | mocka.com.au | PO BOX 6171, Maroochydore BC, QLD, 4558
Advertisement
Table of Contents

Related Manuals for Mocka Porto


Summary of Contents for Mocka Porto
- Page 1 50mm 30mm 12mm screw x22 screw x20 screw x8 Hardware Supplied Phillips screwdriver required For quicker assembly, we recommend the use of a power drill on a low-speed setting. mocka.co.nz | mocka.com.au | PO BOX 6171, Maroochydore BC, QLD, 4558...
- Page 2 Attach 3 x support panels [3] to panels [4] and secure with 12 x 30mm (B) and 8 x 12mm screws (C). Tighten with a screwdriver. screws (B). Tighten with a screwdriver. mocka.co.nz | mocka.com.au | PO BOX 6171, Maroochydore BC, QLD, 4558...
- Page 3 Flip unit on its side as shown and attach panels [1] and [2] to panels [3], Lift the completed unit into place, do not drag. You’re done, enjoy! [4] and [5] and secure with 22 x 50mm screws (A). Tighten with a screwdriver. mocka.co.nz | mocka.com.au | PO BOX 6171, Maroochydore BC, QLD, 4558...
Need help?
Do you have a question about the Porto and is the answer not in the manual?
Questions and answers