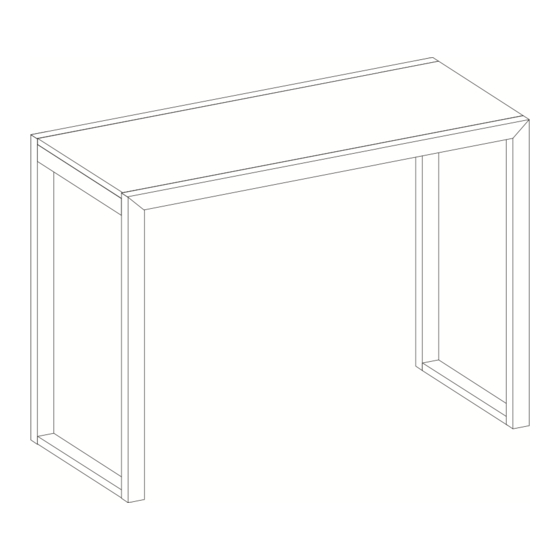
Mocka Porto Assembly Instructions
Console
Hide thumbs
Also See for Porto:
- Assembly instructions manual (10 pages) ,
- Manual (7 pages) ,
- Assembly instructions (4 pages)
Advertisement
Quick Links
Porto Console
Assembly Instructions
Thank you for your purchase.
Please follow the instructions below for correct assembly.
A
B
60mm
35mm
screw x4
screw x16
E
F
25mm
14mm
screw x2
screw x2
Hardware Supplied
Phillips screwdriver required
mocka.co.nz | mocka.com.au
C
D
12mm
feet
screw x8
x4
G
H
wall
safety
anchor x2
strap x2
WARNING:
Any furniture that is not anchored to a wall has the potential to tip over
in certain circumstances, i.e. if a child attempts to climb up on the furniture or in the
event of an earthquake. Accordingly, we recommend that all furniture is anchored to
a wall. We supply a free safety wall anchor with all furniture sold and we recommend
these are used to prevent your product tipping. The fixing device provided should fit
most wall types, but please note that different wall materials may require different
fixing devices from those supplied.
1
Advertisement

Subscribe to Our Youtube Channel
Summary of Contents for Mocka Porto
- Page 1 Porto Console Assembly Instructions Thank you for your purchase. Please follow the instructions below for correct assembly. WARNING: Any furniture that is not anchored to a wall has the potential to tip over in certain circumstances, i.e. if a child attempts to climb up on the furniture or in the event of an earthquake.
- Page 2 Porto Console Assembly Instructions Attach 4x feet (D) to the bottoms of the main panels. Attach the connecting panels to the main panels using 12x 35mm screws (B) and 8x 12mm screws (C) as shown. Tighten with a screwdriver. mocka.co.nz | mocka.com.au...
- Page 3 Porto Console Assembly Instructions Attach panel [1] to the frame from underneath using 4x 60mm screws Attach 2x safety straps (H) to the rear sides of the table and secure with (A) and 4x 35mm screws (B) as shown. Tighten with a screwdriver.
- Page 4 Porto Console Assembly Instructions Lift the completed unit into place, do not drag. Screw the other end of You’re done, enjoy! the straps to the wall using 2x wall anchors (G) and 2x 25mm screws (E). Tighten with a screwdriver.


Need help?
Do you have a question about the Porto and is the answer not in the manual?
Questions and answers