
Related Manuals for DITEC CROSS35


Summary of Contents for DITEC CROSS35
- Page 1 Last version of this manual IP2356EN - 2023-02-14 Technical Manual Ditec CROSS35 Automation for sliding gates (translation of the original instructions) www.ditecautomations.com...
-
Page 2: Table Of Contents
Index Declaration of incorporation of partly completed machinery ..................4 UK Declaration of Conformity ..........................5 Technical data ..............................6 Product lifespan ................................ 8 Operating instructions ........................... 9 Machinery Directive ........................... 9 Installation type .............................. 10 Dimensions .............................. 11 Main components .......................... - Page 3 General safety precautions ATTENTION! Important safety instructions.Please follow these instructions carefully. Failure to observe the information given in this manual may lead to severe personal injury or damage to the equipment.Keep these instructions for future reference. This manual and those for any accessories can be downloaded from www.ditecautomations.com This installation manual is intended for qualified personnel only •...
-
Page 4: Declaration Of Incorporation Of Partly Completed Machinery
Sweden, declare, under our sole responsibility, that the type of equipment with the name: Ditec CROSS35VEI Sliding gate automations with inverter and magnetic limit switches for industrial type entrances with intensive use. complies with the following directives and their amendments: 2006/42/EC Machinery Directive (MD), regarding the following essential health and safety require- ments: 1.1.2, 1.1.3, 1.2.1, 1.2.2, 1.2.3, 1.2.4.2, 1.2.6, 1.3.9, 1.4.3, 1.7.2, 1.7.3, 1.7.4, 1.7.4.1, 1.7.4.2. -
Page 5: Declaration Of Conformity
SE-261 44 Landskrona Sweden Declare under our sole responsibility that the types of equipment with names: Ditec CROSS35VEI Sliding gate automations with inverter and magnetic limit switches for industrial type entrances with intensive use Comply with the following directives and their amendments: •... -
Page 6: Technical Data
1. Technical data Ditec CROSS35VEI Power supply 230 V~ 50 / 60 Hz Motor type 230 V 3~ Power input Thrust 3500 N Gate speed 0.1 - 0.25 m/s 60 m Maximum stroke Pinion Z15 - Module 6 Gate maximum weight... - Page 7 Chart. 1.1 Cycles / hour Ditec CROSS35VEI (T= 25°C) V= 25 cm/s V= 20 cm/s (default) V= 10 cm/s lunghezza anta [m] Gate wing width [m] Although not shown in the chart, the automation allows openings up to 60 m.
-
Page 8: Product Lifespan
(see Chart 1.2). Tab. 1.1 Index of conditioning factors Ditec CROSS35VEI 1750 Kg >2000 Kg Gate wing weight >2500 Kg... -
Page 9: Operating Instructions
1.2 Operating instructions USE: for condominium, industrial and commercial, car park entrances with heavy driveway or pedestrian use. - Not suitable for gates or doors incorporating pedestrian auxiliary doors. - The class of service, usage times and number of consecutive cycles are suggestions. They are statistically measured under average usage conditions and cannot be certain for every single case. -
Page 10: Installation Type
2. Installation type Ref. Code Description Cable 1 Ditec CROSS35VEI Automation with magnetic limit switches / built-in control panel 3G x 1.5 mm² 2 ZEN Transmitter Flashing light 2 x 1 mm² FL24 RG-58 coax Antenna (integrated in the flashing light) cable (50 Ω) -
Page 11: Dimensions
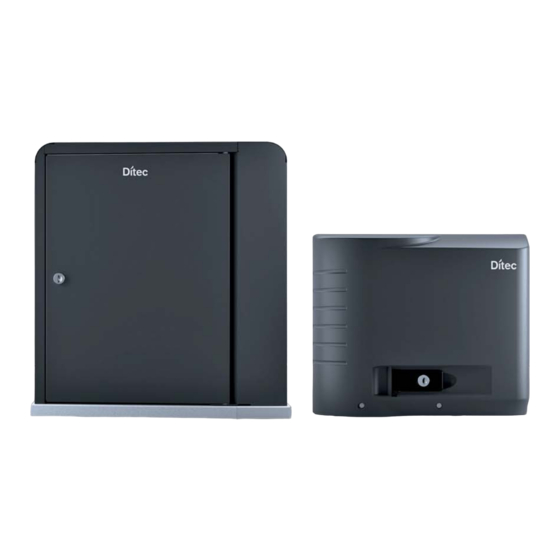
3. Dimensions [mm] 4. Main components Ref. Description Motor Cover Control panel Manual release Anchor ties Lever limit switch unit Magnetic limit switch unit... -
Page 12: Installation
5. Installation Guaranteed operation and stated performance can only be achieved with DITEC accessories and safety devices. All measurements shown are in mm, unless otherwise indicated. 5.1 Preliminary checks Check the stability of the wing (derailment and side falls) and the condition of the running wheels and that the upper guides do not create friction. - Page 13 - Opening to the left OPENING Ø80 Ø12 X+15 (*) [*] CROSSCR6 X=35 min 90 - Opening to the right OPENING Ø80 Ø12 X+15 (*) [*] CROSSCR6 X=35 min 90...
-
Page 14: Installing The Gearmotor
5.3 Installing the gearmotor - Open the gearmotor window. Unscrew TCEI-M8x16 the three screws [A] (the top screw must not be completely unscrewed) and remove the cover. TCEI-M8x16 TCEI-M8x16 - Before placing the gearmotor on the base plate (C), remove the nuts (E) - used to fasten the ties (B). -
Page 15: Adjusting The Gearmotor
5.4 Adjusting the gearmotor - Horizontally, sliding it on the slots in the gearmo- tor base (G) (±20 mm). ± 20 mm - Vertically, using the four levelling screws [H] and inserting the spacers supplied [D]. If the rack is already installed, keep the gearmotor slightly raised from the base plate so that the rack can be fixed and subsequent adjustments are possible. -
Page 16: Rack Installation
5.5 Rack installation WARNING: use a rack module 6. - Release the gearmotor (see paragraph 7) and open the gate. - Rest the rack onto the pinion [I] and manually sliding the gate, fix it throughout its entire length. - Once fixed, vertically adjust the gearmotor (using screws [H] ) to give a play of about 2-3 mm between the pinion and the rack. -
Page 17: Magnetic Limit Switch Installation And Adjustment
5.6 Magnetic limit switch installation and adjustment - Manually place the wing in the completely open position and fix the limit switch bracket [K] onto the rack so that the limit switch exceeds for 1/3 times the length of the bracket. Repeat the operation with the wing fully closed. -
Page 18: Electrical Connections
6. Electrical connections NOTE: the electrical wiring and the start-up of the gearmotors are shown in the control panel installation manuals. Before connecting the power supply, make sure that the data on the plate correspond to the elec- tricity distribution network data. Provide an omnipolar switch/disconnector on the power network with a contact opening distance of 3 mm or more. - Page 19 Closing limit Finecorsa Opening limit Finecorsa Chiude switch Apre switch Microswitch Release switch AUX T di sblocco 0 SW 0 11 0 12 SCHEDA AD INNESTO PLUG-IN BOARD AUX1 SCHEDA AD INNESTO PLUG-IN BOARD AUX2 ZENPRS Antenna ZENRS AUX2 AUX1 RADIO RX Output Uscita 24 V...
-
Page 20: Manual Release Indication
7. Manual release indication 8. Routine maintenance plan Carry out the following operations and checks every 6 months, depending on the how much the automation system is used. Switch off the 230 V~ power supply and unlock the gear motor: - Visually check that the gate, the fixing brackets and the existing structure have the necessary mechanical strength and are in good condition.
Need help?
Do you have a question about the CROSS35 and is the answer not in the manual?
Questions and answers