Table of Contents
Advertisement
Quick Links
Cross14, Cross14E,
Cross14VE, Cross15V
IP1732 - rev. 2005-03-10
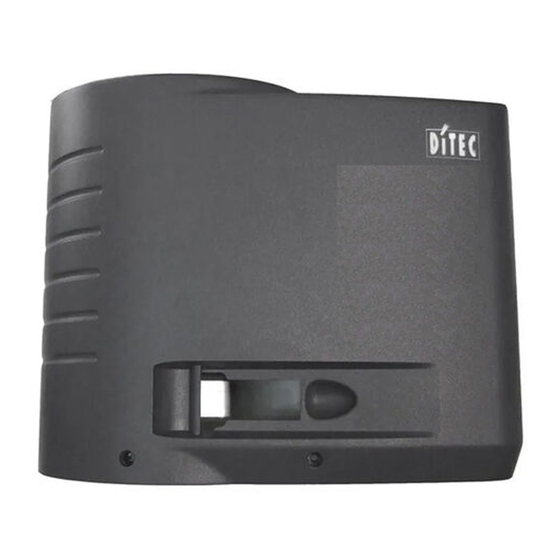
DITEC S.p.A.
Via Mons. Banfi, 3 - 21042 Caronno Pertusella (VA) - ITALY
Tel. +39 02 963911 - Fax +39 02 9650314
www.ditec.it - ditec@ditecva.com
Manuale di installazione e
I
manutenzione
automazioni per cancelli
scorrevoli.
Installation and mainte-
GB
nance manual for sliding
gate automatic system.
Manuel d'installation et
F
d'entretien
automatisme pour portails
coulissants.
Montage und Wartungs-
D
handbuch für Schiebetore
Automatisierung.
Manual de instalaciòn y
E
manutenciòn
automatizaciòn
cancelas de corredera.
Instalação e manutenção
P
manual
para
corrediço
automático.
per
pour
para
de
portão
sistema
Advertisement
Table of Contents

Related Manuals for DITEC Cross14


Summary of Contents for DITEC Cross14
- Page 1 Cross14, Cross14E, Cross14VE, Cross15V IP1732 - rev. 2005-03-10 Manuale di installazione e manutenzione automazioni per cancelli scorrevoli. Installation and mainte- nance manual for sliding gate automatic system. Manuel d'installation et d'entretien pour automatisme pour portails coulissants. Montage und Wartungs- handbuch für Schiebetore Automatisierung.
- Page 2 2x1.5 mm² 4x0.5 mm² TX - 4x0.5 mm² RX - 4x0.5 mm² Fig. 1 Cross14 Cross14E Cross14VE - Cross15V Fig. 2 Fig. 3 DITEC S.P.A - IP1732 - Cross14-15...
- Page 3 230 V ~ 25 µF BLUE FRENO BRAKE BLACK WHITE Fig. 5 Cross 15V BLUE FRENO BLUE VARISTOR BRAKE 460 V BLACK 140˚ WHITE Limit switch BLACK Release switch YELLOW Limit switch BLACK Fig. 6 DITEC S.P.A - IP1732 - Cross14-15...
-
Page 4: General Safety Precautions
For more information consult the “Technical Manual Guidelines” The packaging materials (plastic, polystyrene, etc.) should not available on Internet at the following address: www.ditec.it be discarded in the environment or left within reach of children, as these are a potential source of hazard. -
Page 5: Technical Details
The given operating and performance features can only be guar- N.B.: Make sure that the gate is securely inserted in the slideway anteed with the use of DITEC accessories and safety devices. so that it cannot come out of the slideway and fall. - Page 6 Route the cable ducts through one of the two holes in the pinion and the rack and a gap of approximately 3 mm between middle of the plate. the rack and the rack guide bracket (only Cross14). 3.3 Geared motor installation Release the gearmotor and remove the key. Loosen the two frontal screws and remove the casing [9].
- Page 7 Adjust [A] and [C] so that the limit switches trip cut off the motor about 20 mm before the gate reaches the gate stops. N.B.: Check this is still happening after having performed a certain number of operations. DITEC S.P.A - IP1732 - Cross14-15...
-
Page 8: Electrical Connection
[X] and the tie rod [H] shown in figue is respected. min. 60 Finally, firmly secure the gearmotor by means of nuts [D]. Tighten the chain by means of tie rods [H]. Lightly lubricate the chain and pinion after assembly. DITEC S.P.A - IP1732 - Cross14-15... - Page 9 All installation, maintenance and repair work must be documented and made available to the user. Installer: DITEC S.p.A. Via Mons. Banfi, 3 21042 Caronno Pertusella (VA) - ITALY Tel. +39 02 963911 - Fax +39 02 9650314 www.ditec.it - ditec@ditecva.com...
- Page 10 DITEC S.p.A. Via Mons. Banfi, 3 21042 Caronno P.lla (VA) ITALY Tel. +39 02 963911 Fax +39 02 9650314 www.ditec.it ditec@ditecva.com Quarto d’Altino (VE) Caronno Pertusella (VA) DITEC BELGIUM LOKEREN Tel. +32 (0)9 356 00 51 Fax +32 (0)9 356 00 52 www.ditecbelgium.be...
Need help?
Do you have a question about the Cross14 and is the answer not in the manual?
Questions and answers