Table of Contents
Advertisement
Quick Links
Advertisement
Table of Contents

Subscribe to Our Youtube Channel
Summary of Contents for Midea MHT90BL
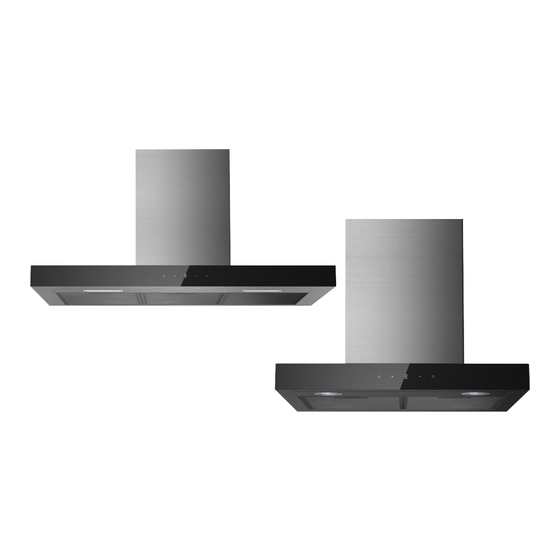
- Page 1 Midea Cooker Hood Instruction MODEL : MHT60BL MHT90BL SAVE THESE INSTRUCTIONS CAREFULLY Read these instructions carefully before using your cooker hood,and keep it carefully. If you follow the instructions, your cooker hood will provide you with many years of good service.
-
Page 2: Recommendations And Suggestions
RECOMMENDATIONS AND SUGGESTIONS The instructions for Use apply to several versions of this appliance. Accordingly, you may find descriptions of individual features that do not apply to your specific appliance. INSTALLATION The manufacturer will not be held liable for any damages resulting from incorrect or improper installation. - Page 3 COMPONENTS Ref. Qty. Product Components Hood Body,complete with: Controls, Light, Blower,Filter. Lower Decorative Chimney Upper Decorative Chimney Flange ( optional ) Exhaust Pipe The Activated Charcoal filter ( optional ) Qty. Documentation Instruction Manual Ref. Qty. Standard Installation Components Screws 5 x 50 Wall Plugs Screws 4,2 x 9,5 Screws 5 x 12...
- Page 4 :mm Min. Min. 650mm 650mm Option Chimney 400+400 448 485-828 500+500 548 585-1028 600+600 648 685-1228...
-
Page 5: Installation
INSTALLATION WALL DRILLING AND BRACKET FIXING solution2 Option Chimney 400X400 155-500 500X500 255-700 600X600 355-900 As a first step, proceed with the following drawings: l line up to the ceiling or up to the upper limit, at the center of the area in which the hood is ... -
Page 6: Chimney Assembly
Hook the hood body Hook the hood body to the bracket 20. Level the hood body itself. Lock screws (M5*12) on the hood fixing bracket to prevent the hood body from accidently sliding off . Remove the filter,from the inside of the hood body, fix the screws 10 to Wall Plugs 11 at the points (3)(solution2). - Page 7 Speed adjustment. After the hood is switched on, a beep sound heard and all key lights are lightened for 1 s, indicating the hood has been powered on. Under the condition the hood power-on: Power Key: control the motor power, under standby state, press the “power” button, “power” ...
-
Page 8: Maintenance
MAINTENANCE GREASE FILTERS CLEANING METAL SELF-SUPPORTING GREASE FILTERS The filters must be cleaned every 2 months of operation, or more frequently for particularly heavy usage, and can be washed in a dishwasher. Remove the filters one by one pushing them towards the back ... -
Page 9: Disposal Of Old Electrical Appliances
Dismantle LED linght module Remove the grease filter and carefully remove the 2 screws from the front plate (a cross headed screwdriver will be needed to remove the screws). Disconnect the terminal of LED light. Press LED light on the back of the front plate, take the LED light out. ... -
Page 10: Troubleshooting
TROUBLE SHOOTING Fault Cause Solution The blades are blocked. Check the blades. The capacitor is damaged. Replace capacitor. Light on, but The motor is damaged. Replace motor. motor does not The internal wiring of motor is cut off/ work Replace motor. disconnected. - Page 12 P/N:16173000A12191...


Need help?
Do you have a question about the MHT90BL and is the answer not in the manual?
Questions and answers