Advertisement
Introduction
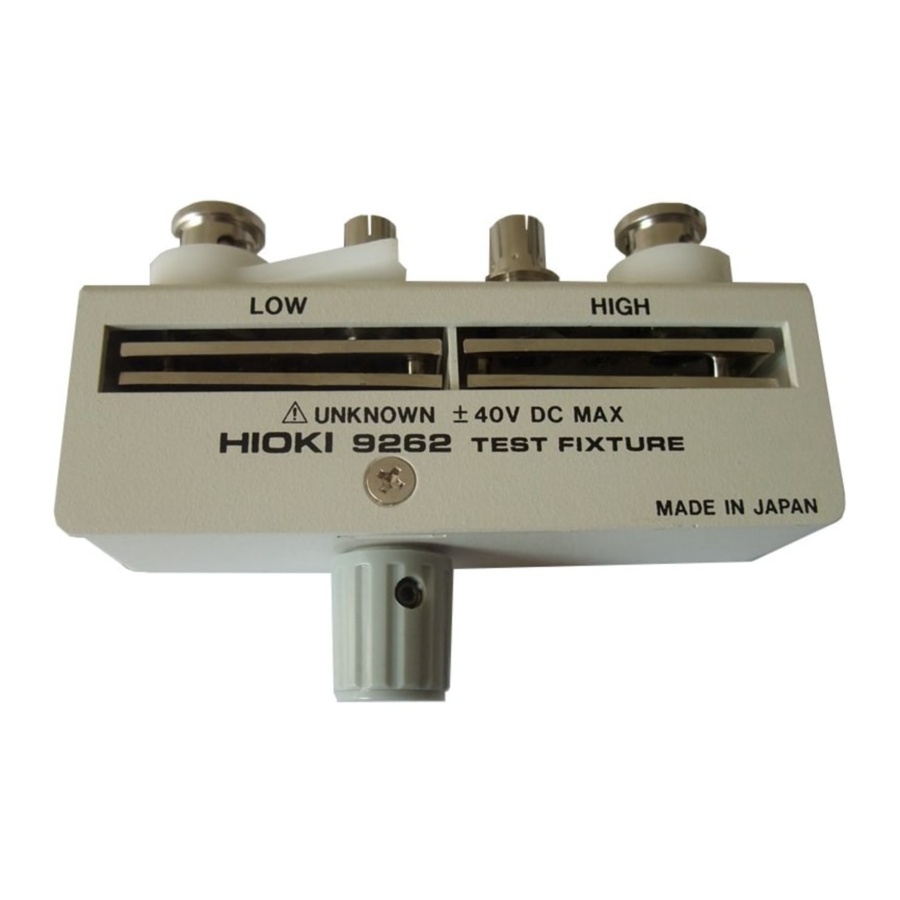
Thank you for purchasing the HIOKI 9262 TEST FIXTURE. To obtain maximum performance from the product, please read this manual first, and keep it handy for future reference.
Overview
This HIOKI 9262 TEST FIXTURE can be directly connected to the measurement terminals (UNKNOWN) of the HIOKI LCR and Z HiTESTERs for testing a lead component. The component can be clamped with a single knob action.
Specifications
| Measurement frequency range | DC to 8 MHz |
| Maximum apply voltage | ±40 VDC |
| Dimensions of sample to be tested | diameter 0.3 to 2 mm separation at least 5 mm |
| Residual resistance | |
| Short-circuited Floating capacitance between terminals | 5 m max. (at 100 Hz) max. (at 100 Hz)2 pF max. (at 5MHz) |
| Dimensions and Mass | Approx.96W x 26H x 33D mm (3.78"W x 1.02"H x 1.30"D) (excluding protrusions), Approx.180 g (6.3 oz.) |
| Operating temperature and humidity range | 0°C to 40°C (32°F to 104°F), 80% RH or less (with no condensation) |
| Storage temperature and humidity range | -10°C to 55°C (14°F to 131°F), 80% RH or less (with no condensation) |
| Operating environment | Indoors, altitude up to 2000 m (6562-ft.) |
| Accessories | Instruction Manual |
| Product warranty period | 3 years |
Please check a HIOKI catalog for instruments to which this product can be connected.
Inspection and Maintenance
Initial Inspection
When you receive the product, inspect it carefully to ensure that no damage occurred during shipping. If damage is evident, or if it fails to operate according to the specifications, contact your dealer or HIOKI representative.
Preliminary Checks
- Before using the product the first time, verify that it operates normally to ensure that the no damage occurred during storage or shipping. If you find any damage, contact your dealer or Hioki representative.
Maintenance and Service
- To clean the product, wipe it gently with a soft cloth moistened with water or mild detergent. Never use solvents such as benzene, alcohol, acetone, ether, ketones, thinners or gasoline, as they can deform and discolor the case.
- If the product seems to be malfunctioning, contact yourdealer or Hioki representative. Pack the product carefully so that it will not be damaged during shipment, and include a detailed written description of the problem. Hioki cannot be responsible for damage that occurs during shipment.
Usage Notes

- Do not store or use the product where it could be ex-posed to direct sunlight, high temperature or humidity, or condensation. Under such conditions, the product may be damaged and insulation may deteriorate so that it no longer meets specifications.
- Do not use the product where it may be exposed to cor-rosive or combustible gases. The product may be damaged.
- This product is not designed to be entirely water- ordust-proof. To avoid damage, do not use it in a wet or dusty environment.
- To avoid damage to the product, protect it from vibra-tion or shock during transport and handling, and be especially careful to avoid dropping.
- If the fixture has gotten seriously wet, oily, or dusty, stop using it and send it for service at an approved HIOKI service facility.
- Please refer to the instruction manual for the instru-ment to which this product is connected for how to use the instrument and apply direct current voltage.
- When attaching or detaching this product from a tester, pull or plug it straight from the measurement terminal of the tester. If the product is attached or detached diagonally, the connecting terminal may distort and affect the measurement value.
Parts Names

Connecting the Test Fixture
Plug the fixture into the measurement terminals (UNKNOWN) of the tester, with the product name up. Fasten it in place with the left and right fixing levers.

Fixing the Samples
Insert the sample (from above) into the sample clamping slot, and clamp it by turning the knob.
 NOTE:
NOTE:
- Samples whose leads differ in diameter by more than 0.4 mmcannot be clamped.
- Be careful to keep dirt away from the clamping slot.
- Make sure the sample is firmly clamped. If not, accurate mea-surements cannot be obtained.

Open and Short Circuit Compensation
To enhance the accuracy of measurement, perform the open and short circuit compensation.
NOTE:
The method of operation depends on the tester towhich the test fixture is connected. Refer to theInstruction Manual for the tester.
Open circuit compensation
Put the test fixture in the open-circuit state, with no connection between the two ends of the clamping slot.
Short circuit compensation
- Use a shorting bar whose impedance is allow as possible. If you use a metallic wire or the like as a shorting bar, try to ensure that it is as thick and short as possible.

- Insert the shorting bar and clamp it, to short the highand low test connections. In order to keep external influences as low as possible, be sure to thrust the shorting bar in all the way.


Documents / ResourcesDownload manual
Here you can download full pdf version of manual, it may contain additional safety instructions, warranty information, FCC rules, etc.
Advertisement


Need help?
Do you have a question about the 9262 and is the answer not in the manual?
Questions and answers