Advertisement
Quick Links
Advertisement

Related Manuals for Kendal Lighting AC-22852


Summary of Contents for Kendal Lighting AC-22852
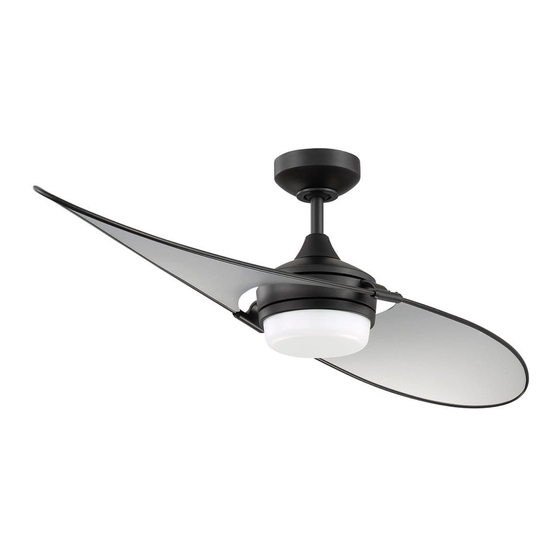
- Page 1 (MODEL NUMBER:AC-22852)
- Page 3 Putting Your Fan Together DOWNROD ASSEMBLY 1. Remove the hairpin clip & washer from the clevis pin and remove clevis pin from down rod. (see Fig.1) HAIR PIN CLIP WASHER 2. Insert the down rod through the center opening in the canopy,coupling cover and route the motor CLEVIS PIN leads through the hanger ball/downrod assembly.
- Page 4 Wiring Your Ceiling Fan OUTLET BOX GREEN WIRE Caution: To avoid possible electrical shock, RECEIVER be sure electricity is turned off at the main fuse box before wiring. BLUE WIRE 1. If you are not sure that the electrical box is WHITE WIRE RED WIRE PURPLE WIRE...
-
Page 5: Installing The Light Kit
Installing The Light Kit 1. Remove 1 of 3 screws on light kit adapter,and loosen the other 2 screws. (See Fig.11) SCREW LIGHT KIT PLATE 2.Gently pull the wire through light kit plate.Have the key hole over the loosened the screws.Turn the light kit plate until it get the end of narrow end. - Page 8 TNA18010303...
-
Page 9: Remote Control Setting And Operation
REMOTE CONTROL SETTING AND OPERATION TRANSMITTER OPERATION Remove the battery cover from the remote control transmitter and install batteries, Replace the cover. Note : Use 2 1.5V/AAA batteries (included). Note : If not using for long period of time, remove battery to prevent damage to remote transmitter, and store the remote transmitter away from excess heat or humidity. - Page 10 Remote Control Fan Speed And Light Functions. Fan speed 1 = minimum speed 2 = low speed 3 = medium low speed 4 = medium speed 5 = medium high speed 6 = high speed This button turns the fan off. Forward / Reverse button- This button controls the direction of the fan rotation .
Need help?
Do you have a question about the AC-22852 and is the answer not in the manual?
Questions and answers