Table of Contents
Advertisement
Quick Links
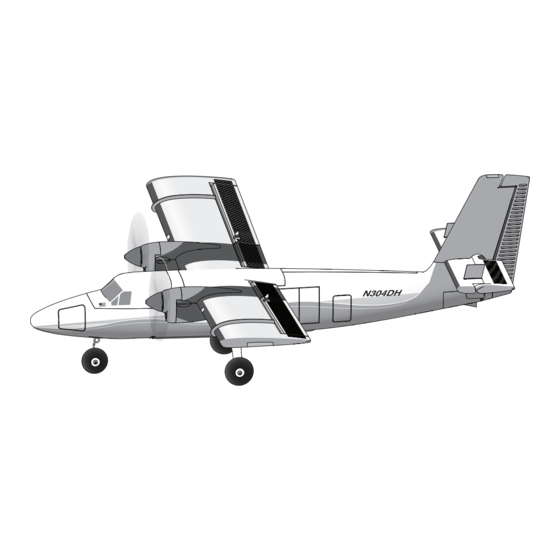
UMX
Twin Otter
™
Scan the QR code and select the Manuals and Support quick links from
the product page for the most up-to-date manual information.
Scannen Sie den QR-Code und wählen Sie auf der Produktseite
die Quicklinks Handbücher und Unterstützung, um die aktuellsten
Informationen zu Handbücher.
Scannez le code QR et sélectionnez les liens rapides Manuals and Support
sur la page du produit pour obtenir les informations les plus récentes
sur le manuel.
Scannerizzare il codice QR e selezionare i Link veloci Manuali e Supporto
dalla pagina del prodotto per le informazioni manuali più aggiornate.
EFLU30050
Instruction Manual
Bedienungsanleitung
Manuel d'utilisation
Manuale di Istruzioni
Advertisement
Table of Contents
Troubleshooting

Related Manuals for Horizon Hobby E-flite UMX Twin Otter


Summary of Contents for Horizon Hobby E-flite UMX Twin Otter
- Page 1 Twin Otter ™ Scan the QR code and select the Manuals and Support quick links from the product page for the most up-to-date manual information. Scannen Sie den QR-Code und wählen Sie auf der Produktseite die Quicklinks Handbücher und Unterstützung, um die aktuellsten Informationen zu Handbücher.
- Page 2 This product is not intended for use by children without direct adult supervision. Do not use with incompatible components or alter this product in any way outside of the instructions provided by Horizon Hobby, LLC. This manual contains instructions for safety, operation and maintenance.
-
Page 3: Table Of Contents
Included / Recommended Equipment 22.6 in (574mm) Motor: Installed (2) 1206-7500Kv Brushless Outrunner; 12-Pole (SPMXAM2600) Servo: Installed (4) 2.3-Gram Long-Throw Linear Servo (SPMSA2030L) Receiver: Installed Spektrum AS3X/SAFE Receiver (SPMA3192) ™ Recommended Battery: Required Spektrum 800mAh 1S 3.7V 30C; JST-RCY Li-Po (SPMX8001S30) Recommended Battery Charger: Required... -
Page 4: Low Voltage Cutoff (Lvc)
Low Voltage Cutoff (LVC) When a Li-Po battery is discharged below 3V per cell, it about half capacity before storage. Make sure the battery will not hold a charge. The aircraft’s ESC protects the flight charge does not fall below 3V per cell. Failure to unplug a battery from over-discharge using Low Voltage Cutoff connected battery will result in trickle discharge. -
Page 5: Safe ® Select Technology
SAFE Select Technology ® The UMX Twin Otter has two flight modes controlled by stick deflected with moderate aileron input when flying Channel 5, SAFE and AS3X. Switch A is the Spektrum default through a turn. To fly smoothly with SAFE, avoid making for channel 5. -
Page 6: Esc/Receiver Arming And Battery Installation
ESC/Receiver Arming and Battery Installation CAUTION: Always keep hands away from the propellers. When armed, the motor will turn the propellers in response to any throttle movement. Arming the ESC/receiver also occurs after binding as previously described, but subsequent connection of a flight battery requires the following steps. -
Page 7: Control Direction Test
Control Direction Test Switch on the transmitter, enable throttle cut and connect the battery. Use the transmitter to operate the aileron, elevator and rudder controls. View the aircraft from the rear when checking the control directions. Transmitter Control Surface Response command Elevators 1. -
Page 8: As3X Control Response Tests
AS3X Control Response Tests This test ensures that the AS3X control system is functioning properly. ® 1. Advance the throttle above 25% to activate the AS3X system. 2. Fully lower the throttle and enable throttle cut. 3. Move the entire aircraft as shown and ensure the control surfaces move in the direction indicated in the graphic. -
Page 9: Float Set Installation (Optional)
Float Set Installation (Optional) Landing Gear Removal 1. Pull the nose gear assembly out of the plastic nose gear wheel mount. 2. Slightly squeeze together the sides of the main gear and pull the main gear away from the fuselage. When needed, assemble in reverse order. -
Page 10: Control Horn Settings
Control Horn Settings The illustration shows the factory settings for the control Aileron Elevator horns. Fly the aircraft at factory settings before making changes. After flying, you may choose to adjust the linkage positions for the desired control response. CAUTION: When these are incorrectly connected for the pilot’s skill level, unexpected aircraft response to controls can result. -
Page 11: Differential Thrust
Differential Thrust When the rudder stick is moved to the left. The right motor will accelerate, which will cause the aircraft to yaw left in flight. When the rudder stick is moved to the right. The left motor will accelerate, which will cause the aircraft to yaw right in flight. -
Page 12: As3X ® System Trouble Shooting Guide
AS3X System Trouble Shooting Guide ® Problem Possible Cause Solution Control surfaces may not have been Center control surfaces mechanically by Control surfaces not at mechanically centered from factory adjusting the U-bends on control linkages neutral position when Aircraft was moved after the flight battery transmitter controls are Disconnect and reconnect the flight battery was connected and before sensors... -
Page 13: Troubleshooting Guide
Troubleshooting Guide Problem Possible Cause Solution Less than a 5-second wait between first Leaving transmitter on, disconnect and powering on transmitter and connecting reconnect flight battery to aircraft flight battery to aircraft Select correct model memory on transmitter Aircraft bound to different model memory and disconnect and reconnect flight battery (ModelMatch radios only) -
Page 14: Replacement Parts
Replacement Parts Recommended Parts Part # Description Part # Description EFLU30051 Fuselage: UMX Twin Otter SPMX8001S30 800mAh 1S 3.7V 30C LiPo; JST EFLU30052 Tail Set: UMX Twin Otter SPMR6655 DX6e Ch Transmitter Only EFLU30053 Landing Gear: UMX Twin Otter SPMXC1060 S63 6 Port USB 1S LiPo Charger EFLU30054 Battery Hatch: UMX Twin Otter... -
Page 15: Important Federal Aviation Administration (Faa) Information
Product, (iv) attempted ser- right to inspect any and all Product(s) involved in a warranty vice by anyone other than a Horizon Hobby authorized service claim. Service or replacement decisions are at the sole discre- center, (v) Product not purchased from an authorized Horizon tion of Horizon. -
Page 16: Contact Information
2904 Research Rd (Product Technical Assistance) of America 877-504-0233 Champaign, Illinois, 61822 USA websales@horizonhobby.com Sales 800-338-4639 Horizon Technischer Service service@horizonhobby.eu Hanskampring 9 European Union D 22885 Barsbüttel, Germany Sales: Horizon Hobby GmbH +49 (0) 4121 2655 100 UMX Twin Otter BNF Basic... -
Page 17: Fcc Information
EU Compliance Statement: Horizon Hobby, LLC EFL UMX Twin Otter BNF Basic 2904 Research Road (EFLU30050): Hereby, Horizon Hobby, LLC Champaign, IL 61822 USA declares that the device is in compliance with the following: EU Radio Equipment Directive 2014/53/EU, EU Importer of Record:... - Page 18 ©2022 Horizon Hobby, LLC. E-flite, AS3X, UMX, DSM, DSM2, DSMX, ModelMatch, Bind-N-Fly, the Bind-N-Fly logo and the Horizon Hobby logo are trademarks or registered trademarks of Horizon Hobby, LLC. The Spektrum trademark is used with permission of Bachmann Industries, Inc.
Need help?
Do you have a question about the E-flite UMX Twin Otter and is the answer not in the manual?
Questions and answers