
Related Manuals for Horizon Hobby E-flite UMX Turbo Timber


Summary of Contents for Horizon Hobby E-flite UMX Turbo Timber
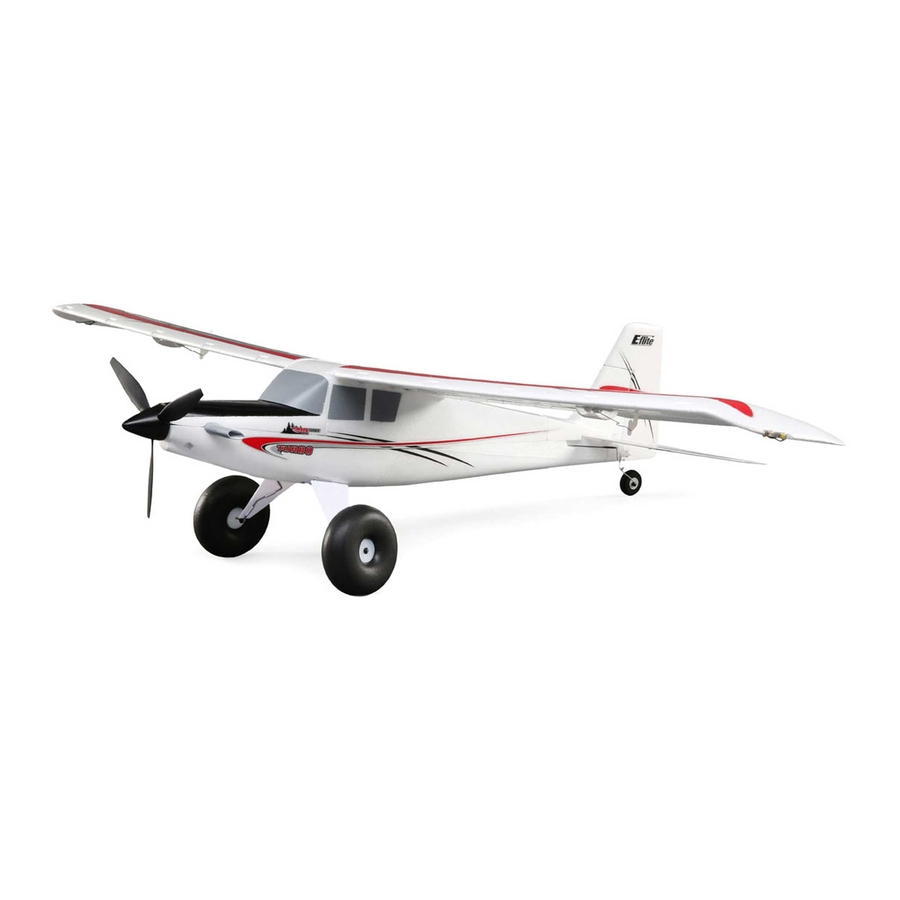
- Page 1 ™ ® Turbo Timber Instruction Manual Bedienungsanleitung Manuel d’utilisation Manuale di Istruzioni...
- Page 2 NOTICE All instructions, warranties and other collateral documents are subject to change at the sole discretion of Horizon Hobby, LLC. For up-to-date product literature, visit horizonhobby.com or towerhobbies.com and click on the support tab or resources for this product. Meaning of Special Language: The following terms are used throughout the product literature to indicate various levels of potential harm when operating this product: WARNING: Procedures, which if not properly followed, create the probability of property damage, collateral damage,...
-
Page 3: Table Of Contents
Table of Contents Specifi cations ..............3 Power Components Service ..........10 Prefl ight Checklist .............3 Slat Installation (Optional) ..........11 Transmitter and Receiver Binding ........4 Float installation (Optional) ..........11 ® SAFE Select Technology ..........4 AS3X Troubleshooting Guide ...........12 Transmitter Setup .............5 Troubleshooting Guide ............12 Dual Rates and Expos ............5 Troubleshooting Guide (Continued) ........13 ESC/Receiver Arming, Battery Installation... -
Page 4: Transmitter And Receiver Binding
Transmitter and Receiver Binding Binding is the process of programming the receiver to recognize the GUID (Globally Unique Identifi er) code of a single ™ specifi c transmitter. You need to ‘bind’ your chosen Spektrum DSM2/DSMX technology equipped aircraft transmitter to the receiver for proper operation. -
Page 5: Transmitter Setup
Transmitter Setup ® ® To obtain the best fl ight performance, we recommend using a DSM2 /DSMX Computerized Transmitter Setup transmitter capable of Dual Rates. Before binding, ensure that you are starting (DX6e, DX6 G2, DX7 G2, DX8 G2, DX9, with a blank acro model in your transmitter. -
Page 6: Esc/Receiver Arming, Battery Installation And Center Of Gravity
ESC/Receiver Arming, Battery Installation and Center of Gravity CAUTION: Always keep hands away from the propeller. When armed, the motor will turn the propeller in response to any throttle movement. Arming the ESC/receiver also occurs after binding as previously described, but subsequent connection of a fl... -
Page 7: Control Direction Tests
Control Direction Tests Traditional Control Direction Test You should bind your aircraft and transmitter before doing these tests. Move the controls on the transmitter to make sure the aircraft control surfaces move correctly and in the proper direction. Make sure the tail linkages move freely and that paint or decals are not adhered to them. -
Page 8: Control Centering
Control Centering Before your fi rst fl ight, make sure the aircraft’s control surfaces are centered. 1. Power on the transmitter and then the aircraft. 2. Set all transmitter trims and sub-trims to zero. 3. Check the control surfaces to make sure they are centered. -
Page 9: Flying Tips And Repairs
Flying Tips and Repairs We recommend fl ying your aircraft outside in calm During fl are, keep the wings CAUTION: Always conditions. Always avoid fl ying near houses, trees, wires level and the airplane pointed decrease throttle and buildings. You should also be careful to avoid fl ying into the wind. -
Page 10: Power Components Service
Power Components Service Disassembly CAUTION: DO NOT handle the propeller while the fl ight battery is connected to the ESC. Personal injury could result. Propeller 1. Carefully remove the screw (A) and propeller (B) from the motor shaft. Motor 1. Remove the battery hatch by gripping the front of the hatch, then pulling it up and away from the fuselage. -
Page 11: Slat Installation (Optional)
Slat Installation (Optional) Required Adhesives Foam Safe CA 1. Apply a small drop of foam safe CA to each mount. 2. Carefully mount the slat onto the wing with the rounded edge facing forward. Float installation (Optional) Landing Gear Removal 1. -
Page 12: As3X Troubleshooting Guide
AS3X Troubleshooting Guide Problem Possible Cause Solution Control surfaces may not have been Center control surfaces mechanically by Control surfaces not at mechanically centered from factory adjusting the U-bends on control linkages neutral position when transmitter controls are Aircraft was not kept immobile for 5 seconds Keep the aircraft immobile for 5 seconds after at neutral after battery was plugged in... -
Page 13: Troubleshooting Guide (Continued)
What this Warranty Covers OTHER THAN THE EXPRESS WARRANTY ABOVE, HORIZON MAKES NO OTHER WARRANTY OR REPRESENTATION, AND Horizon Hobby, LLC, (Horizon) warrants to the original HEREBY DISCLAIMS ANY AND ALL IMPLIED WARRANTIES, purchaser that the product purchased (the “Product”) will... - Page 14 purchase is required for all warranty claims. SERVICE OR at our facility. An Online Service Request is available at REPLACEMENT AS PROVIDED UNDER THIS WARRANTY IS http://www.horizonhobby.com/content/service-center_ THE PURCHASER’S SOLE AND EXCLUSIVE REMEDY. render-service-center. If you do not have internet access, please contact Horizon Product Support to obtain a RMA Limitation of Liability number along with instructions for submitting your product...
-
Page 15: Warranty And Service Contact Information
Compliance Information for the European Union EU Compliance Statement: Horizon Hobby, LLC hereby declares that this product is in compliance with the essential requirements and other relevant provisions of the RED and EMC Directive. A copy of the EU Declaration of Conformity is available online at: http://www.horizonhobby.com/content/support-render-compliance. -
Page 16: Replacement Parts
Replacement Parts / Ersatzteile / Pièces de rechange / Recapiti per i ricambi Part # • Nummer Description Beschreibung Description Descrizione Numéro • Codice EFLU6953 Fuselage Rumpf Fuselage Fusoliera EFLU6954 Wing Set Tragfl ächensatz Ensemble d’ailes Set ali Ensemble d’empennage Set coda con EFLU6955 Tail set with horns... -
Page 17: Optional Parts And Accessories
Optional Parts and Accessories / Optionale Bauteile und Zubehörteile / Pièces optionnelles et accessoires / Parti opzionali e accessori Part # • Nummer Description Beschreibung Description Descrizione Numéro • Codice Hook and Loop Set (5): Klettband (5): Ultra Bande auto-agrippante Set fascette fi... - Page 18 E-fl ite, Timber, AS3X, UMX, SAFE, the SAFE logo, DSM, DSM2, DSMX, ModelMatch, Bind-N-Fly, BNF, Celectra and the Horizon Hobby logo are trademarks or registered trademarks of Horizon Hobby, LLC. The Spektrum trademark is used with permission of Bachmann Industries, Inc.
Need help?
Do you have a question about the E-flite UMX Turbo Timber and is the answer not in the manual?
Questions and answers