Advertisement
T1 Tools Needed
1. Phillips screwdriver
P1 Parts Needed
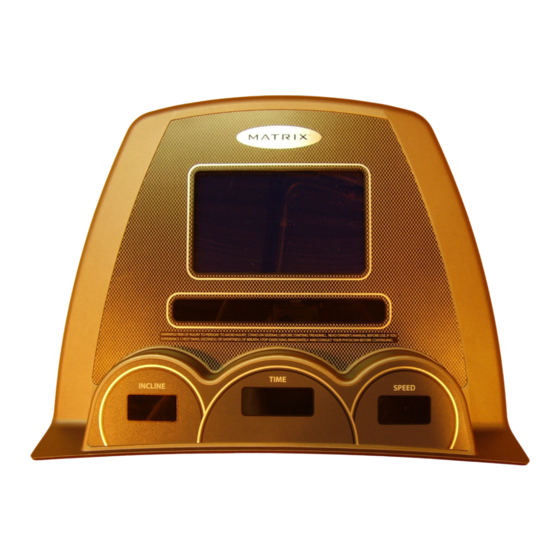
1. Console Face Assembly
Part Number: 013754-BJ
Installation Time:
Approximately 15 minutes
Note: After installing the new LCB you will need to AUTO CHECK the treadmill. If the treadmill passes AUTO
CHECK then run the treadmill for 10 minutes in Manual Mode and check for errors.
Work Instructions
1. Remove the two screws from the bottom of the console
3. Locate all of the connectors on the console board
4. Remove the console data cable
1000335 Rev 1
T3x Treadmill Console Replacement SOP
T1
1.
2. Remove the console face from the console
5. Remove the LED 1 cable
date 3/30/06
P1
1.
6. Remove the heart rate cable
1
Advertisement
Table of Contents

Related Manuals for Matrix 013754-BJ


Summary of Contents for Matrix 013754-BJ
- Page 1 T1 Tools Needed 1. Phillips screwdriver P1 Parts Needed 1. Console Face Assembly Part Number: 013754-BJ Installation Time: Approximately 15 minutes Note: After installing the new LCB you will need to AUTO CHECK the treadmill. If the treadmill passes AUTO CHECK then run the treadmill for 10 minutes in Manual Mode and check for errors.
- Page 2 7. Remove the safety key cable 8. Remove the cardio power port 9. Remove the left & right keypad cables 10. Remove the console face from the console 11. Install the new console face. 12. Reconnect the cardio power port 13.
- Page 3 16. Reconnect the console data cable 17. Reconnect the left & right key pad cables 18. Install the console face on to the console 19 Install the 2 screws in the bottom of the console Note: After installing the new Console you will need to AUTO CHECK the treadmill. Please follow the Testing the system (AUTO CHECK) instruction in the next section Testing the system (Auto Check):...
- Page 4 1. Hold down the & + keys for 3 seconds to 2. Use the arrows to select the Auto Check value Enter Engineer Mode 3. To run Auto Check press the SELECT key The AUTO CHECK will first calibrate minimum and maximum elevation. Once the values are stored the speed calibration will start 5.
Need help?
Do you have a question about the 013754-BJ and is the answer not in the manual?
Questions and answers