Kinderkraft JUNIOR FIX 2 i-Size User Manual
Hide thumbs
Also See for JUNIOR FIX 2 i-Size:
- User manual (96 pages) ,
- User manual (18 pages) ,
- User manual (21 pages)

Related Manuals for Kinderkraft JUNIOR FIX 2 i-Size


Summary of Contents for Kinderkraft JUNIOR FIX 2 i-Size
- Page 1 JUNIOR FIX 2 i-Size USER GUIDE MODEL: JUNIOR FIX 2 i-Size ECE R129.03 v.1.1 v.1.1 MODEL: I-GUARD ECE.R129.03 ver. 1.2...
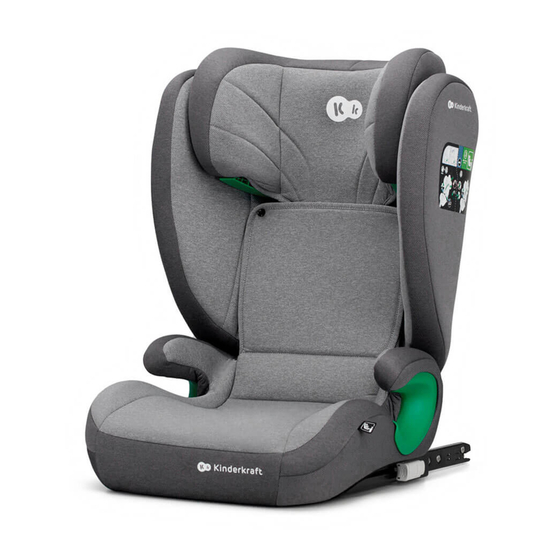
- Page 2 ATTENTION! Product graphics are for reference only. Please read this user manual carefully before using your child’s car seat for the first time. It is your responsibility to ensure your child's safety and failure to read this manual may affect it. 1.0 Car seat elements 1.
-
Page 3: Safety Instructions
The car seat has been designed, tested and approved under the requirements of UN/ECE Regulation No. 129 concerning the approval of child restraint systems (UN/ECE R129/03). The JUNIOR FIX 2 i-Size car seat is dedicated to transporting children between 100 and 150 cm in height (up to approx. 12 years of age). - Page 4 • Only an optimally adjusted headrest can provide your child maximum protection and comfort, ensuring appropriate belts fit simultaneously. • An entire Surface of the Kinderkraft JUNIOR FIX 2 car seat backrest should adhere to the backrest of the vehicle seat to ensure the best protection for the child.
- Page 5 • The car seat cannot be used without the cover. • Stop using the car seat once its parts have been damaged or loosened. • Do not use replacement covers other than ones recommended by the manufacturer, as it's an •...
- Page 6 B. 1 B. 2 4.0 Installation in a car 4.1 Forward-facing car seat installation for children from 100 to 150 cm (approx. 3.5 to 12 years of age) using the vehicle's seat belt and ISOFIX system. • Press the ISOFIX system release buttons and slide out the ISOFIX latches (9) as far as possible (pic.
- Page 7 B. 4a B.4b 4.2 Forward-facing car seat installation for children from 100 to 150 cm (approx. 3.5 to 12 years of age) using the vehicle's seat belt. IMPORTANT! The vehicle manual provides the location of the mounting points and other necessary information regarding the installation of the car seat in the car.
- Page 8 4.3 Car seat disassembly (ISOFIX installation system) • Simulanteneously press the ISOFIX release buttons (10) on both shoulders of the ISOFIX connector (9). Once the latches release and the indicator's colour turns red, slide out the car seat from the ISOFIX guides (pic. B.5). The car seat is now disassembled from the ISOFIX installation system now.
- Page 9 C. 1 5.0 Headrest height A correctly positioned headrest ensures optimal positioning of the seat belt shoulder section and provides protection and comfort for the child. CAUTION! The shoulder belt should be crossing between the child's shoulder and neck! The headrest should fit tightly around the child's head, and the lower part of the headrest should be at the child's shoulder height (pic.
-
Page 10: Adjusting The Backrest
5.1 Adjusting the backrest The car seat's backrest (2) easily adapts to the position of the vehicle seat. • The car seat backrest is mobile, which makes it possible to adjust it precisely to the plane of the vehicle seat. Recline the backrest until it is in a position adjacent to the seat (pic. C.4). 5.2 Assembly/disassembly of seat and backrest To assemble the car seat, place the backrest flat behind the seat, hook the lower part of the backrest to the seat and twist the seat in the backrest to seat connector (8) as far as it is only... - Page 11 6.0 Removing/fitting the cover • Removing the backrest and seat cover: unzip the cover, the snaps are on its edges (four at the back of the car seat, two on the backrest in front) (pic. D.1). You can take the cover off the car seat (pic.
- Page 12 30°C. The cover should not be spun or tumble-dried (which may cause the fabric layers to separate). • Plastic parts can be cleaned with water and diluted soap. Do not use aggressive cleaning agents (such as solvents). The full text of the Terms and Conditions of the Warranty is available on the website WWW.KINDERKRAFT.COM...
Need help?
Do you have a question about the JUNIOR FIX 2 i-Size and is the answer not in the manual?
Questions and answers