Advertisement
Introduction
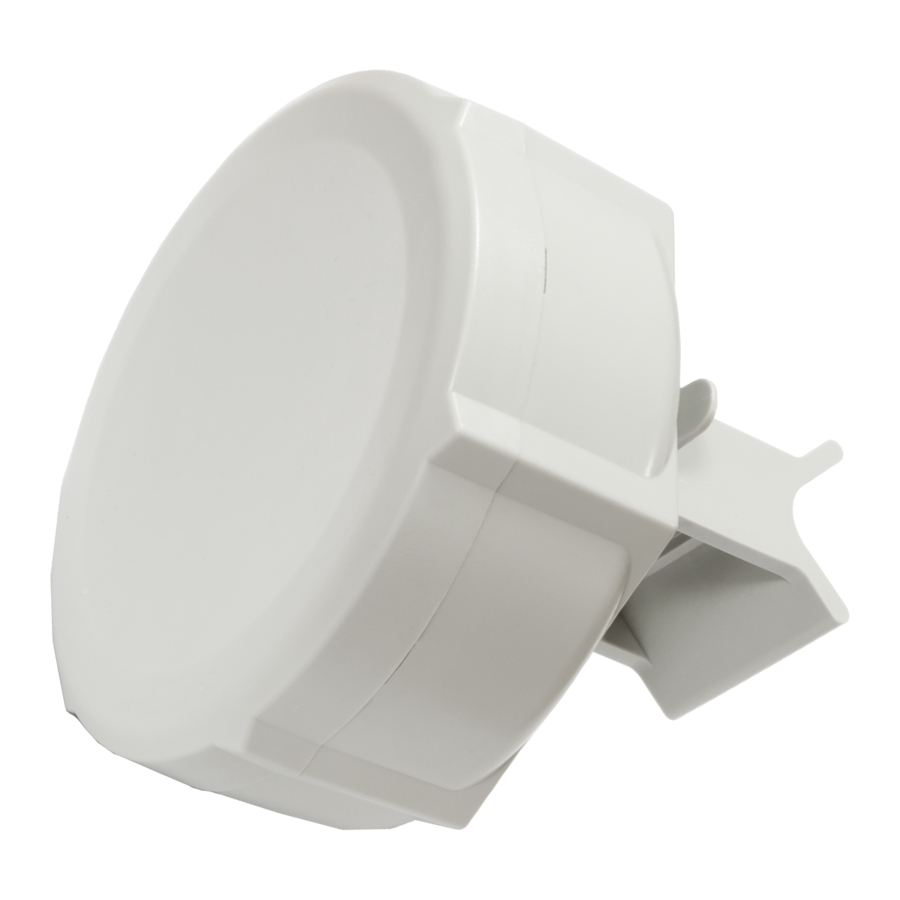
The SXT Lite5 ac comes as a complete set, and includes a built in 802.11ac dual chain wireless device, and a dual polarization 16dBi, 28 degree antenna. It has one Ethernet connector which supports MDI-X auto detection.

First use
- Connect an Ethernet cable to the port behind the small plastic door
- The SXT accepts 24V PoE from the supplied PoE injector
- The default IP address from LAN is 192.168.88.1 for configuration
- Username is admin and there is no password
Powering
The board accepts powering from the Ethernet port (Passive PoE) 9-30V DC.
Package contains a 24V adapter and a passive PoE injector.
Booting process
RouterOS is the operating system of all RouterBOARD routers. Please see detailed configuration guide here: http://wiki.mikrotik.com/wiki/Category: Manual
This device doesn't come fitted with a Serial Port connector, so initial connection has to be done via the Ethernet cable, using the MikroTik Winbox utility. Winbox should be used to connect to the default IP address of 192.168.88.1 with the username admin and no password.
In case IP connection is not available, Winbox can also be used to connect to the MAC address of the device. More information here: http://wiki.mikrotik.com/wiki/First_time_startup
In case you wish to boot the device from network, for example to use MikroTik Netinstall, hold the RESET button of the device when starting it until the LED light turns off (behind the small door), and SXT will start to look for Netinstall servers.
Management wireless
The SXT Lite5 ac has a secondary wireless interface only for management purposes. It is a 2GHz 802.11b/g/n interface attached to an internal 1.5dBi antenna for low range connection. By default, this interface is disabled. You need to connect to the device and enable the second wlan interface with your own desired configuration.
Mounting
With the clip pointed forward, slide the mounting bracket into the rail on the bottom of the case, until the clip clicks into place. The SXT comes bundled with a hose clamp - guide the clamp through the opening in the bracket and around the pole where it will be mounted. Tighten the hose clamp screw when alignment is complete. Two screw holes are provided as additional security against accidental bracket movement.
The SXT device has a sliding door, behind which the Ethernet port and the reset jumpers are located. This door can be also secured shut with a screw in the provided screw hole.
Buttons and Jumpers
The Reset button is located behind the door, and has following functions:
- Hold this button during boot time until LED light starts flashing, release the button to reset RouterOS configuration (total 5 seconds)
- Keep holding for 5 more seconds, LED turns solid, release now to turn on CAP management mode, used if you want the device be controlled by CAPsMAN (total 10 seconds)
- Or Keep holding the button for 5 more seconds until until LED turns off, then release it to make the RouterBOARD look for Netinstall servers (total 15 seconds)
Operating System Support
Currently tested operating system is MikroTik RouterOS (starting from version v6.29).
Copyright and Warranty information
Copyright MikroTikls SIA. This document contains information protected by copyright law. No part of it may be reproduced or transmitted in any form without prior written permission from the copyright holder. RouterBOARD, RouterOS, RouterBOOT and MikroTik are trademarks of MikroTikls SIA. All trademarks and registered trademarks appearing in this document are the property of their respective holders.
Hardware. MikroTik warrants all RouterBOARD series equipment for the term of twelve (12) months from the shipping date to be free of defects in materials and workmanship under normal use and service, except in case of damage caused by mechanical, electrical or other accidental or intended damages caused by improper use or due to wind, rain, fire or other acts of nature.
To return failed units to MikroTik, you must perform the following RMA (Return Merchandise Authorization) procedure.
RMA Instructions are located on our webpage here: http://rma.mikrotik.com
See www.routerboard.com for more information. Contact support@mikrotik.com for support questions.
Documents / Resources
References
![wiki.mikrotik.com]() Category:Manual - MikroTik Wiki
Category:Manual - MikroTik Wiki![wiki.mikrotik.com]() Manual:First time startup - MikroTik Wiki
Manual:First time startup - MikroTik Wiki![rma.mikrotik.com]() MikroTik Routers and Wireless - RMA
MikroTik Routers and Wireless - RMA![www.routerboard.com]() MikroTik Routers and Wireless - Products
MikroTik Routers and Wireless - Products
Download manual
Here you can download full pdf version of manual, it may contain additional safety instructions, warranty information, FCC rules, etc.
Advertisement


Need help?
Do you have a question about the SXT Lite5 ac and is the answer not in the manual?
Questions and answers