Advertisement
Quick Links
Important: Read all instructions prior to installation.
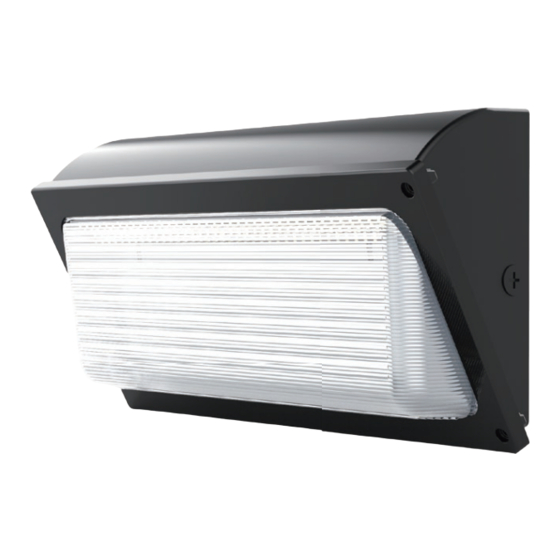
Slim LED Wall Pack
WPGL2-50K100-H
Wiring Diagram
120–277 VAC Input
Line
Line
L
Neutral
L
Neutral
N
Ground
N
Ground
GND
GND
GND
GND
0–10 V Dimming
Dim (+)
Dim (+)
+
Dim (-)
+
-
Dim (-)
-
Opening Fixture
1. Remove front cover retaining screws and swing front
housing open.
2. Loosen reflector retaining screws and slide reflctor down
and out of the housing. The reflector has a hanging cable
to allow it to hang in place during installation.
Note: Be careful handing the reflector as the edges of the
reflector as it can be sharp in places.
Safety and Notes
• Product should be installed and serviced by a certified electrician in accordance
with applicable national, state, and local building and electrical codes.
• To reduce the risk of electric shock, ensure that the main power source and circuit
breakers are switched off before performing any installation or wiring procedures.
• Avoid looking directly into lamp when illuminated.
• Ensure all mounts are securely attached and will support the weight of the fixture.
Failure to properly support fixture may result in damage or injury, for which the
manufacturer does not assume responsibility.
• Photocell sensor can be disabled by unplugging it and capping the connector that
was attached to the sensor.
Black
L
Black
White
L
N
White
Green
N
Green
Purple
+
Purple
Pink / Grey
+
-
Pink / Grey
-
Specifications
Model
Operating Temperature
IP Rating
Dimming
Check product label for specific electrical
specifications related to installation.
Improper installation will void warranty.
Rev Date: V1 11/30/2021
4400 Earth City Expy, St. Louis, MO 63045
User Manual
WPGL2 Series
WPGL2-50Kx-H
WPGL2-SW3Bx-HPC
-40°–113° F (-40°–45° C)
IP65
0–10 V
retaining screws
866-590-3533
reflector
front cover
retaining screws
superbrightleds.com
Advertisement

Related Manuals for superbrightleds WPGL2 Series


Summary of Contents for superbrightleds WPGL2 Series
- Page 1 User Manual WPGL2 Series Important: Read all instructions prior to installation. Slim LED Wall Pack Safety and Notes • Product should be installed and serviced by a certified electrician in accordance with applicable national, state, and local building and electrical codes.
- Page 2 User Manual WPGL2 Series Important: Read all instructions prior to installation. Slim LED Wall Pack Installation (Junction box) 1. Remove supply power, open fixture, and remove reflector. 2. Drill holes in rear housing for mounting and remove pipe plug for junction box wiring.
Need help?
Do you have a question about the WPGL2 Series and is the answer not in the manual?
Questions and answers