Advertisement
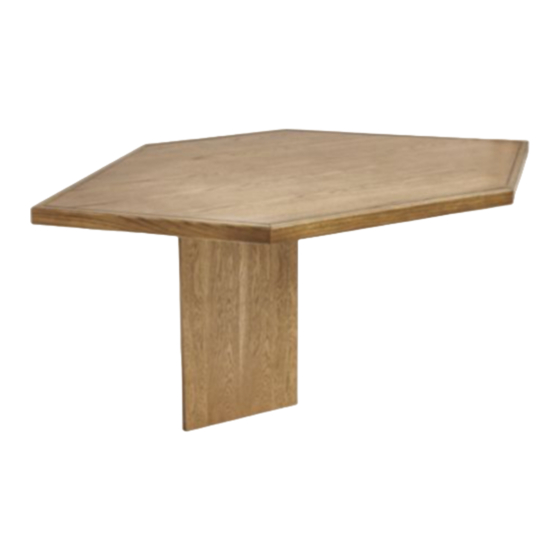
PRODUCT NAME: Original Home Office Corner Desk Addition Zinc Work Surface*
ITEM NUMBER: MO536
ASSEMBLED DIMENSIONS : 28"H x 53 3/4"W x 33"D
*Corner Desk Addition Work Surface is designed for use with other Original Home Office Cabinets
and Work Surface Tops. Sold separately. Not designed as a stand alone work surface.
PRODUCTS ARE NOT INTENDED
FOR COMMERCIAL USE.
UPDATED: 2-23-2021
TM
Prevent accidentally discarding small parts or
hardware. Retain all carton contents until assembly
and installation are complete.
Customer Service: 800-367-2810
Online: www.ballarddesigns.com
IMPORTED
Page 1 of 5
Advertisement
Table of Contents

Subscribe to Our Youtube Channel
Related Manuals for Ballard Designs MO536


Summary of Contents for Ballard Designs MO536
- Page 1 Online: www.ballarddesigns.com PRODUCT NAME: Original Home Office Corner Desk Addition Zinc Work Surface* ITEM NUMBER: MO536 ASSEMBLED DIMENSIONS : 28”H x 53 3/4”W x 33”D *Corner Desk Addition Work Surface is designed for use with other Original Home Office Cabinets and Work Surface Tops.
- Page 2 Assemble in location for intended use. Ltr. Qty. Hardware Included TOOLS REQUIRED: Wood Screw Phillips Screwdriver -Two person assembly suggested. Coarse Wood Screw Remove all parts, hardware and protective packaging from carton L-Bracket and carefully arrange on a clean, level, padded surface. Connector Ltr.
- Page 3 STEP 1: Remove components and hardware from packaging. STEP 2: Secure L-Brackets (C) to Leg (F) using Coarse Wood Screws (B). Firmly tighten. Customer Service: 800-367-2810 Online: www.ballarddesigns.com Page 3 of 5...
- Page 4 STEP 3: Invert Top (E) onto a clean, level, padded surface. Secure L-Brackets (C) on Leg (F) to Top (E) using Coarse Wood Screws (B). STEP 4: Attach Connectors (D) to underside end of each *Original Home Office Work Surface Top using Wood Screws (A).
- Page 5 STEP 5 : Attach Connectors (D) to underside end of each Original Home Office Top using Wood Screws (A). Align Brackets over pre-dilled holes. Firmly tighten. Cleaning and Care Do not use chemical cleaners or polishers on zinc surface. Protect by periodically polishing with a beeswax product. If deeply scratched the protective coating could be compromised creating a natural darkened or rusty patina.
Need help?
Do you have a question about the MO536 and is the answer not in the manual?
Questions and answers