Table of Contents
Advertisement
Quick Links
N50/N60 Converter
NDI High Bandwidth+NDI|HX
Full Functional Codec
(Version 2023-2)
Contents
◼ Packing List
◼ Device interfaces and functions
◼ Device connection, login and use guide
◼ Device upgrade and restore to factory settings
Before using this product, it is recommended that you read the guide carefully. To ensure your personal safety and avoid physical or
electrical damage to the device, please strictly follow the instructions of this guide to install and use it under the guidance of
professionals. Incorrect electrical connections or physical installation may cause permanent damage to the device and even threaten
personal safety.
Leading solution provider of IP-Based video transmission
Quick Start Guide
Advertisement
Table of Contents

Subscribe to Our Youtube Channel
Related Manuals for Kiloview N50


Summary of Contents for Kiloview N50
- Page 1 Leading solution provider of IP-Based video transmission Quick Start Guide N50/N60 Converter NDI High Bandwidth+NDI|HX Full Functional Codec (Version 2023-2) Contents ◼ Packing List ◼ Device interfaces and functions ◼ Device connection, login and use guide ◼ Device upgrade and restore to factory settings Before using this product, it is recommended that you read the guide carefully.
-
Page 2: Packing List
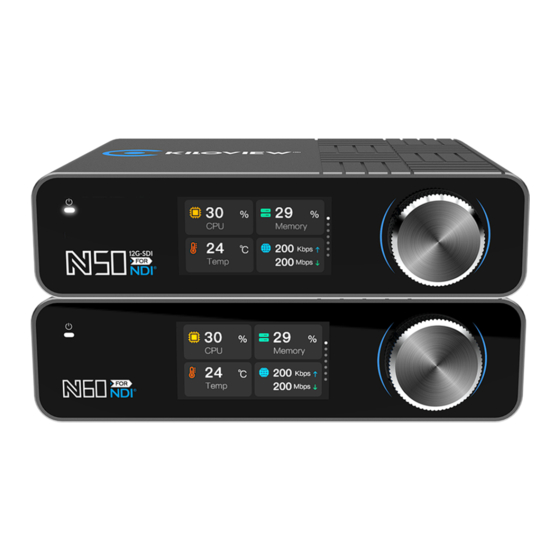
In this manual, the interface diagram of N60 is used for demonstration. The device interface difference between N50 and N60 is HDMI and SDI. The label (9) of N50 is SDI OUT, and the label (10) is SDI IN. -
Page 3: Device Indicators
White Power off or failure Note When the N50/N60 under encoding mode and receives the TALLY signal of NDI, the LCD screen will indicate PGM or PVW (red or green) accordingly. 4 Application Scenario POE Note N50/N60 only supports PoE on "ETHERNET 1" port, "ETHERNET 2" port is not available. -
Page 4: Encoding Mode
4.1 Encoding Mode HDMI Input Power Adapter Internet LOOP Switcher Encoding mode application system connection diagram 4.2 Decoding Mode HDMI Monitor Power Adapter NDI Source Switcher Decoding mode application system connection diagram... - Page 5 5 LCD Screen and Scroll Wheel The N50/N60 has a big color LCD screen and a scroll wheel on the front panel. With the screen, it is easy to check the device status, to get configuration parameters, to switch working mode and configure IP address, etc.
-
Page 6: Device Discovery
On the LCD Screen, it is easily to check the IP address of your device. After the N50/N60 powered on, you can turn the scroll wheel to switch the images to your currently connected network port, "ETHERNET 1" (network 1) or "ETHERNET 2" (network 2), to check the current IP address of the device. - Page 7 Step 1: Start the Kiloview Multiview software to configure the parameters. Step 2: Find the device in the discovery list and enter to the device web page through browser. Introduction N60 naming rules: N60-<serial number>. Serial number refers to the numbers on the device label.
- Page 8 7 Login to the device Web page Enter to the web page of the N50/N60 and both the username and the password are “admin” by default. Note To ensure information security, it is recommended to change your password immediately after your first login.
- Page 9 There are icons for switching between encoding mode and decoding mode on the left of the N50/N60 web page. Click icon “Decoder” to switch back to decoding mode. When the N50/N60 is in decoding mode, the NDI sources in the network will be displayed at the bottom of ,on the right of the decoder web page automatically.
-
Page 10: Firmware Upgrading
Step 1: Prepare a USB flash drive or SD card, copy the firmware file downloaded from Kiloview website to the USB flash drive/SD card. Step 2: Insert the USB flash drive or SD card into the N50/N60, after the device is turned on (about 2s), wait... - Page 11 Kiloview logo to appear on the screen, long press and hold the scroll wheel for more than 10s until the device enters recovery mode. Step 3: Select "Recover from USB Device" or "Recover from SD Card" by turning the scroll wheel, press the wheel to confirm the selection to start the upgrade.
-
Page 12: Restore Factory Settings
10 Restore factory settings If the device cannot work normally after modified the parameters or forgot IP configuration and Couldn’t search and find the device, please restore factory settings. 1) If you can login to web page, then via the web page, click "Settings>System settings>Restore factory settings".
Need help?
Do you have a question about the N50 and is the answer not in the manual?
Questions and answers